Overview
This section covers the Plug and Play editor experience. Content will be expanded step by step.
The Plug and Play view is a minimal, more user friendly editor with more limited control. For advanced or fine-grained control, use the Tree Config View instead: Tree Config View. See Switching Editors for how to change views.
The Plug and Play view is the default editor for .dtso files.
To open it, create a .dtso file and open that file in VS Code.
Setup (Merge DTS Into DTSO)
First, run the command Analog Attach: Add Device Tree file to current overlay.
You can do this by pressing Ctrl+Shift+P and selecting the command, or by
clicking the Analog Attach (AA) icon in the left panel and choosing
merge dts into dtso.
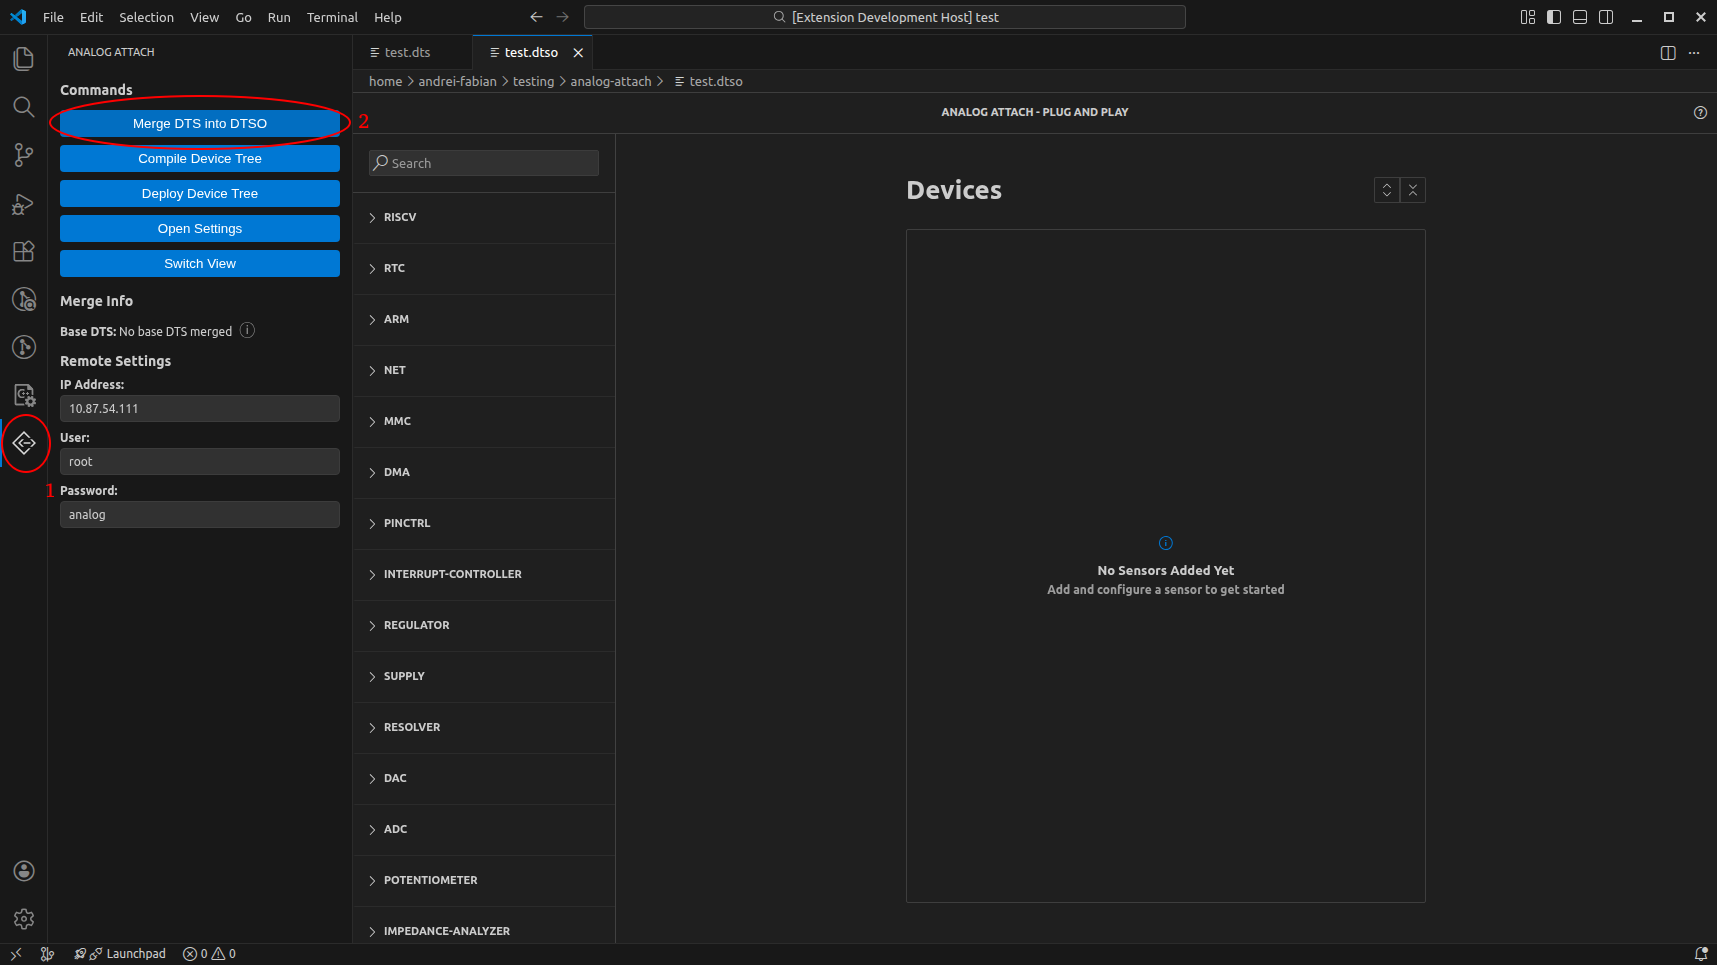
This provides Analog Attach with the required information to suggest valid parents and property values for the overlay.
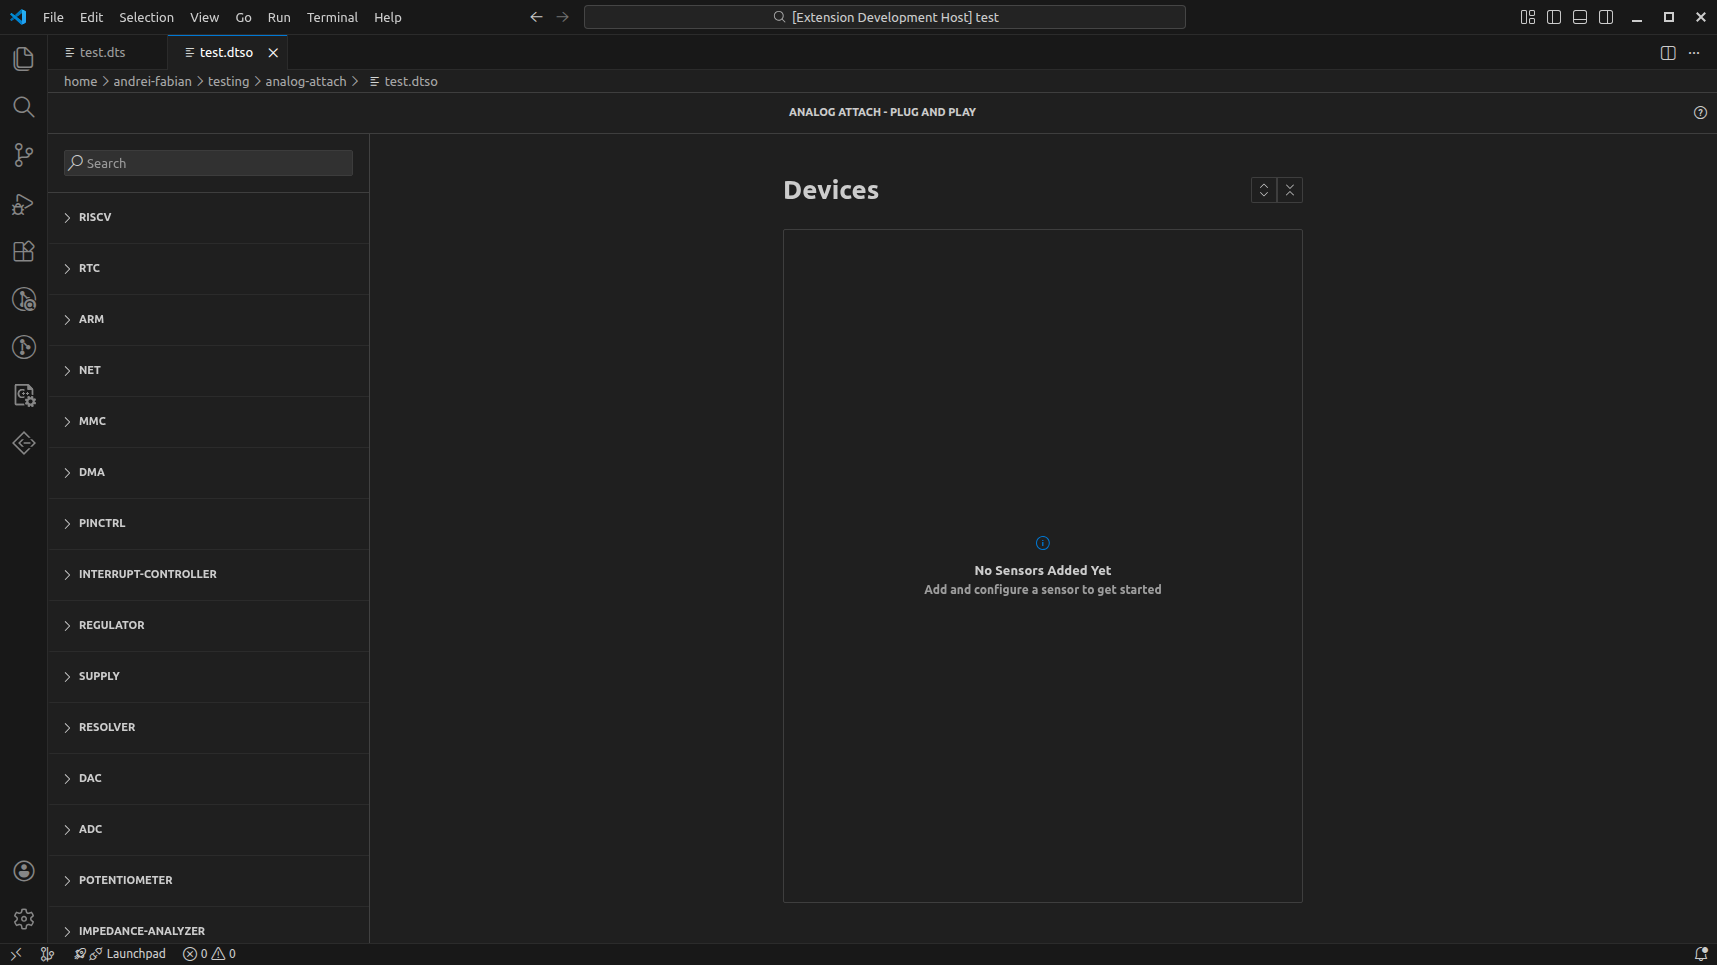
Adding Devices
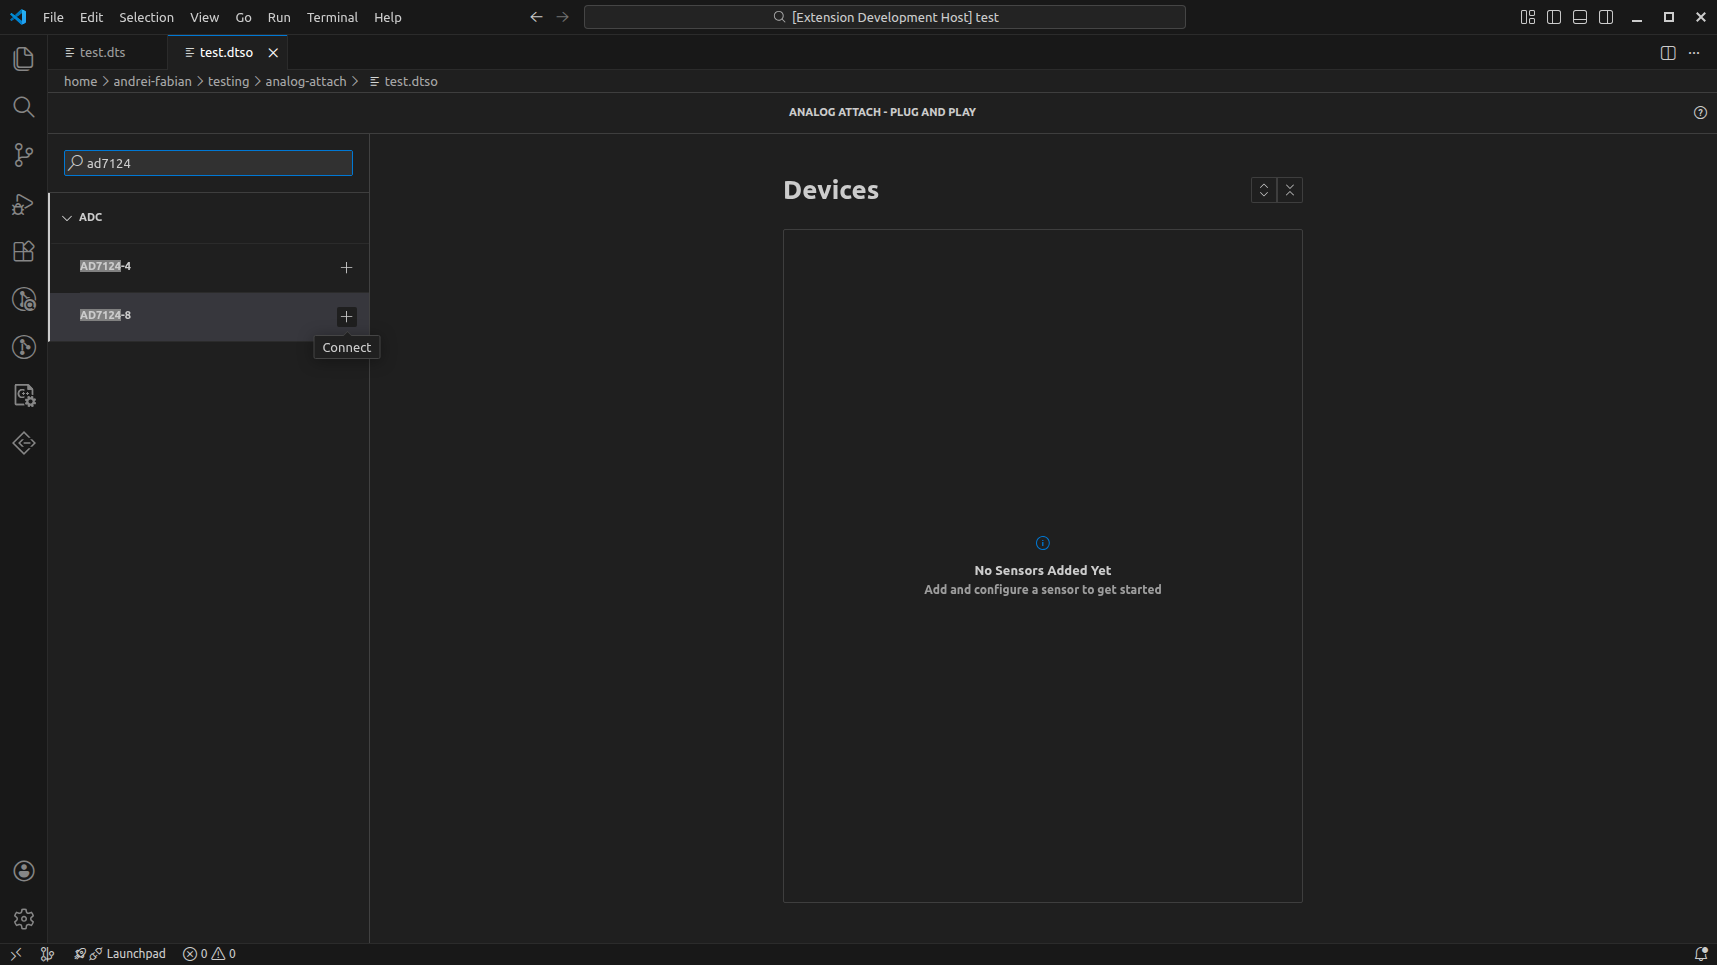
On the left side, you will see a list of supported devices, grouped by category. Use the search bar to find a device and click the plus icon to add it.
Selecting a Parent
After adding a device, Analog Attach parses the binding and suggests possible parents. If no parents are shown, it means no valid parent was found.
If you believe this is a mistake, let the developers know, or switch to the Tree Config View for more control: Tree Config View. See Switching Editors for how to change views.
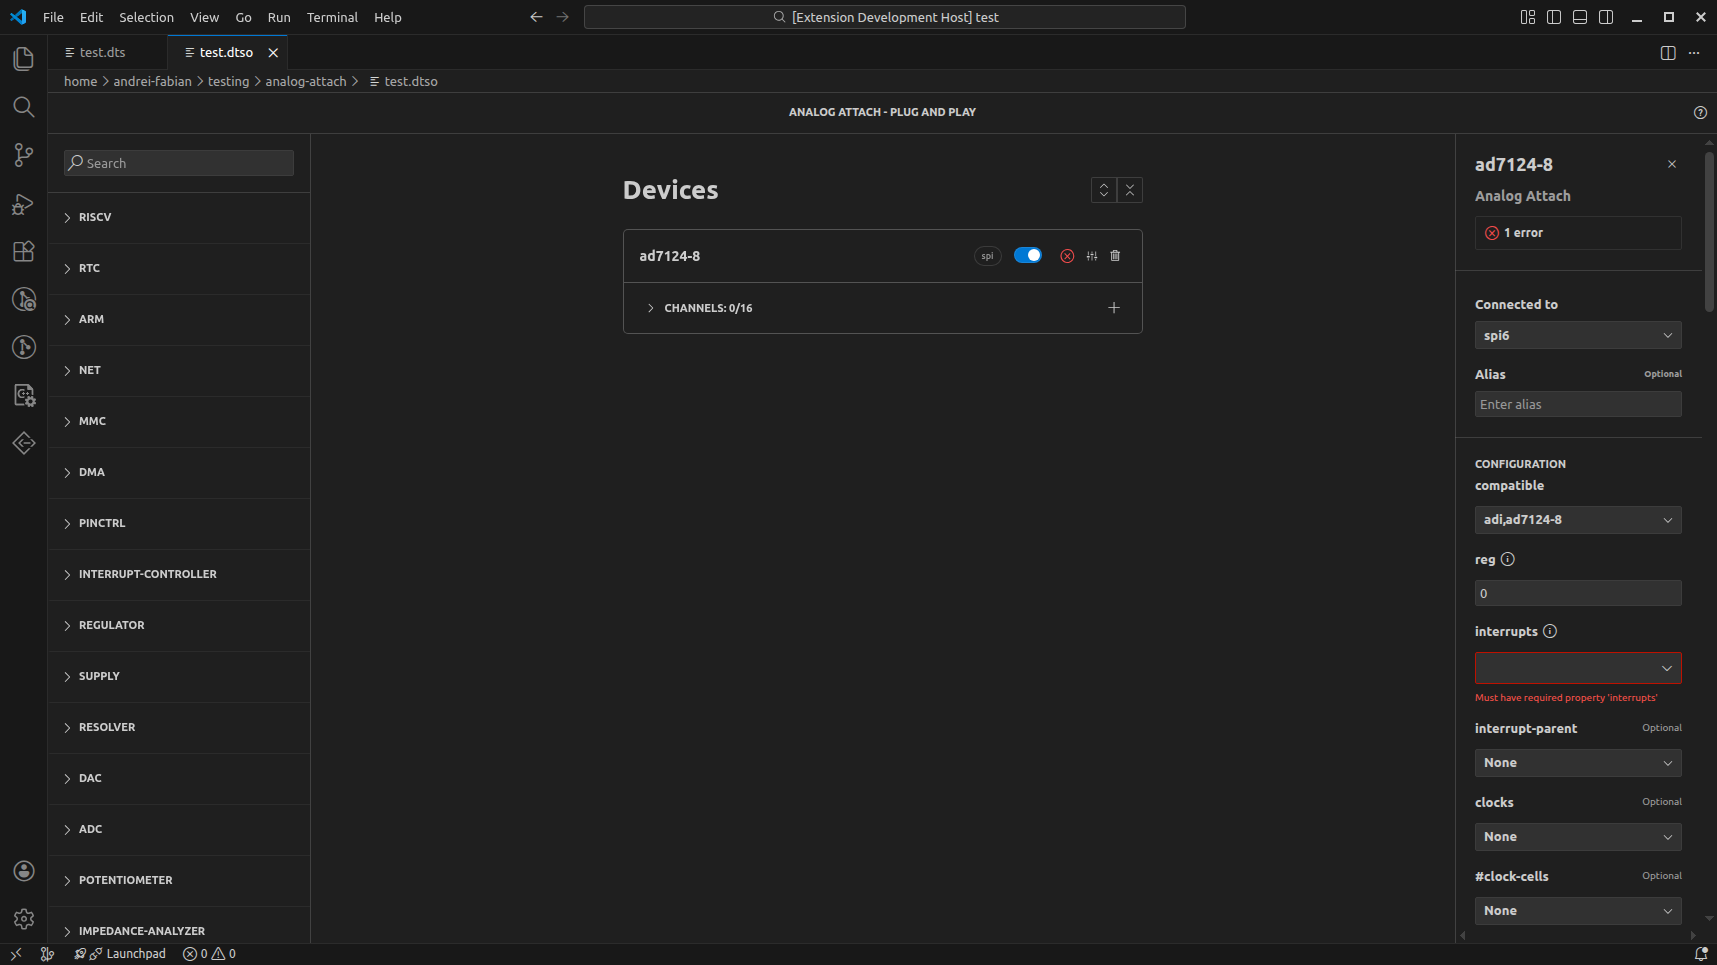
Managing the Device
After selecting a parent, the device appears in the middle part of the screen. From there, you can enable or delete it, open the configuration, and add channels (when the device supports channels).
After every modification, the updated .dtso is saved to the file.
Each device card shows the parent node name and provides an enable/disable toggle. The card also includes actions for configuring or deleting the device.
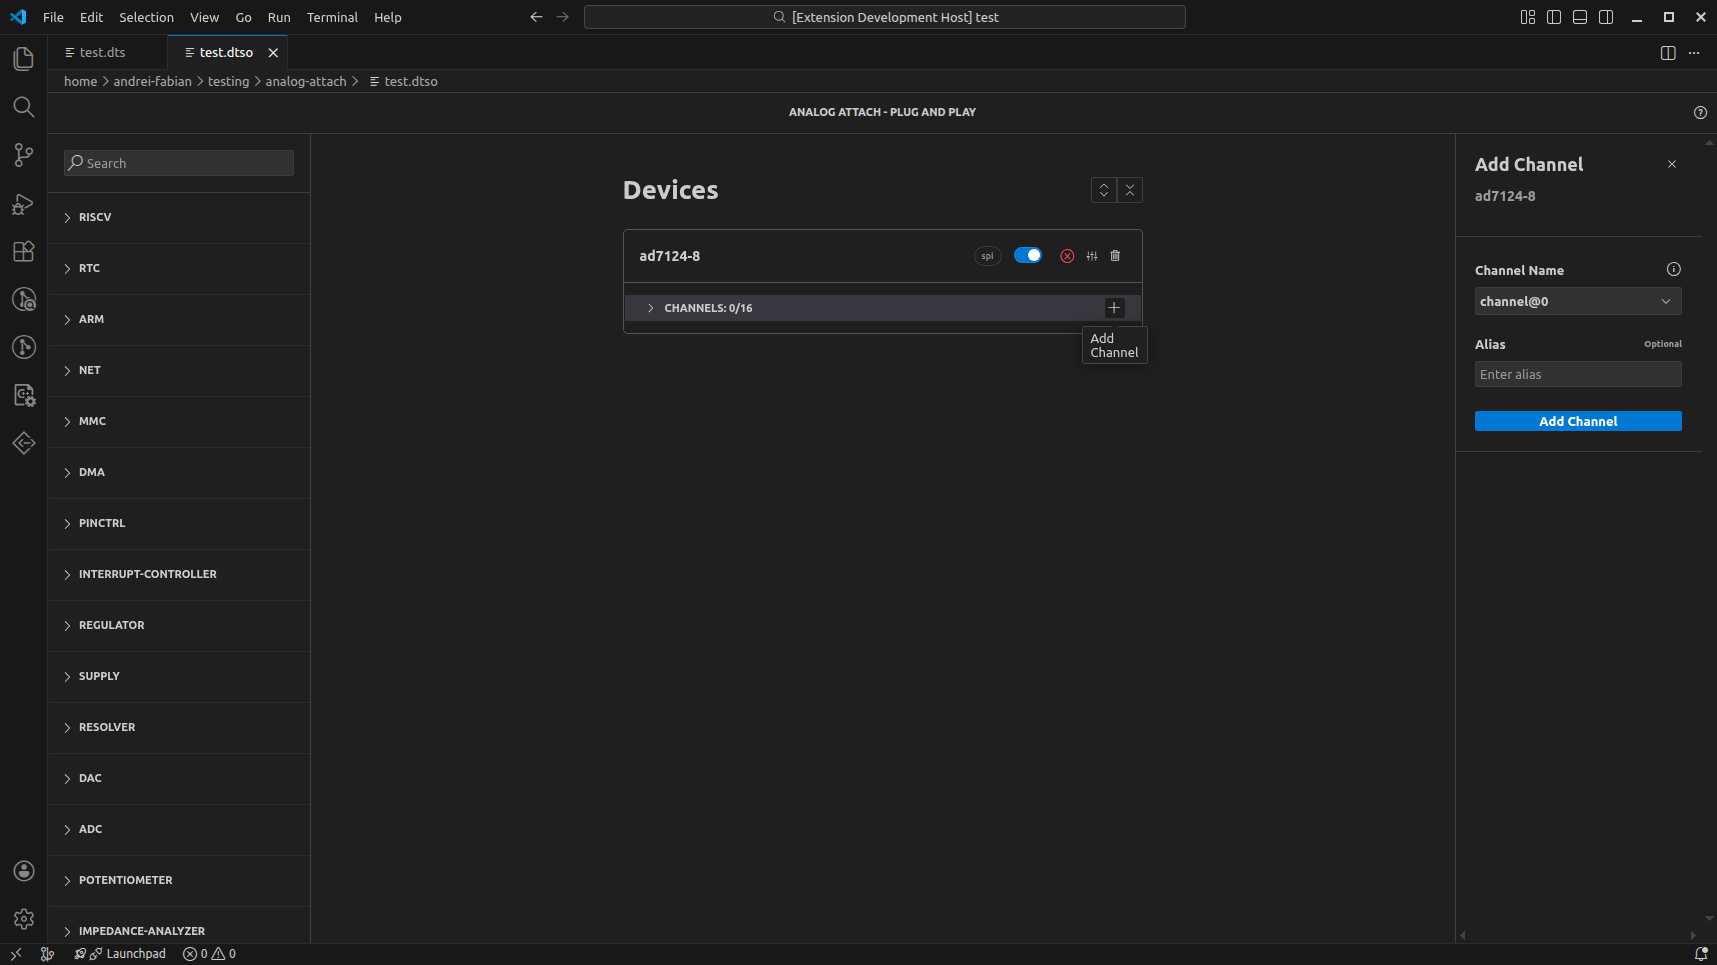
Channels
If the device supports channels, the number of channels is shown under the device name in the middle panel. Click the + button in the Channels dropdown to add one. The right panel will prompt you to enter a channel name and, optionally, an alias.
You can select a name from the list or enter a custom name, but it must match the regex shown in the info tooltip next to the channel name field. Once a valid name is provided, the Add channel button becomes available and the channel configuration opens.
When the maximum number of channels is reached, the + button is disabled. The channel list can be expanded to show individual channels, along with any validation errors they may have.
Configuration and Validation
The configuration panel may show validation errors. This means required properties are missing or invalid.
Some properties are interdependent. Changing one property can make other properties required or optional, or change their expected type and size.
From the configuration panel you can:
Change the parent
Set the alias
Add values to properties
Add new, custom properties (bottom of the properties list)
Only properties that contain values are written to the file. To remove a
property, clear its input or select None for dropdowns.
Topics
Overview (what the view is for)
Device list and search
Device configuration workflow
Channels and parent selection
Validation feedback