Quick Start Guides
This section provides quick start guides for evaluating DAC-FMC-EBZ boards on various FPGA carrier platforms. Each guide covers bitstream programming, booting a Linux distribution, and verifying the DAC output.
Supported Carriers
All carriers support the AD9135/AD9136, AD9144, AD9152, AD9154, and AD917x-FMC-EBZ evaluation boards.
Carrier |
FMC Slot |
|---|---|
FMC HPC0 |
|
FMC HPC |
|
FMC+ |
|
FMCA |
Supported Environments
Carrier |
HDL |
Linux |
No-OS |
|---|---|---|---|
ZCU102 |
Yes |
Yes |
Yes |
ZC706 |
Yes |
Yes |
Yes |
VCU118 |
Yes |
No |
No |
Arria 10 SoC |
Yes |
No |
No |
Hardware Setup
Important
Before connecting the FMC evaluation board to the carrier, ensure that the carrier is powered off. Improper handling can damage the board or the carrier.
General setup:
Connect the DAC-FMC-EBZ board to the corresponding FMC connector on the carrier.
If it’s the case, connect a low phase noise clock source to the corresponding clock in port (please check the requirments based on the used board).
Connect the DAC output(s) to a spectrum analyzer via SMA cables.
Connect UART via USB for serial console (115200 baud, 8N1).
Connect Ethernet for network access (Linux).
Insert the SD card with ADI Kuiper Linux image.
Connect the power supply and power on the carrier.
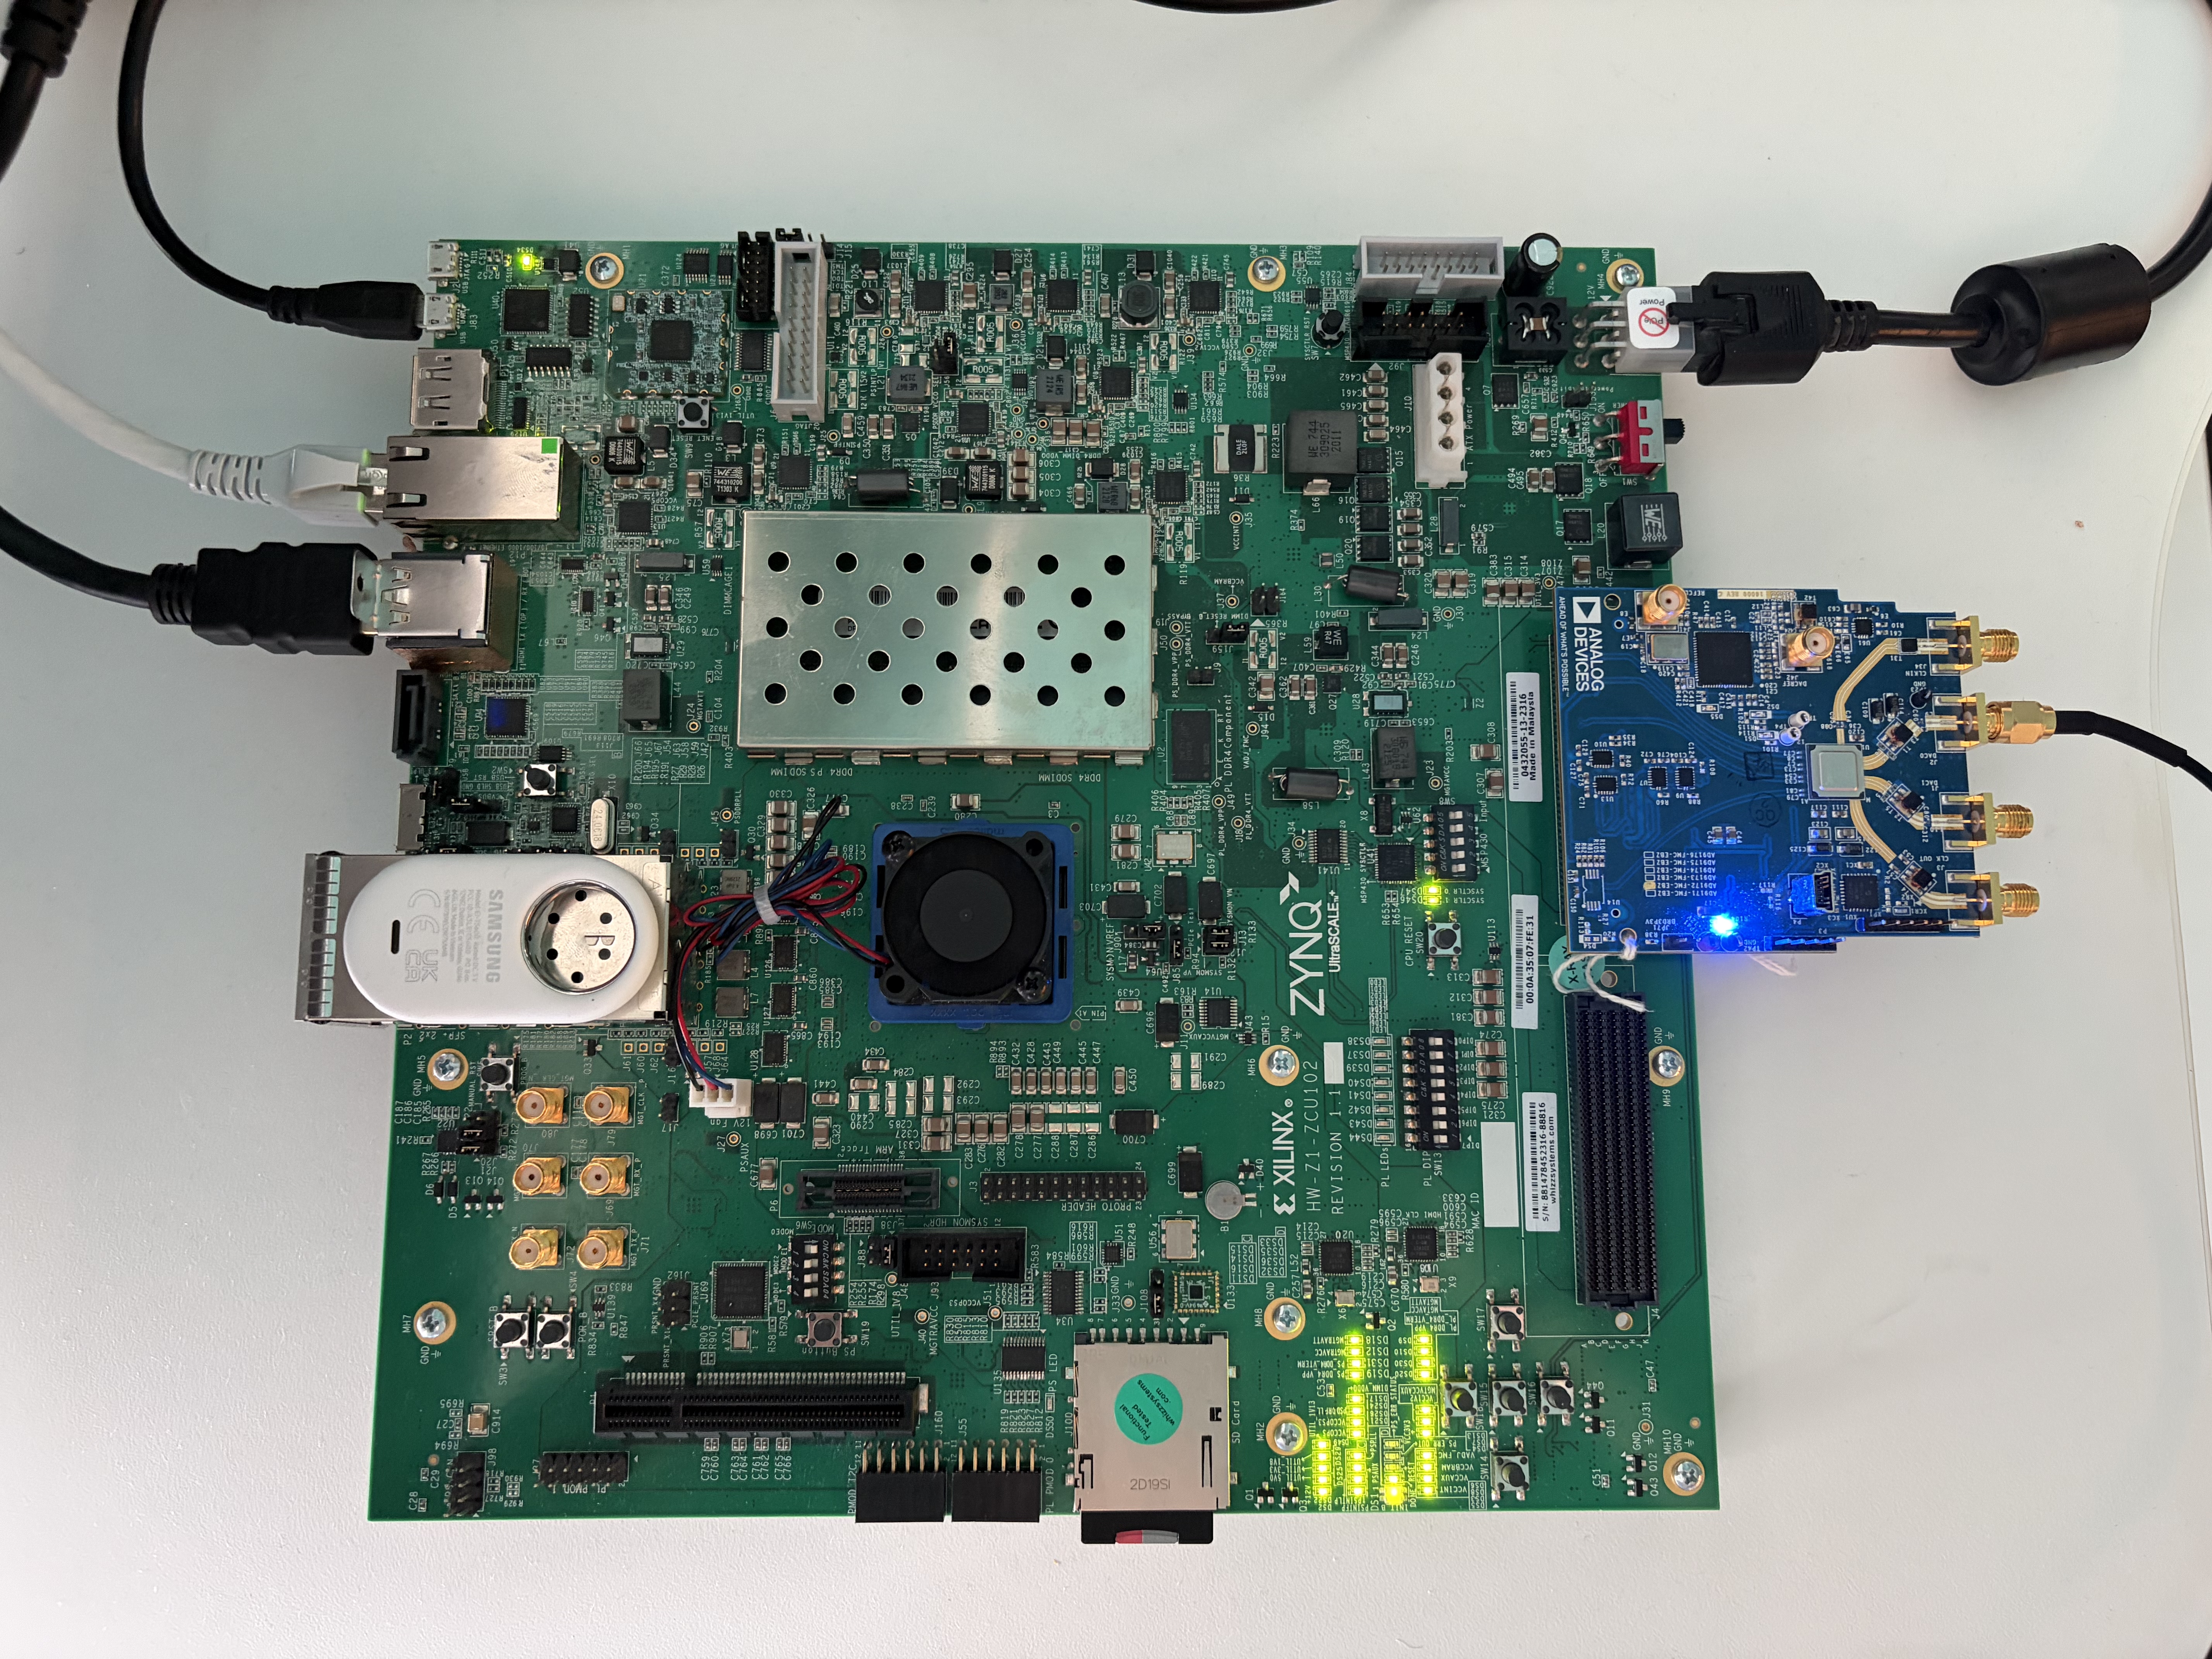
ZCU102 + EVAL-AD9172 (No external clock source)
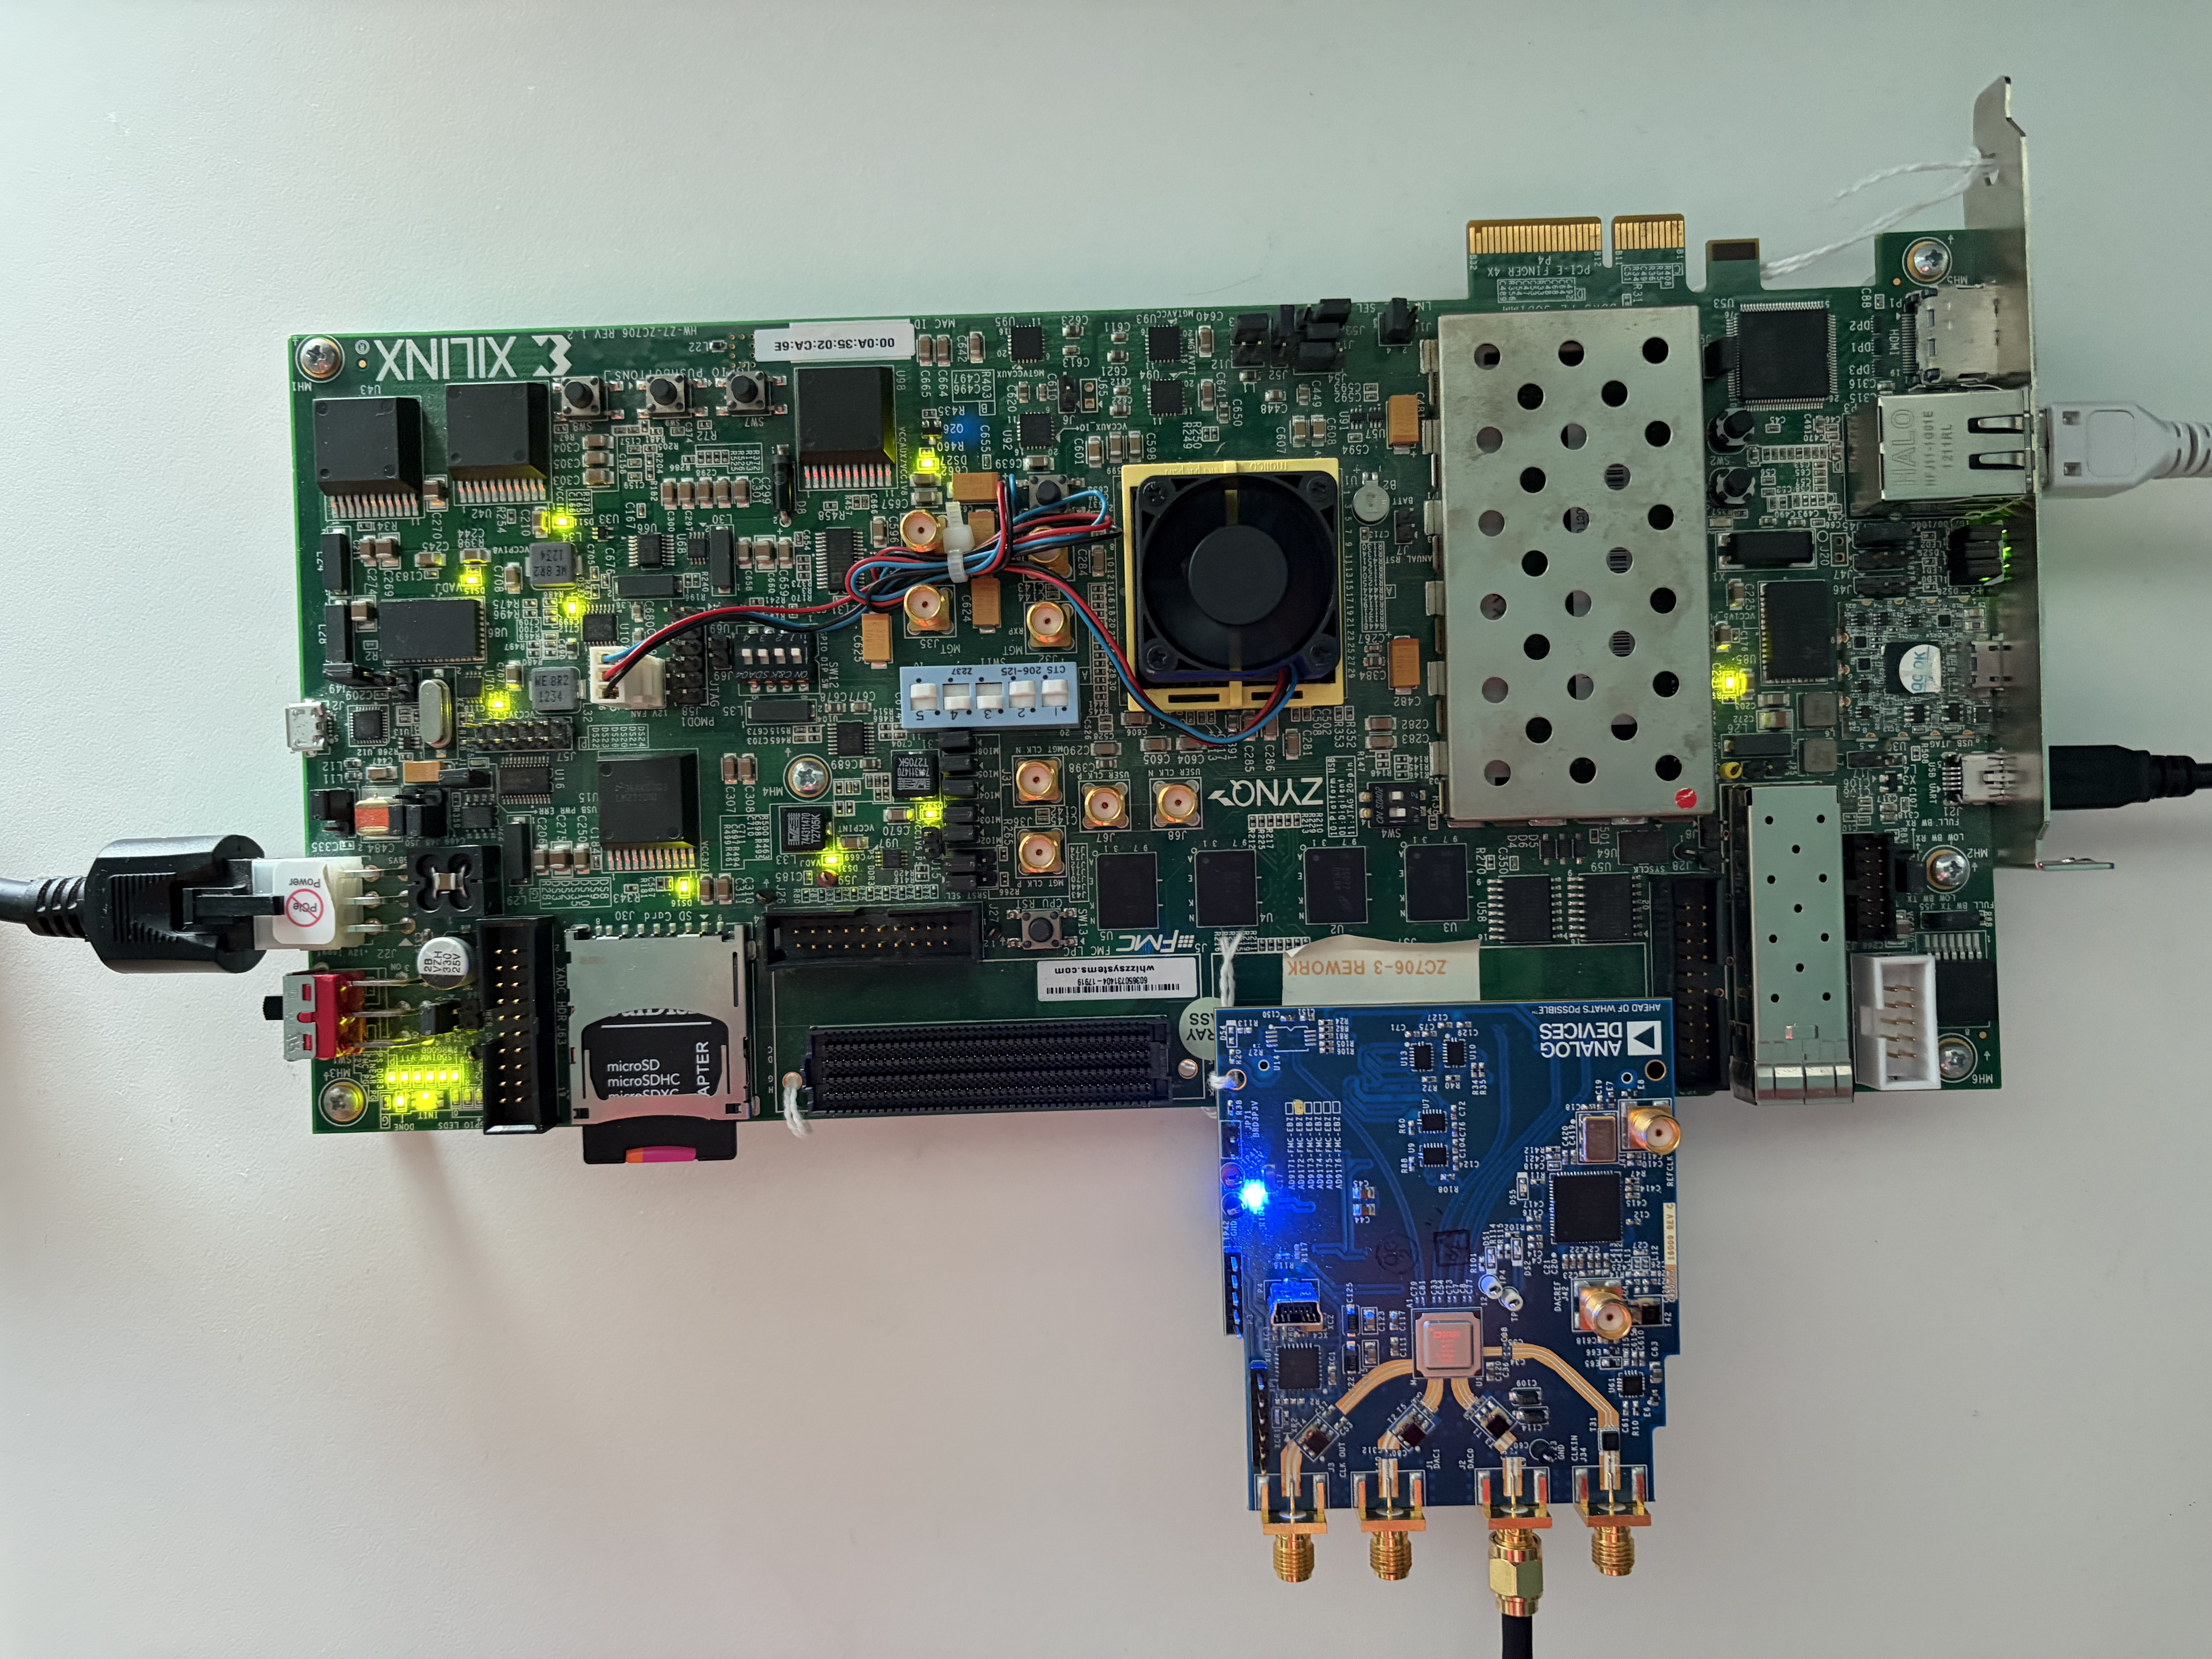
ZC706 + EVAL-AD9172 (No external clock source)