ADRV9009 & ADRV9008

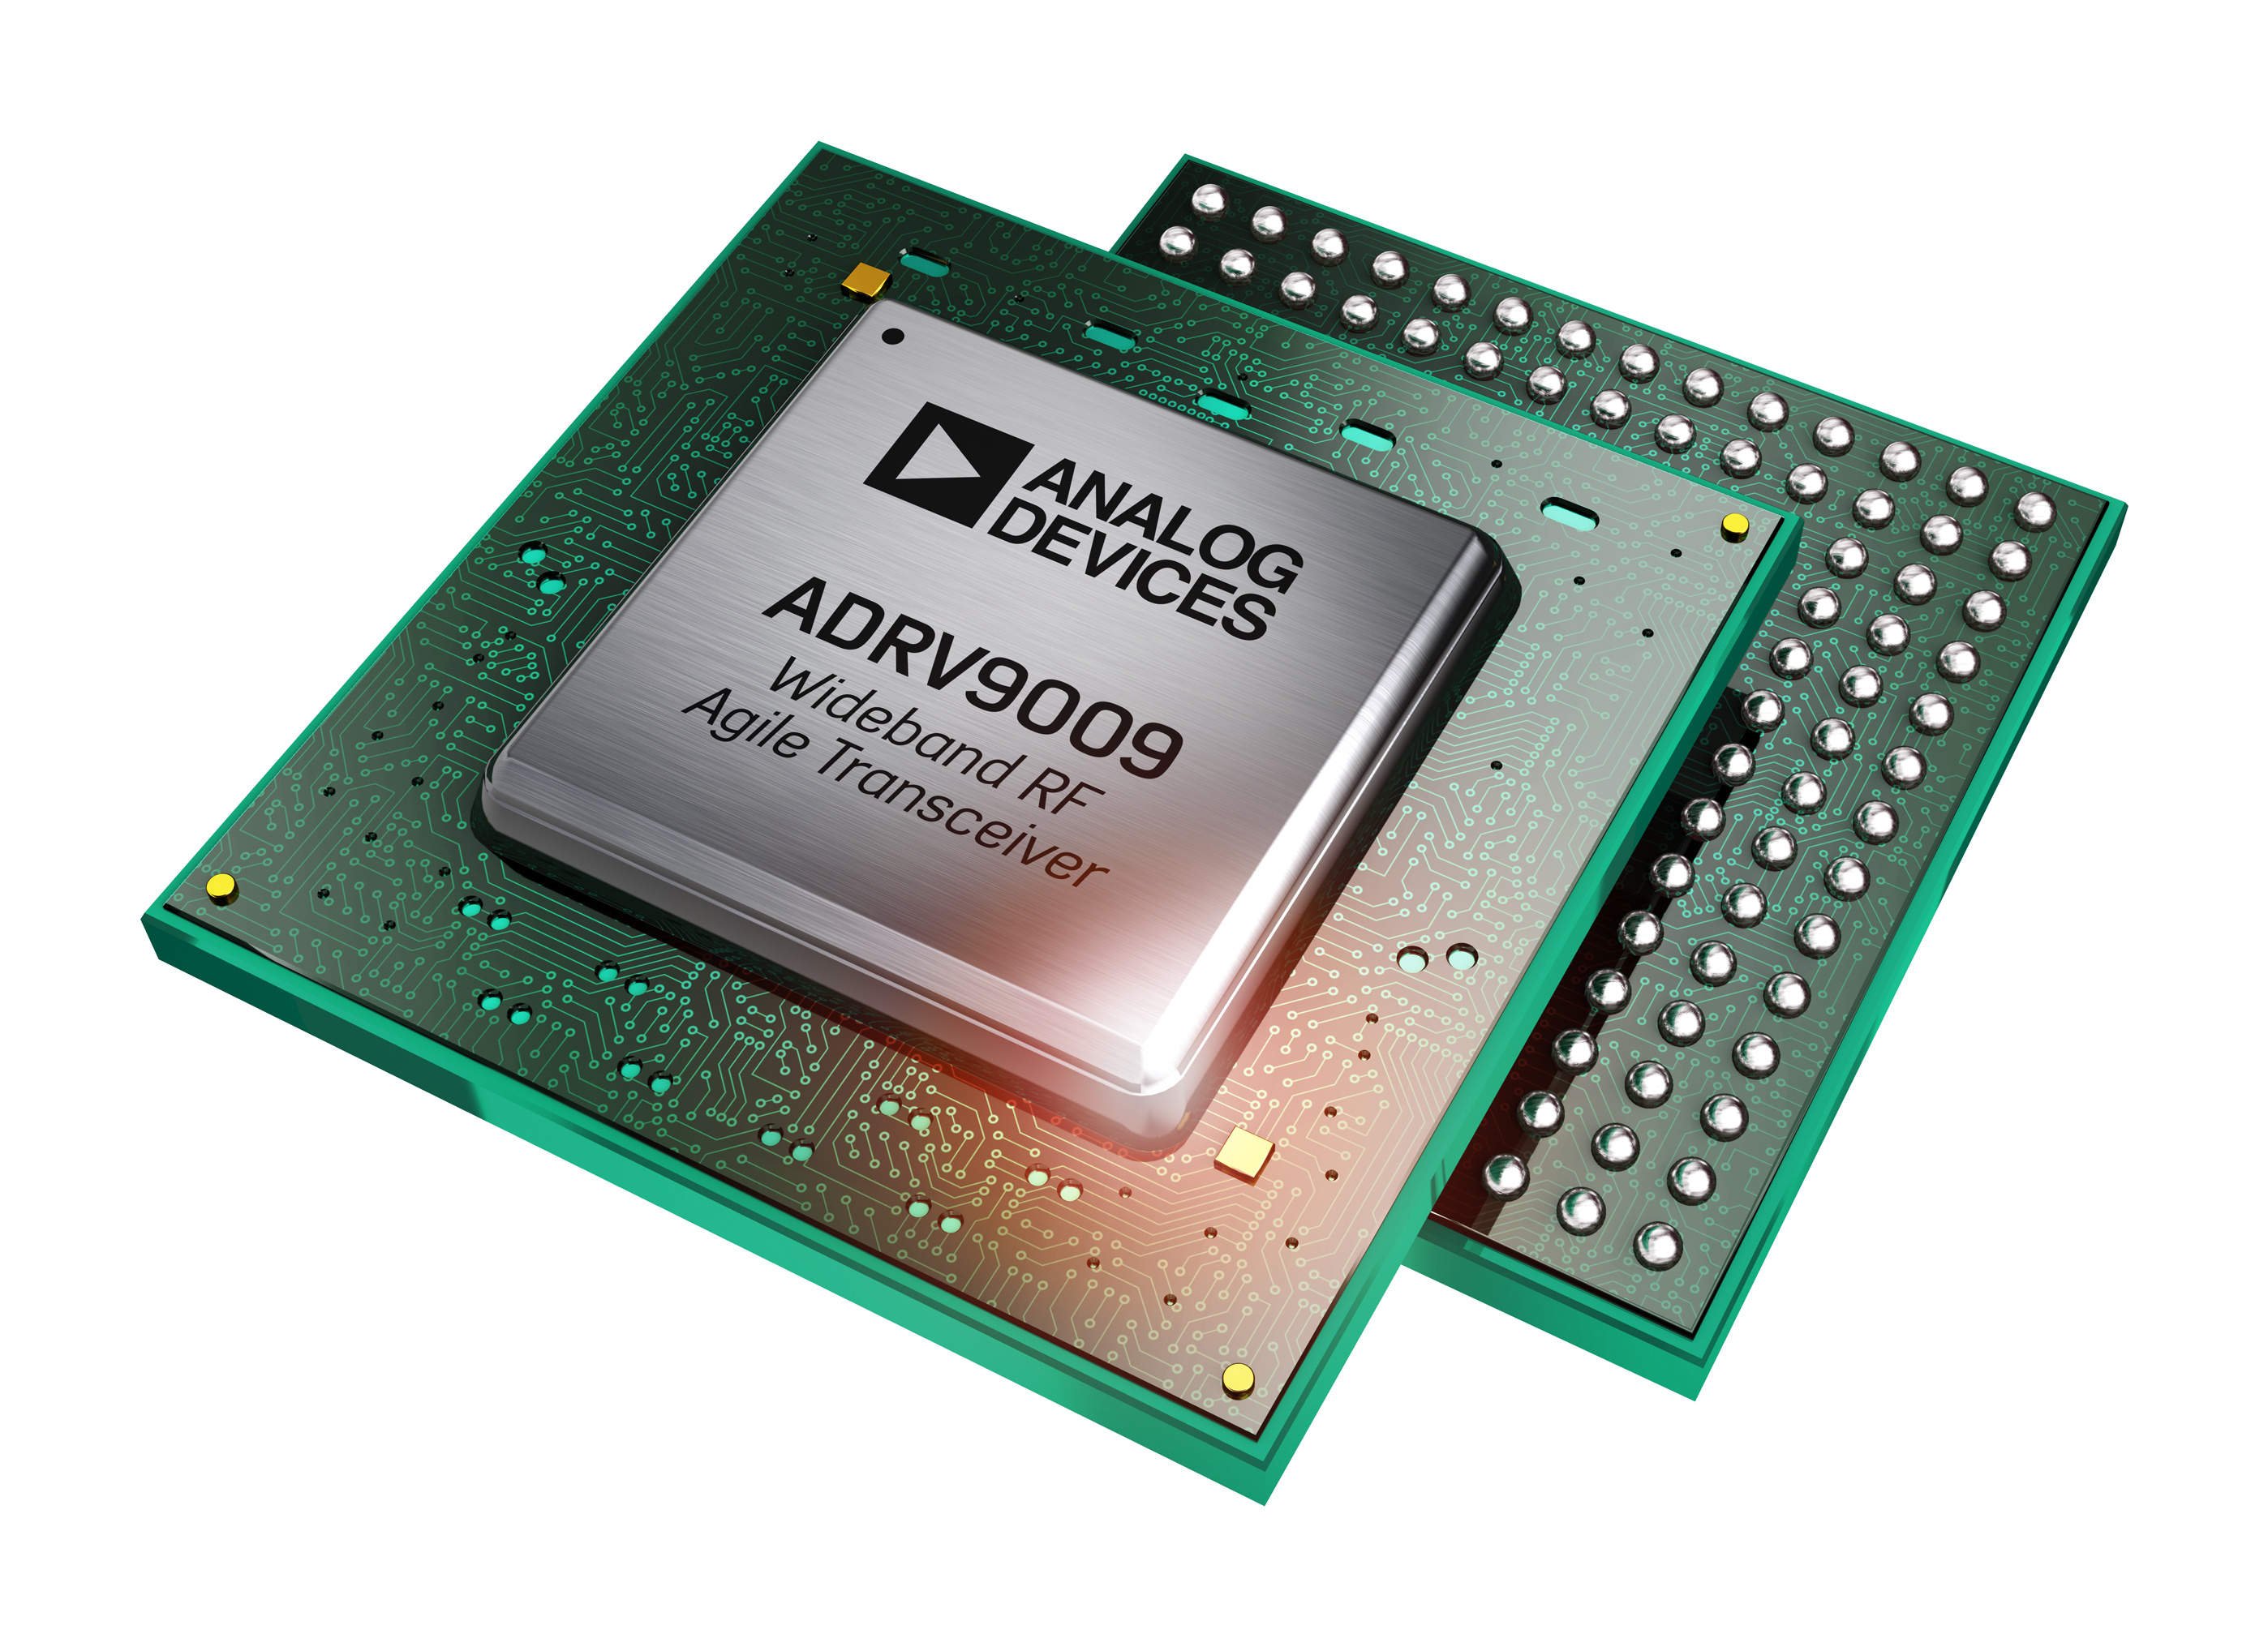
../../../_images/adrv9009-bc.jpg

The ADRV9009-W/PCBZ, ADRV9008-1W/PCBZ and ADRV9008-2W/PCBZ are FMC radio cards for the ADRV9009 and ADRV9008, respectively, a highly integrated RF Transceiver™. While the complete chip level design package can be found on the ADI web site, information on the card and how to use it, the design package that surrounds it, and the software which can make it work can be found here.
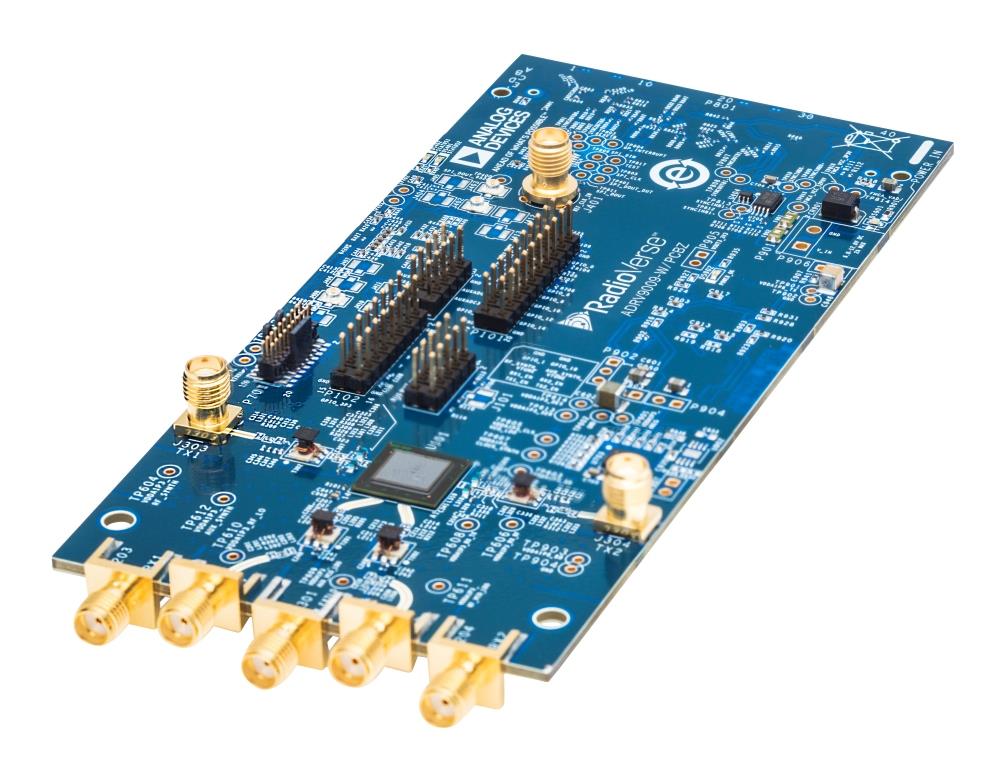
../../../_images/adrv9009-pcb.jpg

Table of Contents

People who follow the flow that is outlined, have a much better experience with things. However, like many things, documentation is never as complete as it should be. If you have any questions, feel free to ask.

  1. Use the board to better understand the ADRV9009/ADRV9008-1/ADRV9008-2

    1. What you need to get started

    2. Quick Start Guides

      1. Linux on ZCU102

      2. Configure a pre-existing SD Card

      3. Update the old card you received with your hardware

    3. Linux Applications

      1. IIO Oscilloscope, with:

        1. ADRV9009 (Standard Plugin, Advanced plugin)

      2. FRU EEPROM Utility

    4. Push custom data into/out of the ADRV9009/ADRV9008

      1. Basic Data files and formats

      2. Stream data into/out of MATLAB

      3. Python Interfaces

  2. Design with the ADRV9009/ADRV9008

    1. Block diagram

      1. ADRV9009 Product page

      2. ADRV9008 Product page

      3. Full Datasheet and chip design package

      4. MATLAB Filter Wizard / Profile Generator for ADRV9009

    2. Hardware in the Loop / How to design your own custom BaseBand

      1. GNU Radio

      2. Transceiver Toolbox

    3. Design a custom ADRV9009/ADRV9008 based platform

      1. Linux software

        1. ADRV9009/ADRV9008 Linux Device Driver

          1. ADRV9009/ADRV9008 Device Driver Customization

          2. Customizing the devicetree on the target

        2. JESD204 (FSM) Interface Linux Kernel Framework

        3. AD9528 Low Jitter Clock Generator Linux Driver

        4. AD7291 IIO ADC Linux Driver

        5. AXI-DMAC DMA Controller Linux Driver

        6. JESD204B Transmit Linux Driver

          1. JESD204B Status Utility

        7. JESD204B Receive Linux Driver

          1. JESD204B Status Utility

        8. JESD204B/C AXI_ADXCVR Highspeed Transceivers Linux Driver

          1. JESD204 Eye Scan

        9. AXI ADC HDL Linux Driver

        10. AXI DAC HDL Linux Driver

      2. Changing the VCXO frequency and updating the default RF Transceiver Profile

      3. ADRV9009/ADRV9008 No-OS System Level Design Setup

      4. HDL Reference Design which you must use in your FPGA.

      5. HDL Targeting From MATLAB and Simulink

  3. Additional Documentation about SDR Signal Chains - The math behind the RF

  4. Help and Support

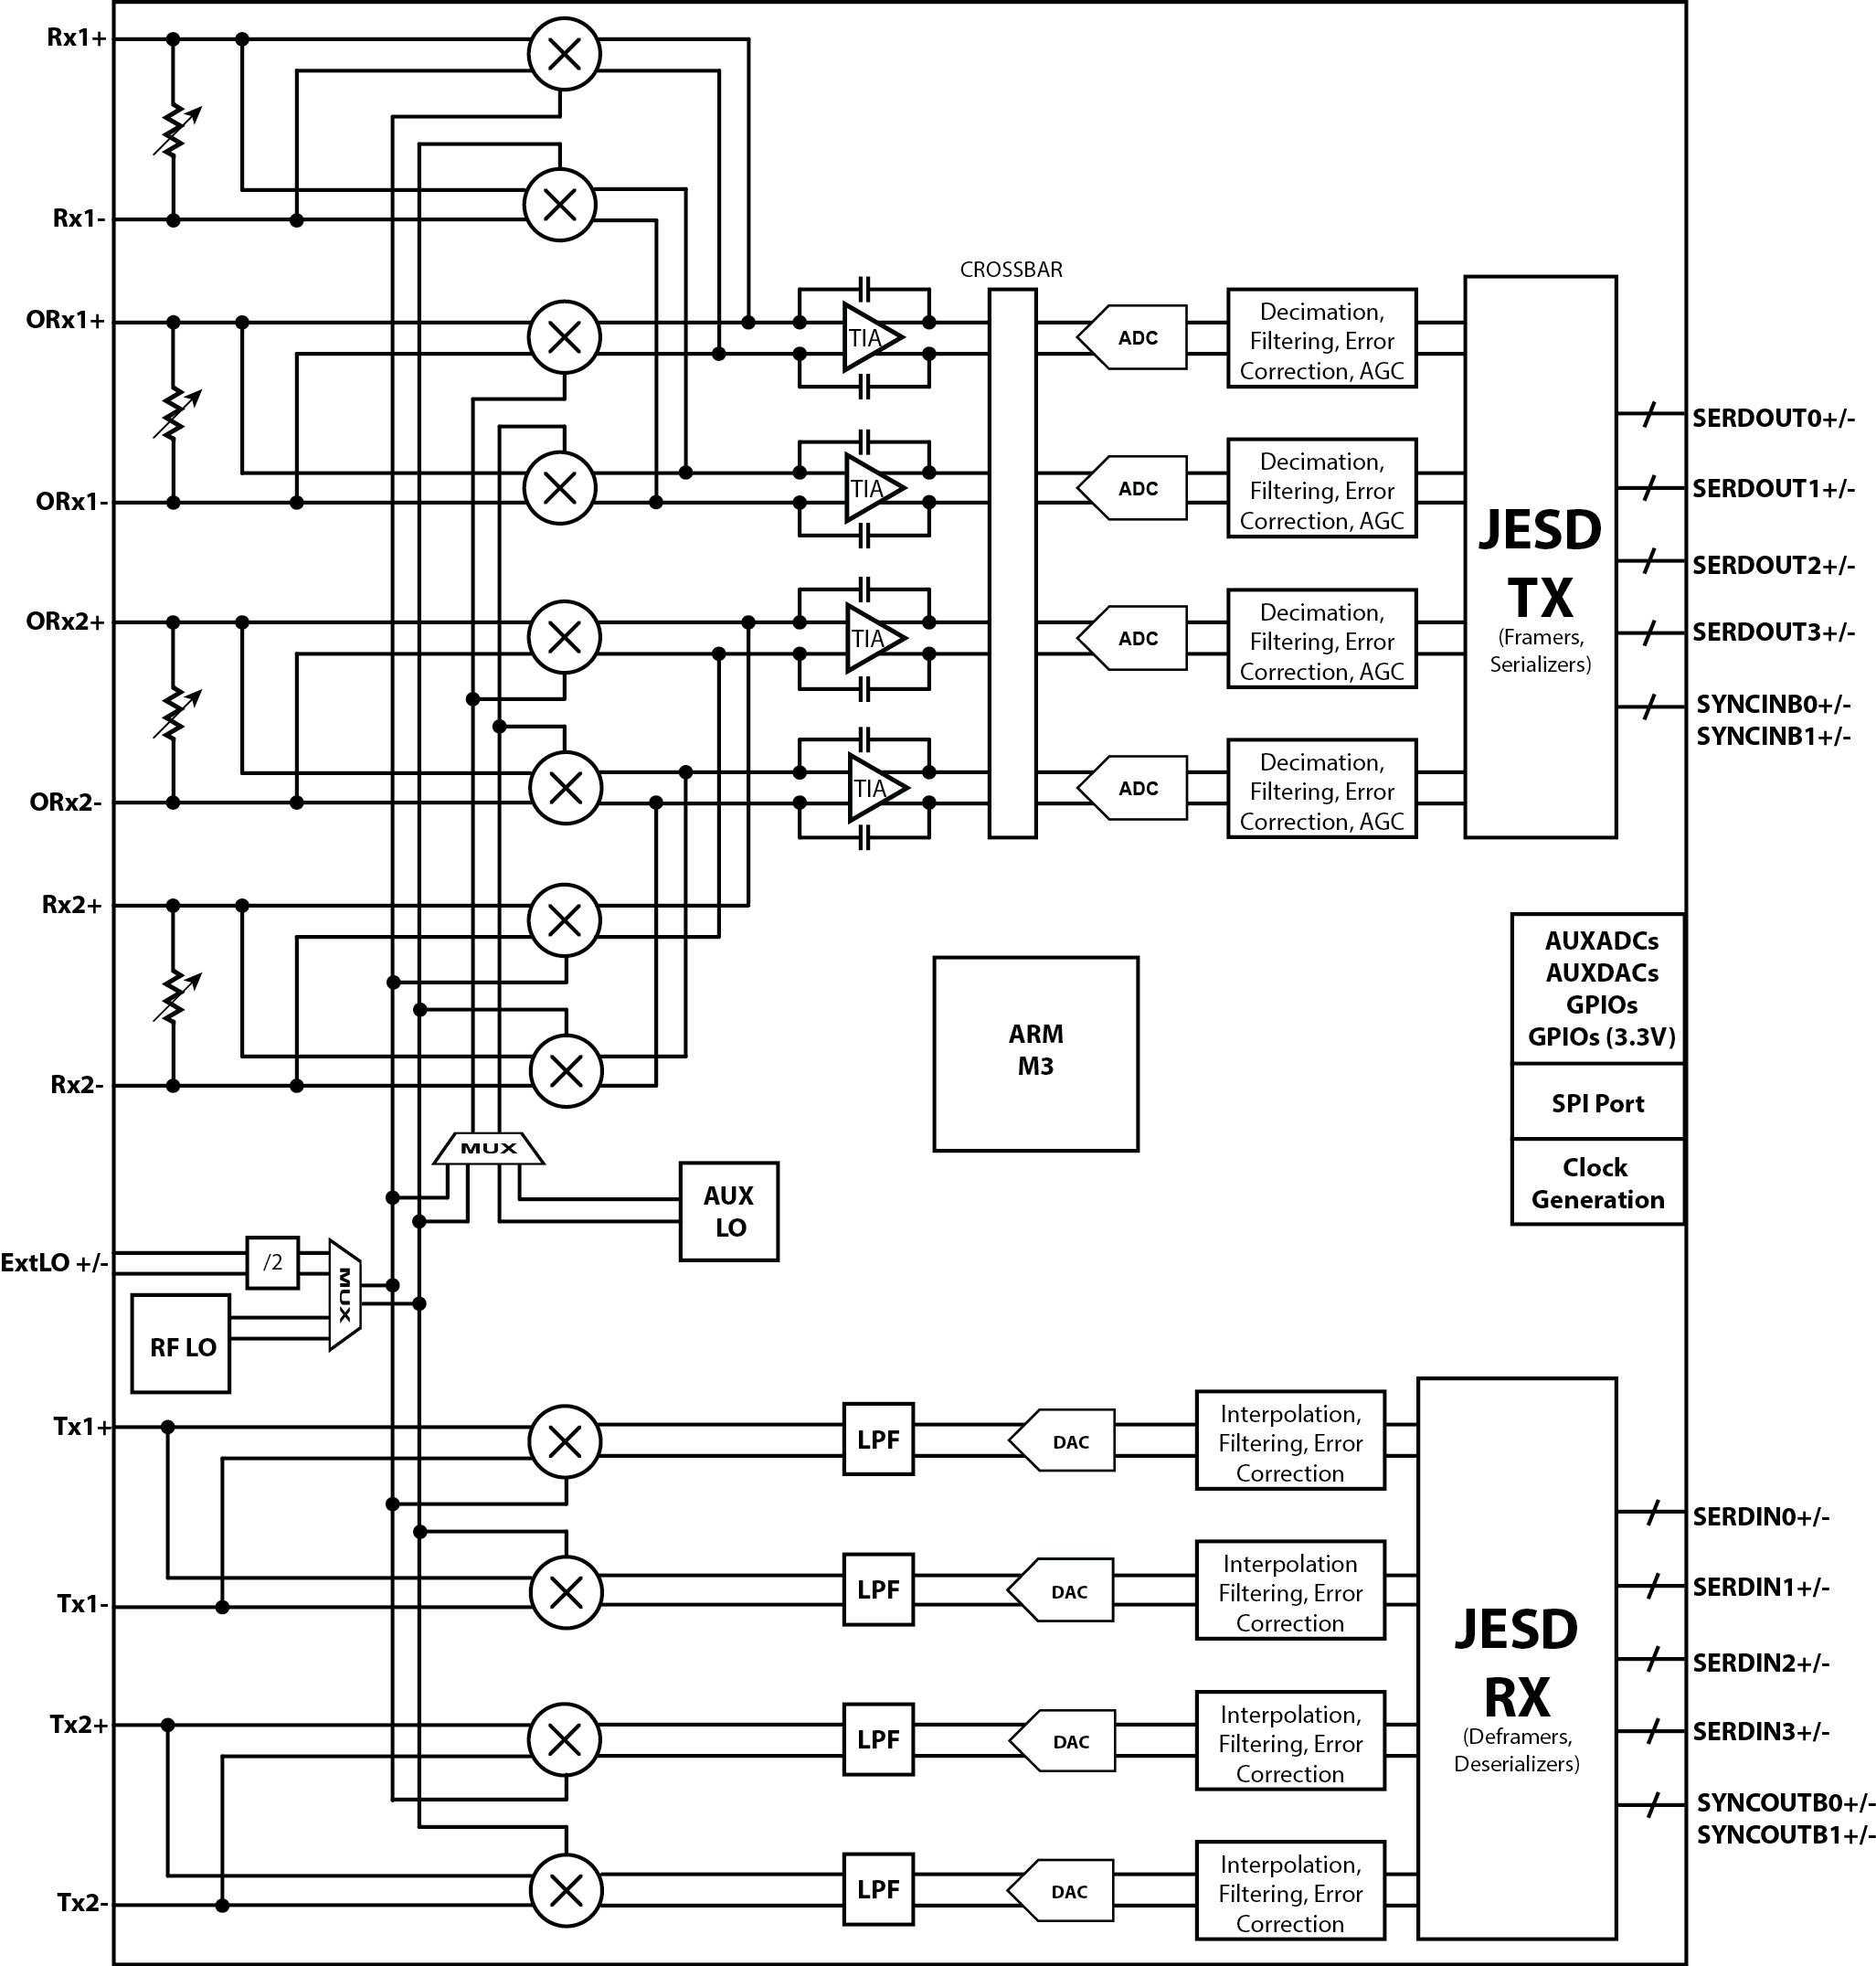
Block diagram

../../../_images/blockdiagram.png

Videos

Software Defined Radio using the Linux IIO Framework

ADI Articles

  1. Four Quick Steps to Production: Using Model-Based Design for Software-Defined Radio

    1. Part 1 - The Analog Devices/Xilinx SDR Rapid Prototyping Platform: Its Capabilities, Benefits, and Tools

    2. Part 2 - Mode S Detection and Decoding Using MATLAB and Simulink

    3. Part 3 - Mode S Signals Decoding Algorithm Validation Using Hardware in the Loop

    4. Part 4 - Rapid Prototyping Using the Zynq SDR Kit and Simulink Code Generation Workflow

MathWorks Webinars

  1. Modelling and Simulating Analog Devices’ RF Transceivers with MATLAB and SimRF

  2. Getting Started with Software-Defined Radio using MATLAB and Simulink

Warning

All the products described on this page include ESD (electrostatic discharge) sensitive devices. Electrostatic charges as high as 4000V readily accumulate on the human body or test equipment and can discharge without detection. Although the boards feature ESD protection circuitry, permanent damage may occur on devices subjected to high-energy electrostatic discharges. Therefore, proper ESD precautions are recommended to avoid performance degradation or loss of functionality. This includes removing static charge on external equipment, cables, or antennas before connecting to the device.