AD-FMCMOTCON1-EBZ Linux on Zynq Quick Start Guide
Warning
The AD-FMCMOTCON1-EBZ is a legacy product and is no longer actively supported. This documentation is provided for reference only.
This guide provides some quick instructions (still takes awhile to download, and set things up) on how to setup the AD-FMCMOTCON1-EBZ on either:
ZedBoard, Rev C or later
Requirements
You need a Host PC (Windows or Linux).
You need a SD card writer connected to above PC (Supported USB SD readers/writers are OK).
USB keyboard/mouse for the Zynq Device
HDMI Display (monitor or TV)
Creating the SD Card
Create SD Image for Zynq Boards
The carrier setup requires power, UART connection (115200 baud, 8N1), and Ethernet (for Linux) connections. The ZedBoard programs the FPGA and boots Linux from the SD card.
Connecting the hardware together
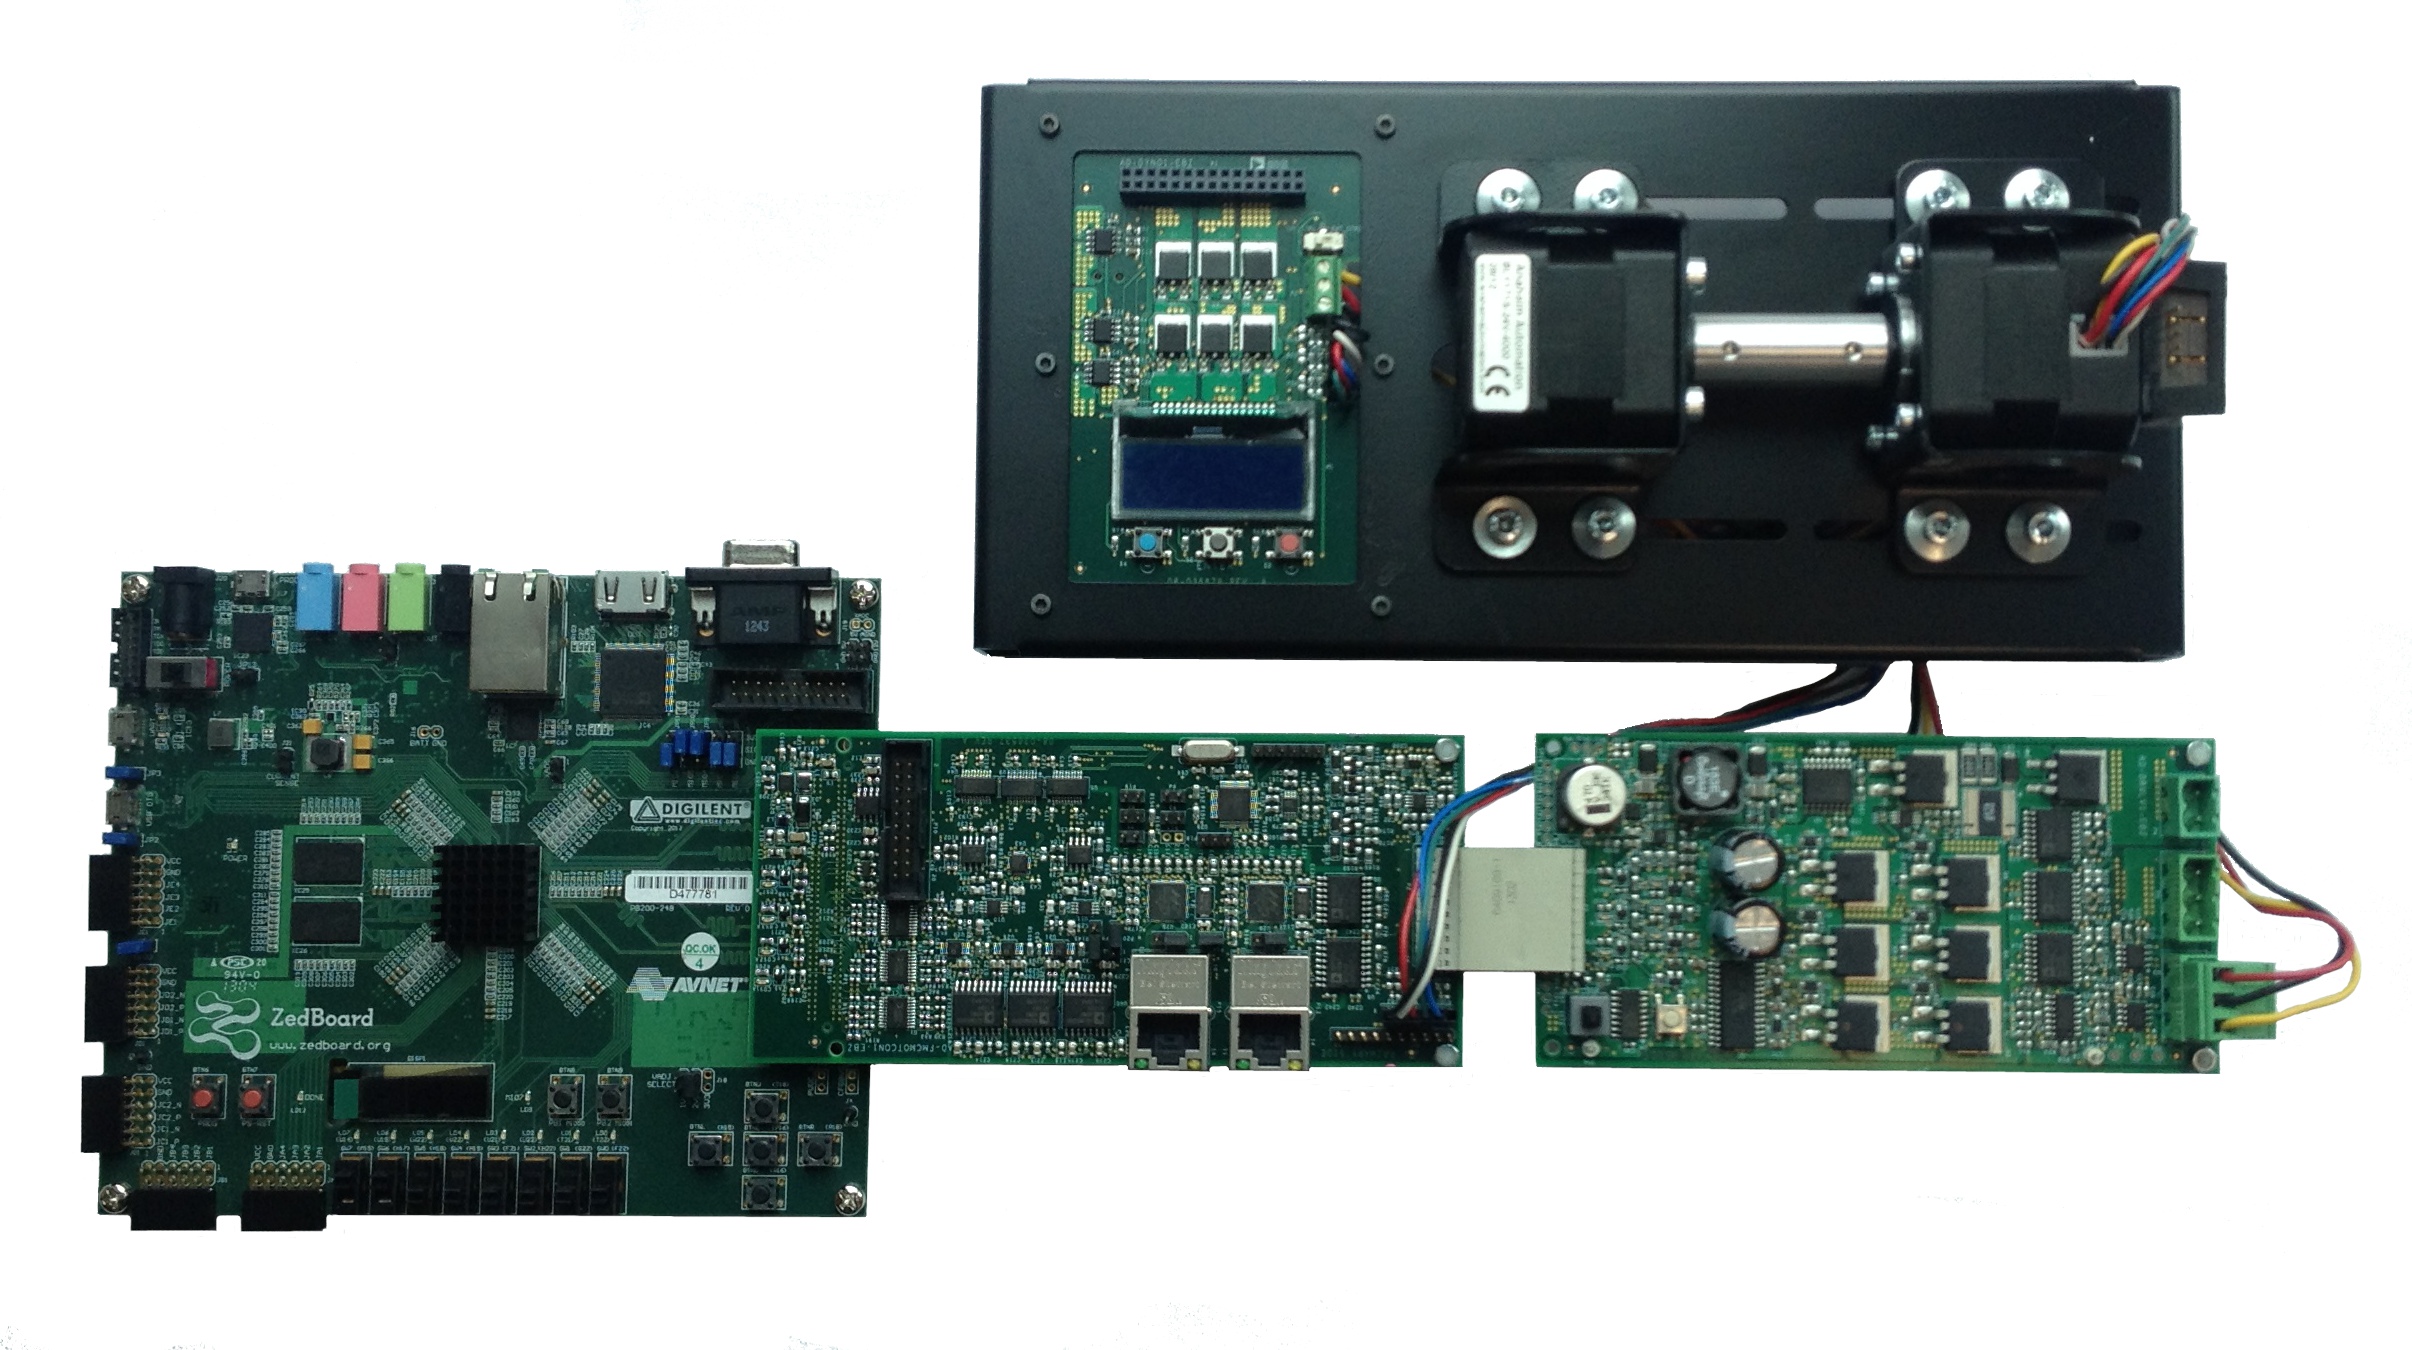
Connect the hardware as follows:
Connect the Low Voltage Drive Board (AD-DRVLV1-EBZ) to the Controller Board (AD-FMCMOTCON1-EBZ).
Connect the Controller + Drive board assembly to the FMC connector of the ZedBoard.
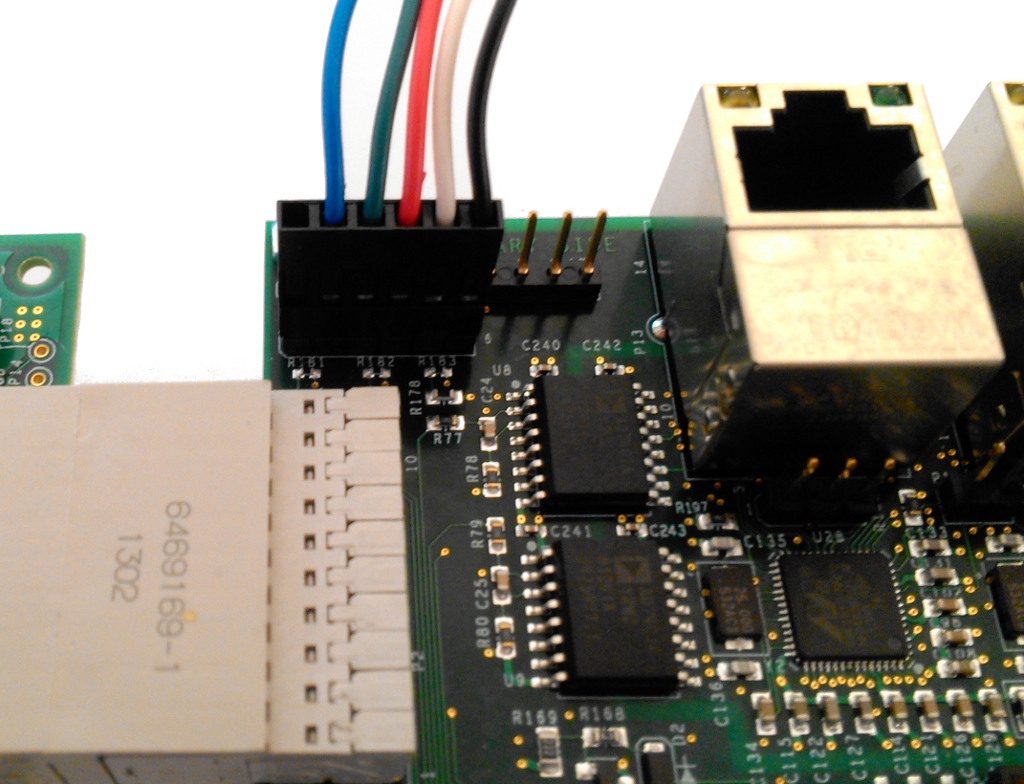
Insert the 6-pin Hall connector into P7 - pin 1 is the empty slot of the Hall connector. For an encoder, connect encoder pins one-to-one to P7.
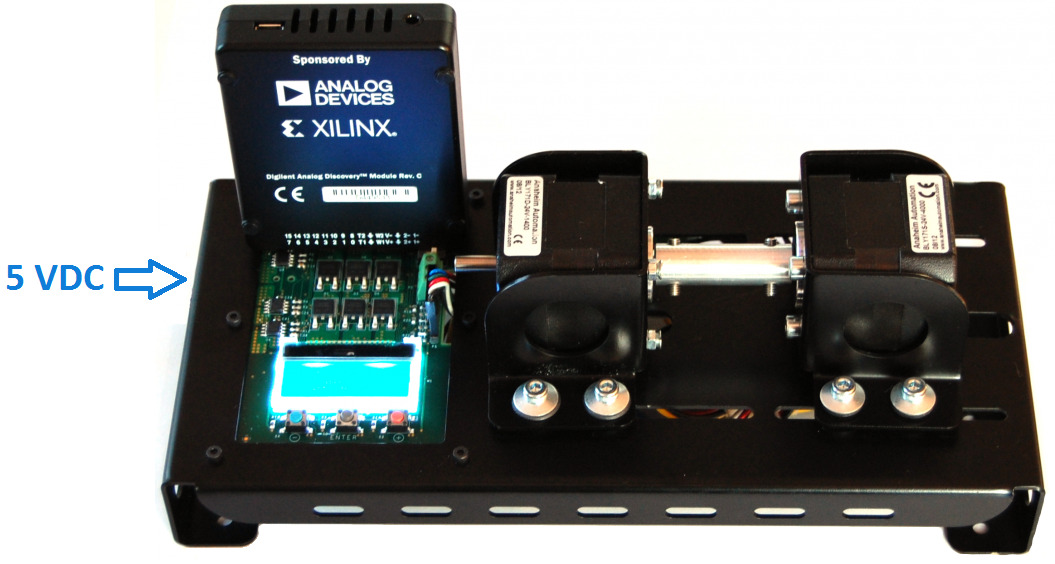
Insert the 5 V supply into the left side of the Dynamometer Drive System (AD-DYNO1-EBZ), if used.
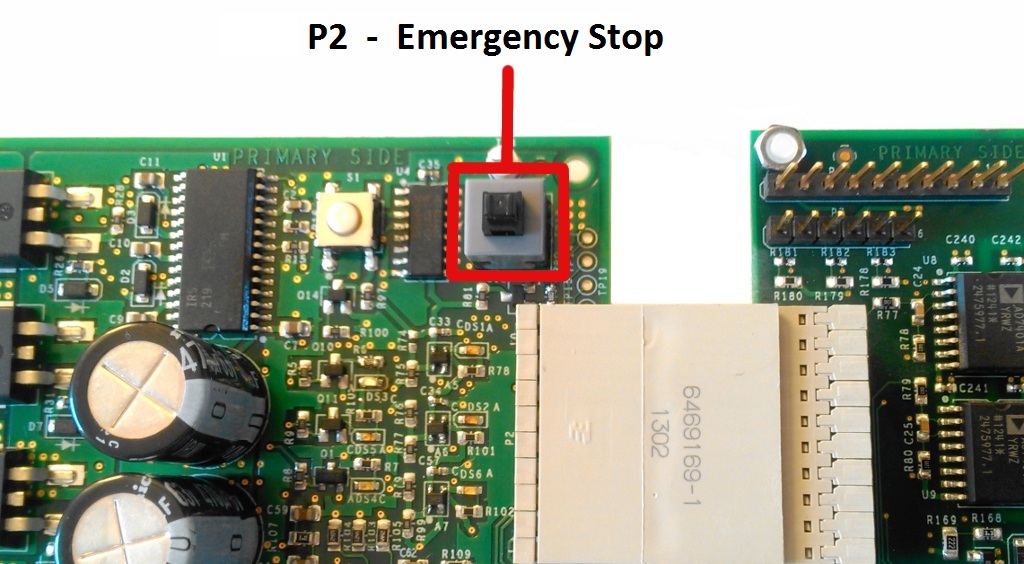
Ensure that the Emergency Stop button (P2) is pressed before powering on (see AD-DRVLV1-EBZ connectors and switches for more details).
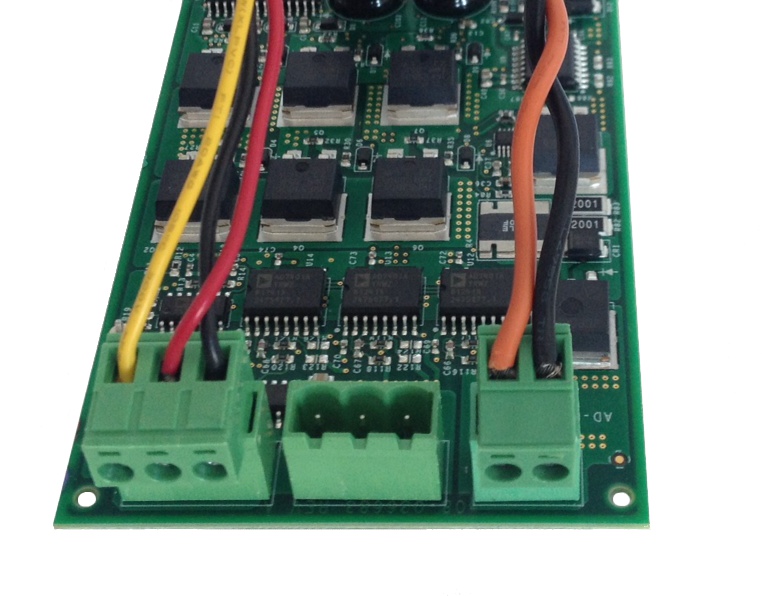
Insert the 3-pin motor connector into P1 and connect the lab power supply to P4 (24 V, 3 A minimum; see AD-DRVLV1-EBZ connectors for connector pinout).
Power on the ZedBoard.
After the board is programmed, to start the motor release the Emergency Stop button (P2) and then press the Reset switch (S1) for a few seconds.
Booting the SD Card
Ignore your PC, and now interact on the USB mouse/keyboard on the Zynq device.
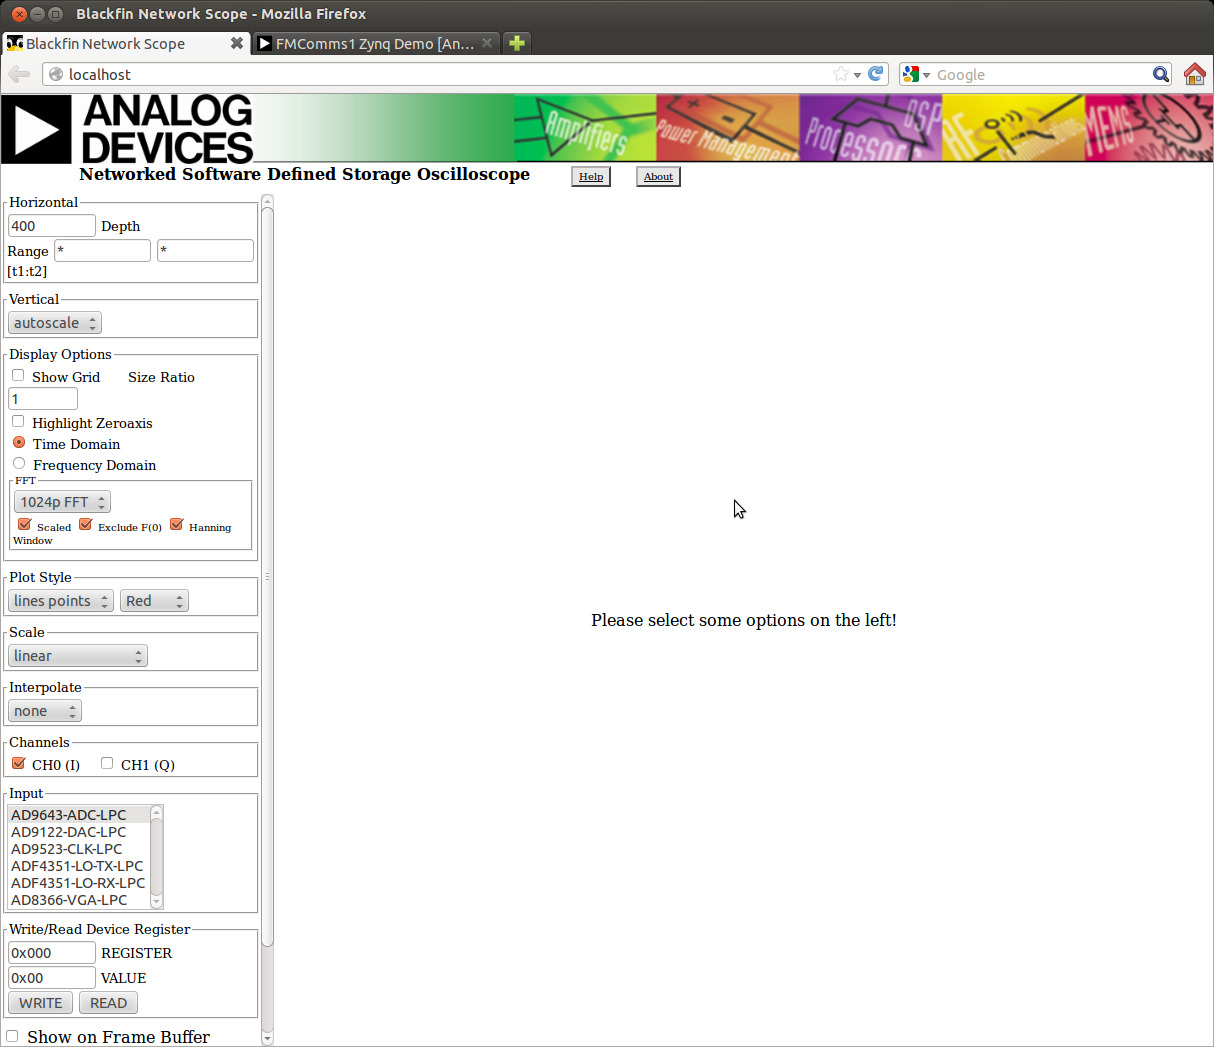
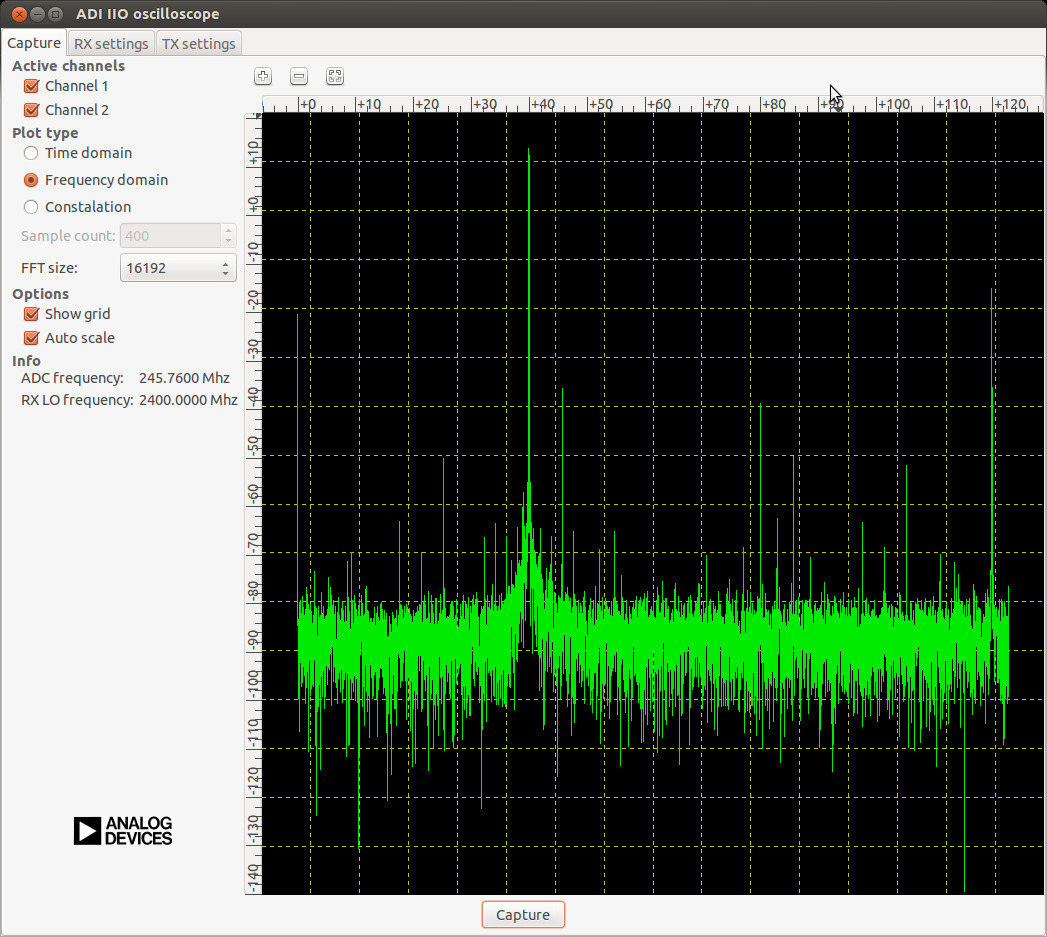
You should see two screens:
You are now done with booting from the SD card. You can interact with the GUI either over the network, or with the HDMI monitor/USB keyboard mouse.
Using IIO SCOPE for AD-FMCMOTCON1-EBZ
For instructions on how to use the IIO Oscilloscope with this system, refer to the IIO Oscilloscope documentation.
Important
Even thought this is Linux, this is a persistent file system. Care should be taken
not to corrupt the file system – please shut down things, don’t just turn off the
power switch. Depending on your monitor, the standard power off could be hiding.
You can do this from the terminal as well with: sudo shutdown -h now