Blinking LEDs demo
The ADuCM360_demo_blink is the simplest possible demo project for the EVAL-ADICUP360, created using the GNU ARM Eclipse Plug-ins in Eclipse environment.
General description
The project includes basic initialization - stopping the watchdog, configuring the system clock, disabling the clocks for all peripherals and setting two digital outputs for driving the two LEDs on the board: LED2 and LED3. The automatically generated code by the GNU ARM Eclipse Plug-ins provide a system tick interrupt at 1ms intervals and a simple delay function.
This project uses the low level drivers available for ADuCM360 microcontroller. It provide the possibility to choose the LEDs blinking method: use the delay function or use timer interrupt service.
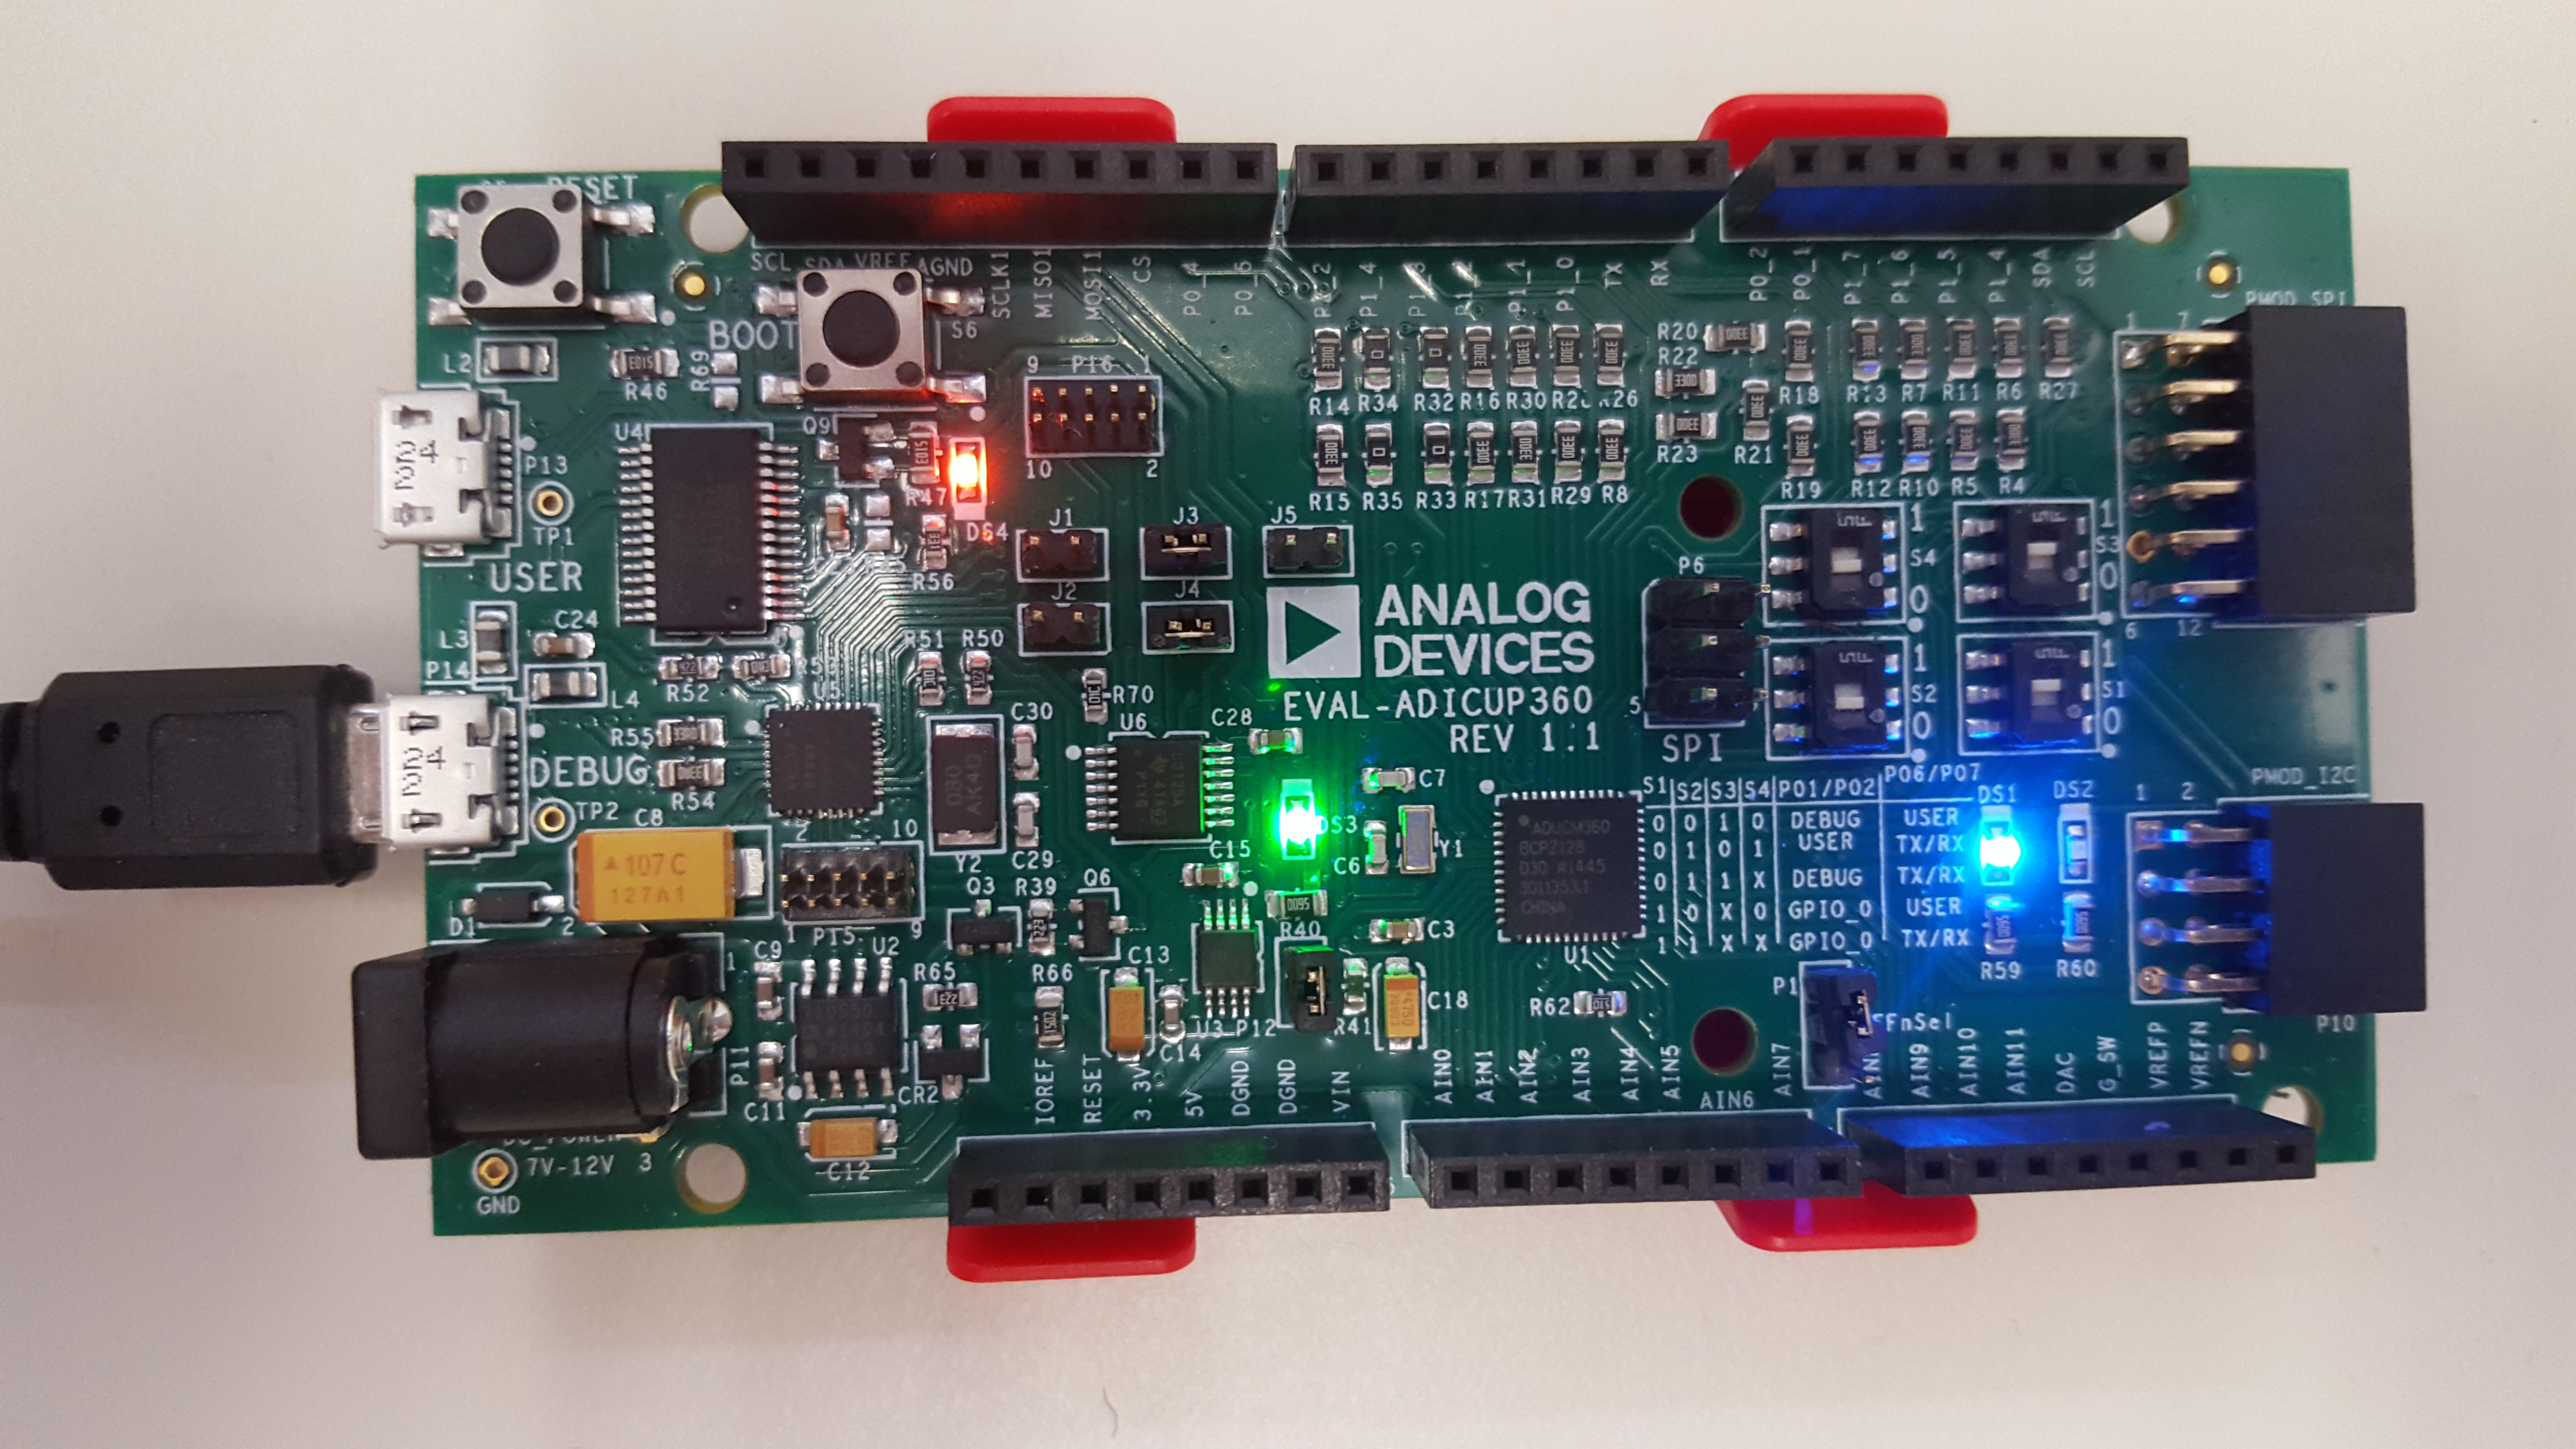
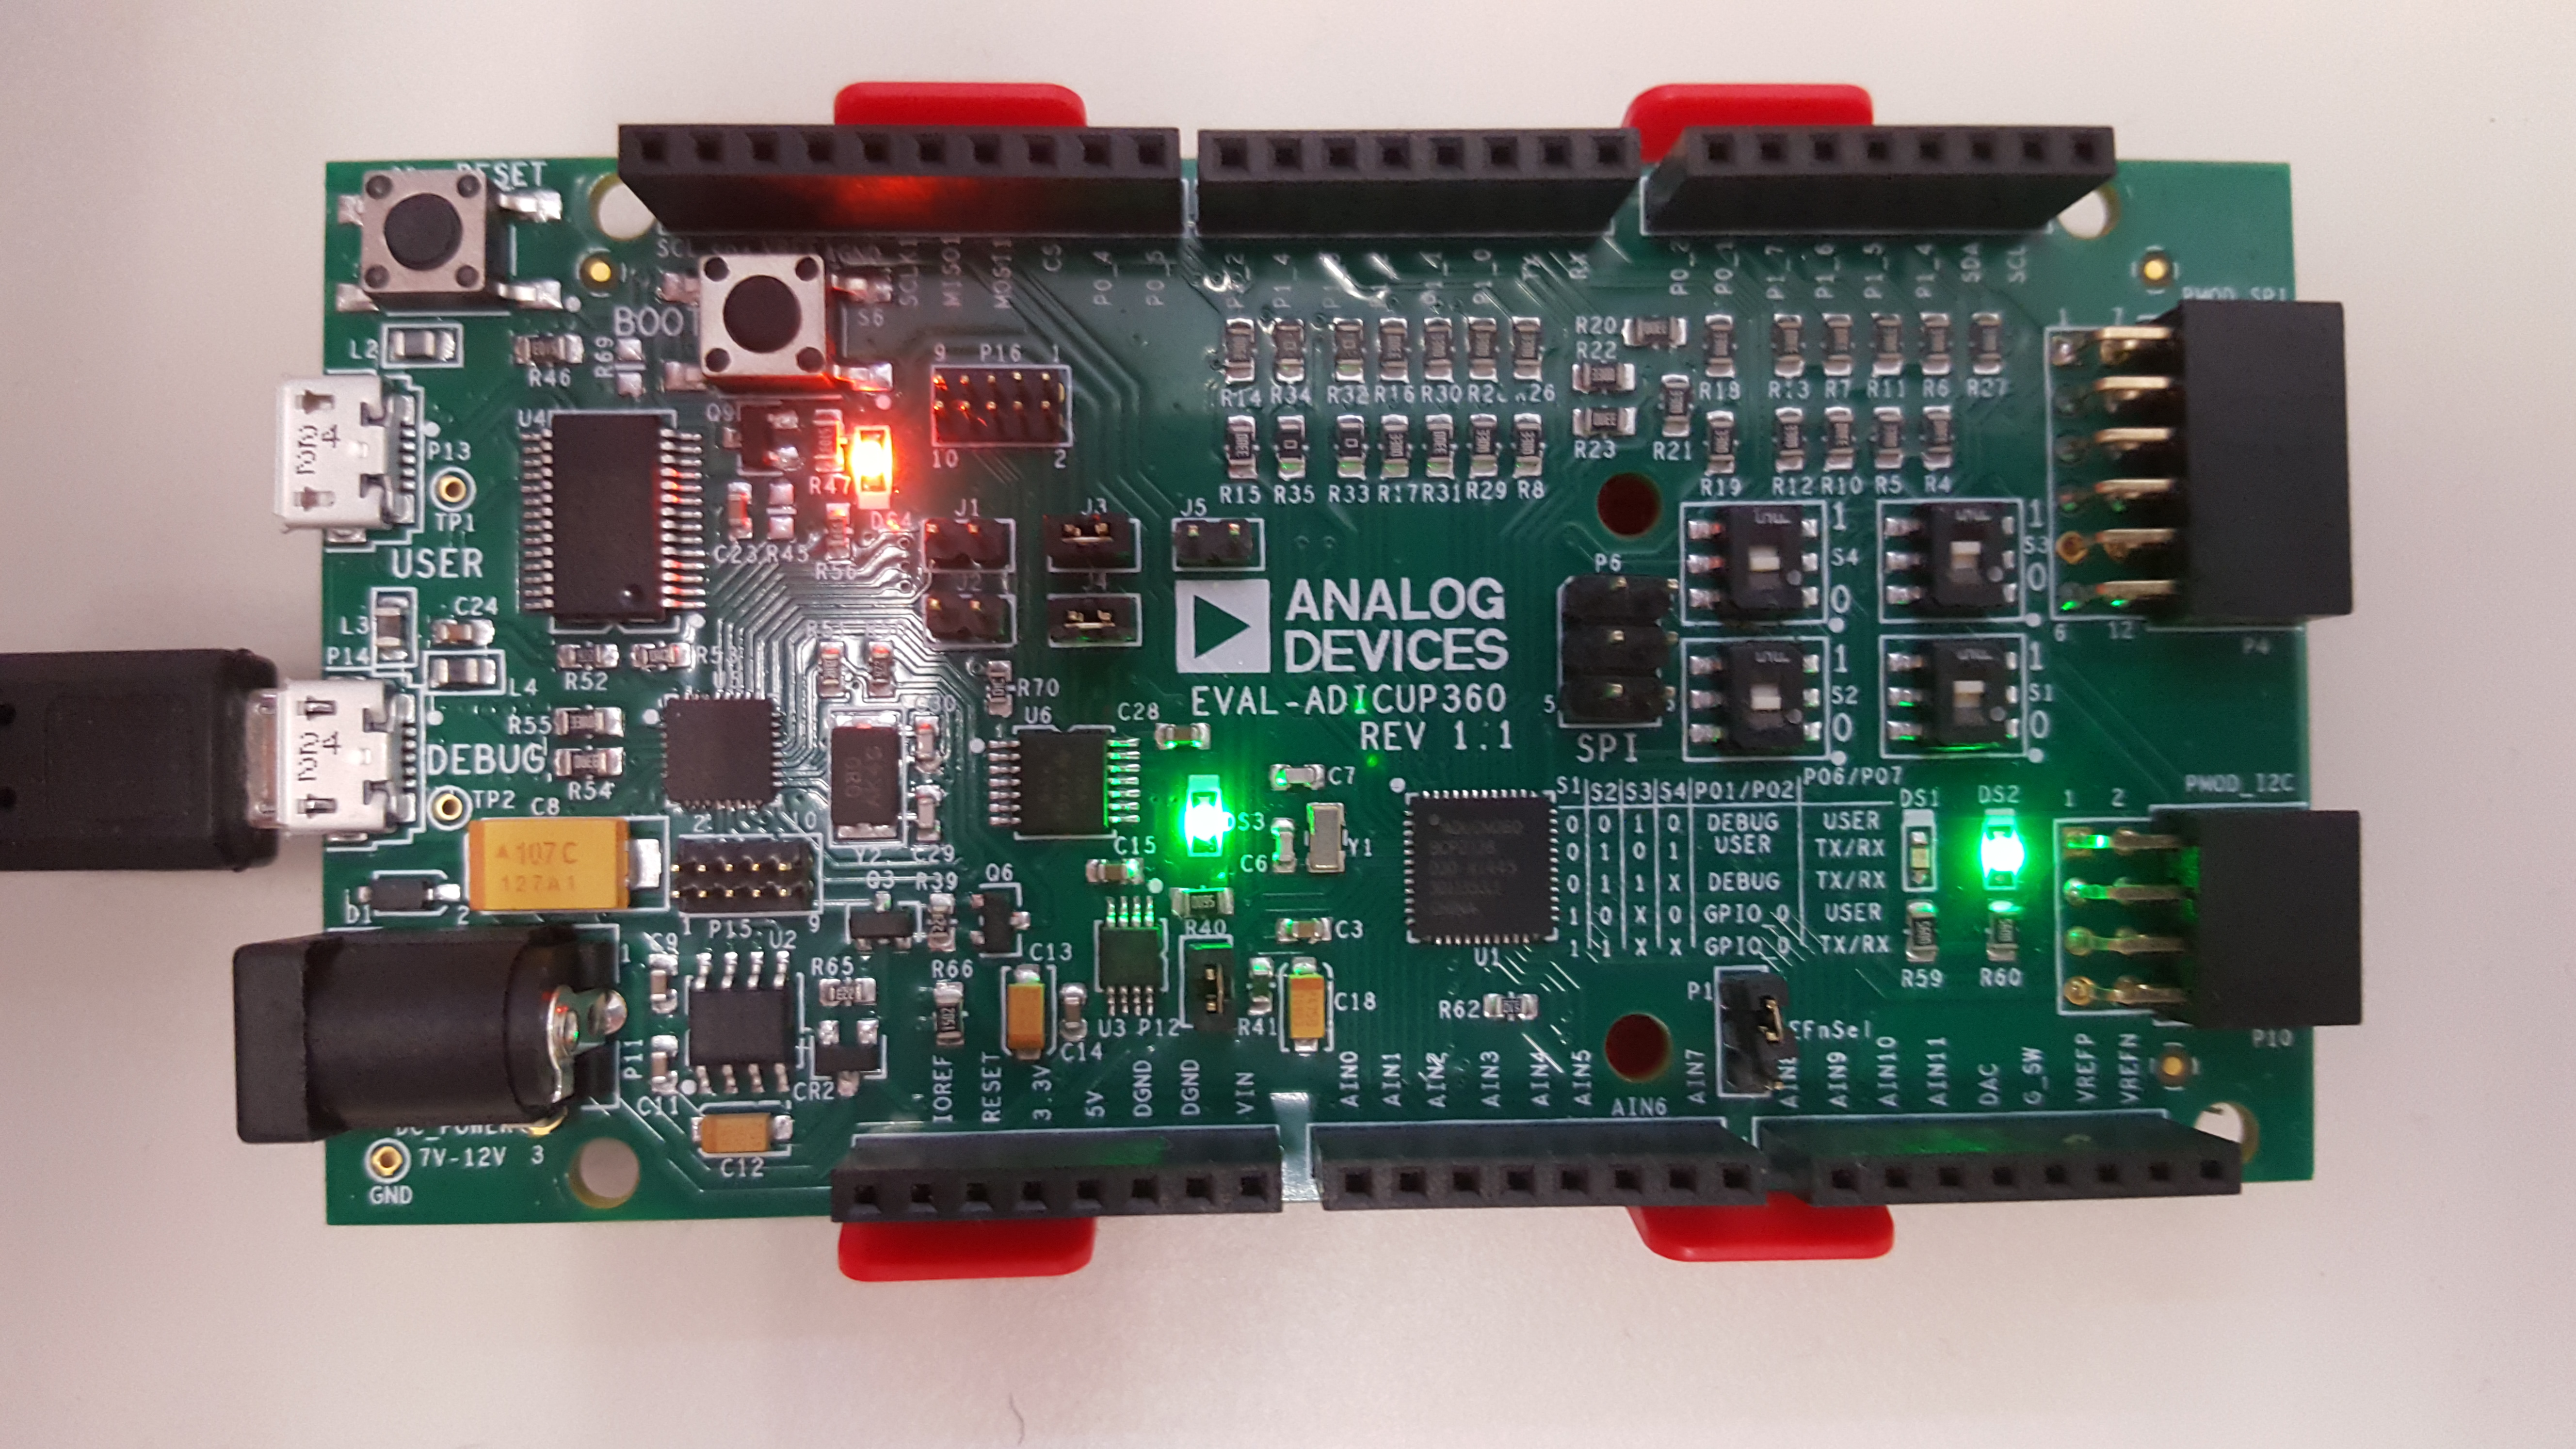
When the project is compiled and run, the two LEDs flash alternatively in predefined intervals (1 second for delay function method and 0.5 seconds for timer interrupt method).
Setting up the hardware
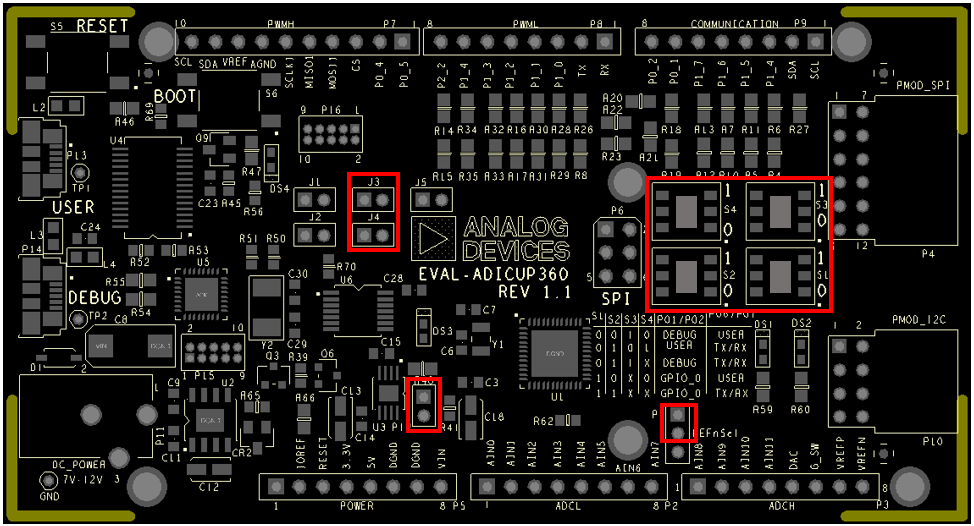
To program the EVAL-ADICUP360, set the jumpers as shown in the next figure. The important jumpers are highlighted in red.
Connect the PC to the EVAL-ADICUP360 via DEBUG USB
Load the program and run it.
Obtaining the source code
We recommend not opening the project directly, but rather import it into Eclipse and make a local copy in your Eclipse workspace.
To learn how to import the ADuCM360_demo_blink project from the projects examples in the Git repository, please click on How to import existing projects from the GIT Repository
The source code and include files for the ADuCM360_demo_blink can be found in projects examples which comes with installer package, or the latest version of the project can be found on Github:
Download
Importing the ADuCM360_demo_blink project
The necessary instructions on how to import ADuCM360_demo_blink project in your workspace can be found in the section, Import a project into workspace.
Debugging the ADuCM360_demo_blink project
A debug configuration must be set up for this project in order to have the possibility to program and to debug it. To do this, follow the instructions from Setting up a Debug Configuration.
Make sure the target board is connected to the computer (via DEBUG USB) and using the tool bar, navigate to the small Debug icon
 and select the debugging session you created. The application will programmed and the program execution will stop at the beginning of the main() function.
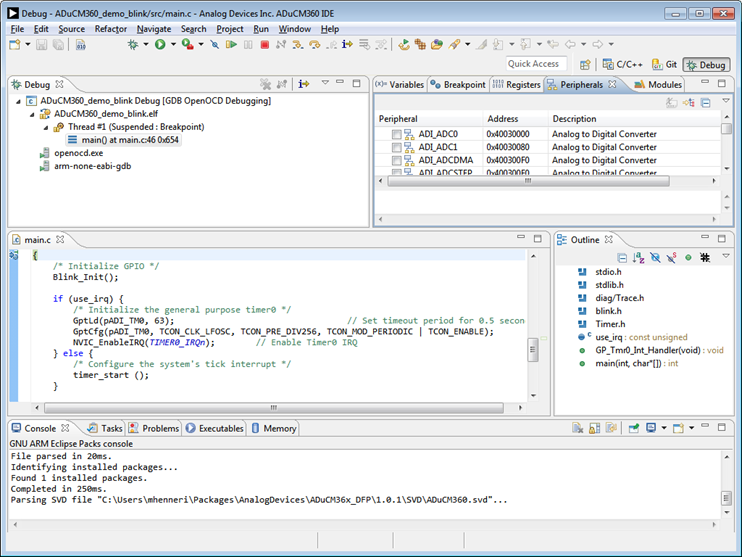
Use step-by-step execution or directly run the program.
After completion of the steps above the program will remain written into the system flash and it will run by default every time the board is powered up.
Project structure
The ADuCM360_demo_blink project use basic ARM Cortex-M C/C++ Project structure:
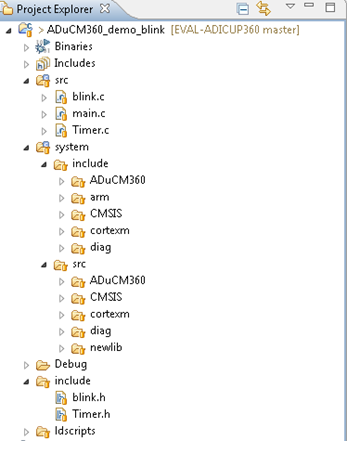
In the src and include folders you will find the source and header files related to blink application. You can modify as you wanted those files.
Here you can configure:
LEDs blinking method: in order to use LEDs blinking in a Timer 0 interrupt routine you need to set use_irq parameter to 1 (main.c). When use_irq = 0 then you use only a delay function for LEDs blinking.
Time for blinking delay: BLINK_TIME (blink.h).
The system folder contains system related files (try not to change these files):
ADuCM360 – contains low levels drivers for ADuCM360 microcontroller.
CMSIS – contains files related to ADuCM360 platform, such as: ADuCM360.h (registers definitions), system_ADuCM360.c/h (system clock), vectors_ADuCM360.c (interrupt vector table).
cortexm – contains files for system management (start-up, reset, exception handler).