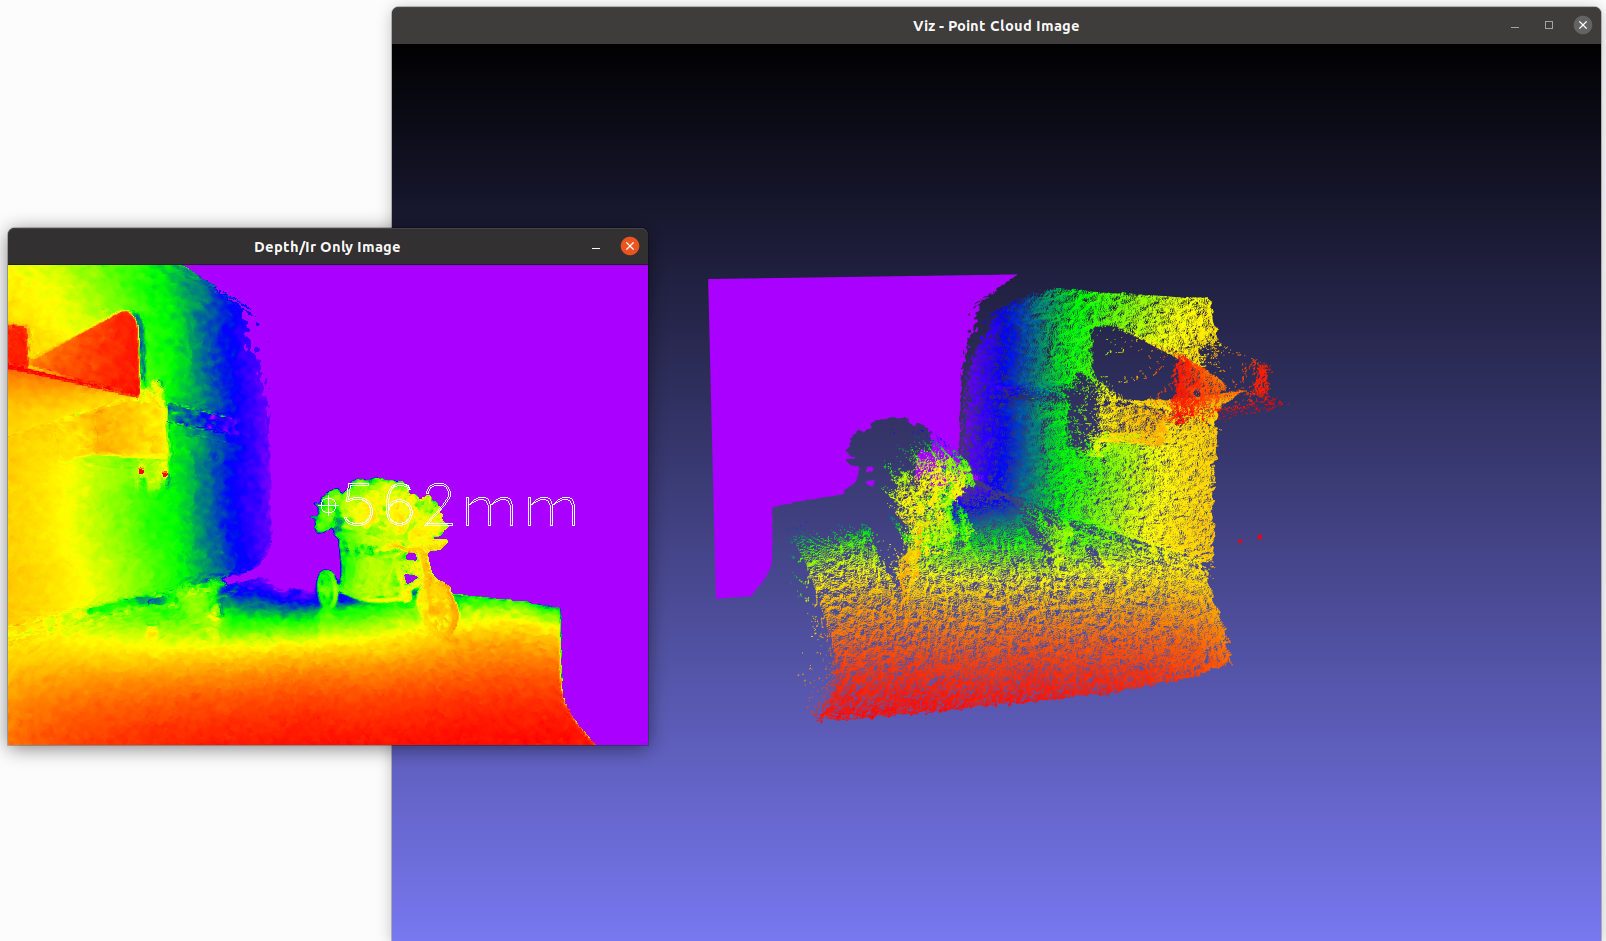
Raspberry Pi User Guide
Setting up the system
Required hardware
Raspberry Pi The system was tested on Raspberry Pi3 Model B V1.2 and Raspberry Pi 4. It can work on other models that have a CSI camera interface input.
Raspberry Pi 5V power supply
Interposer 5V power supply
To run the system in standalone mode, besides the accessories that are provided in the AD-FXTOF1-EBZ box you’ll need an additional HDMI cable to connect to a monitor and a USB keyboard and mouse
RPi camera cable for connection between RPi and AD-FXTOF1-EBZ interposer
Power on sequence
Plug the SD card into the Raspberry Pi SD card slot. To benefit from the most recent software updates it is highly recommended to update the SD card with the latest SD card image
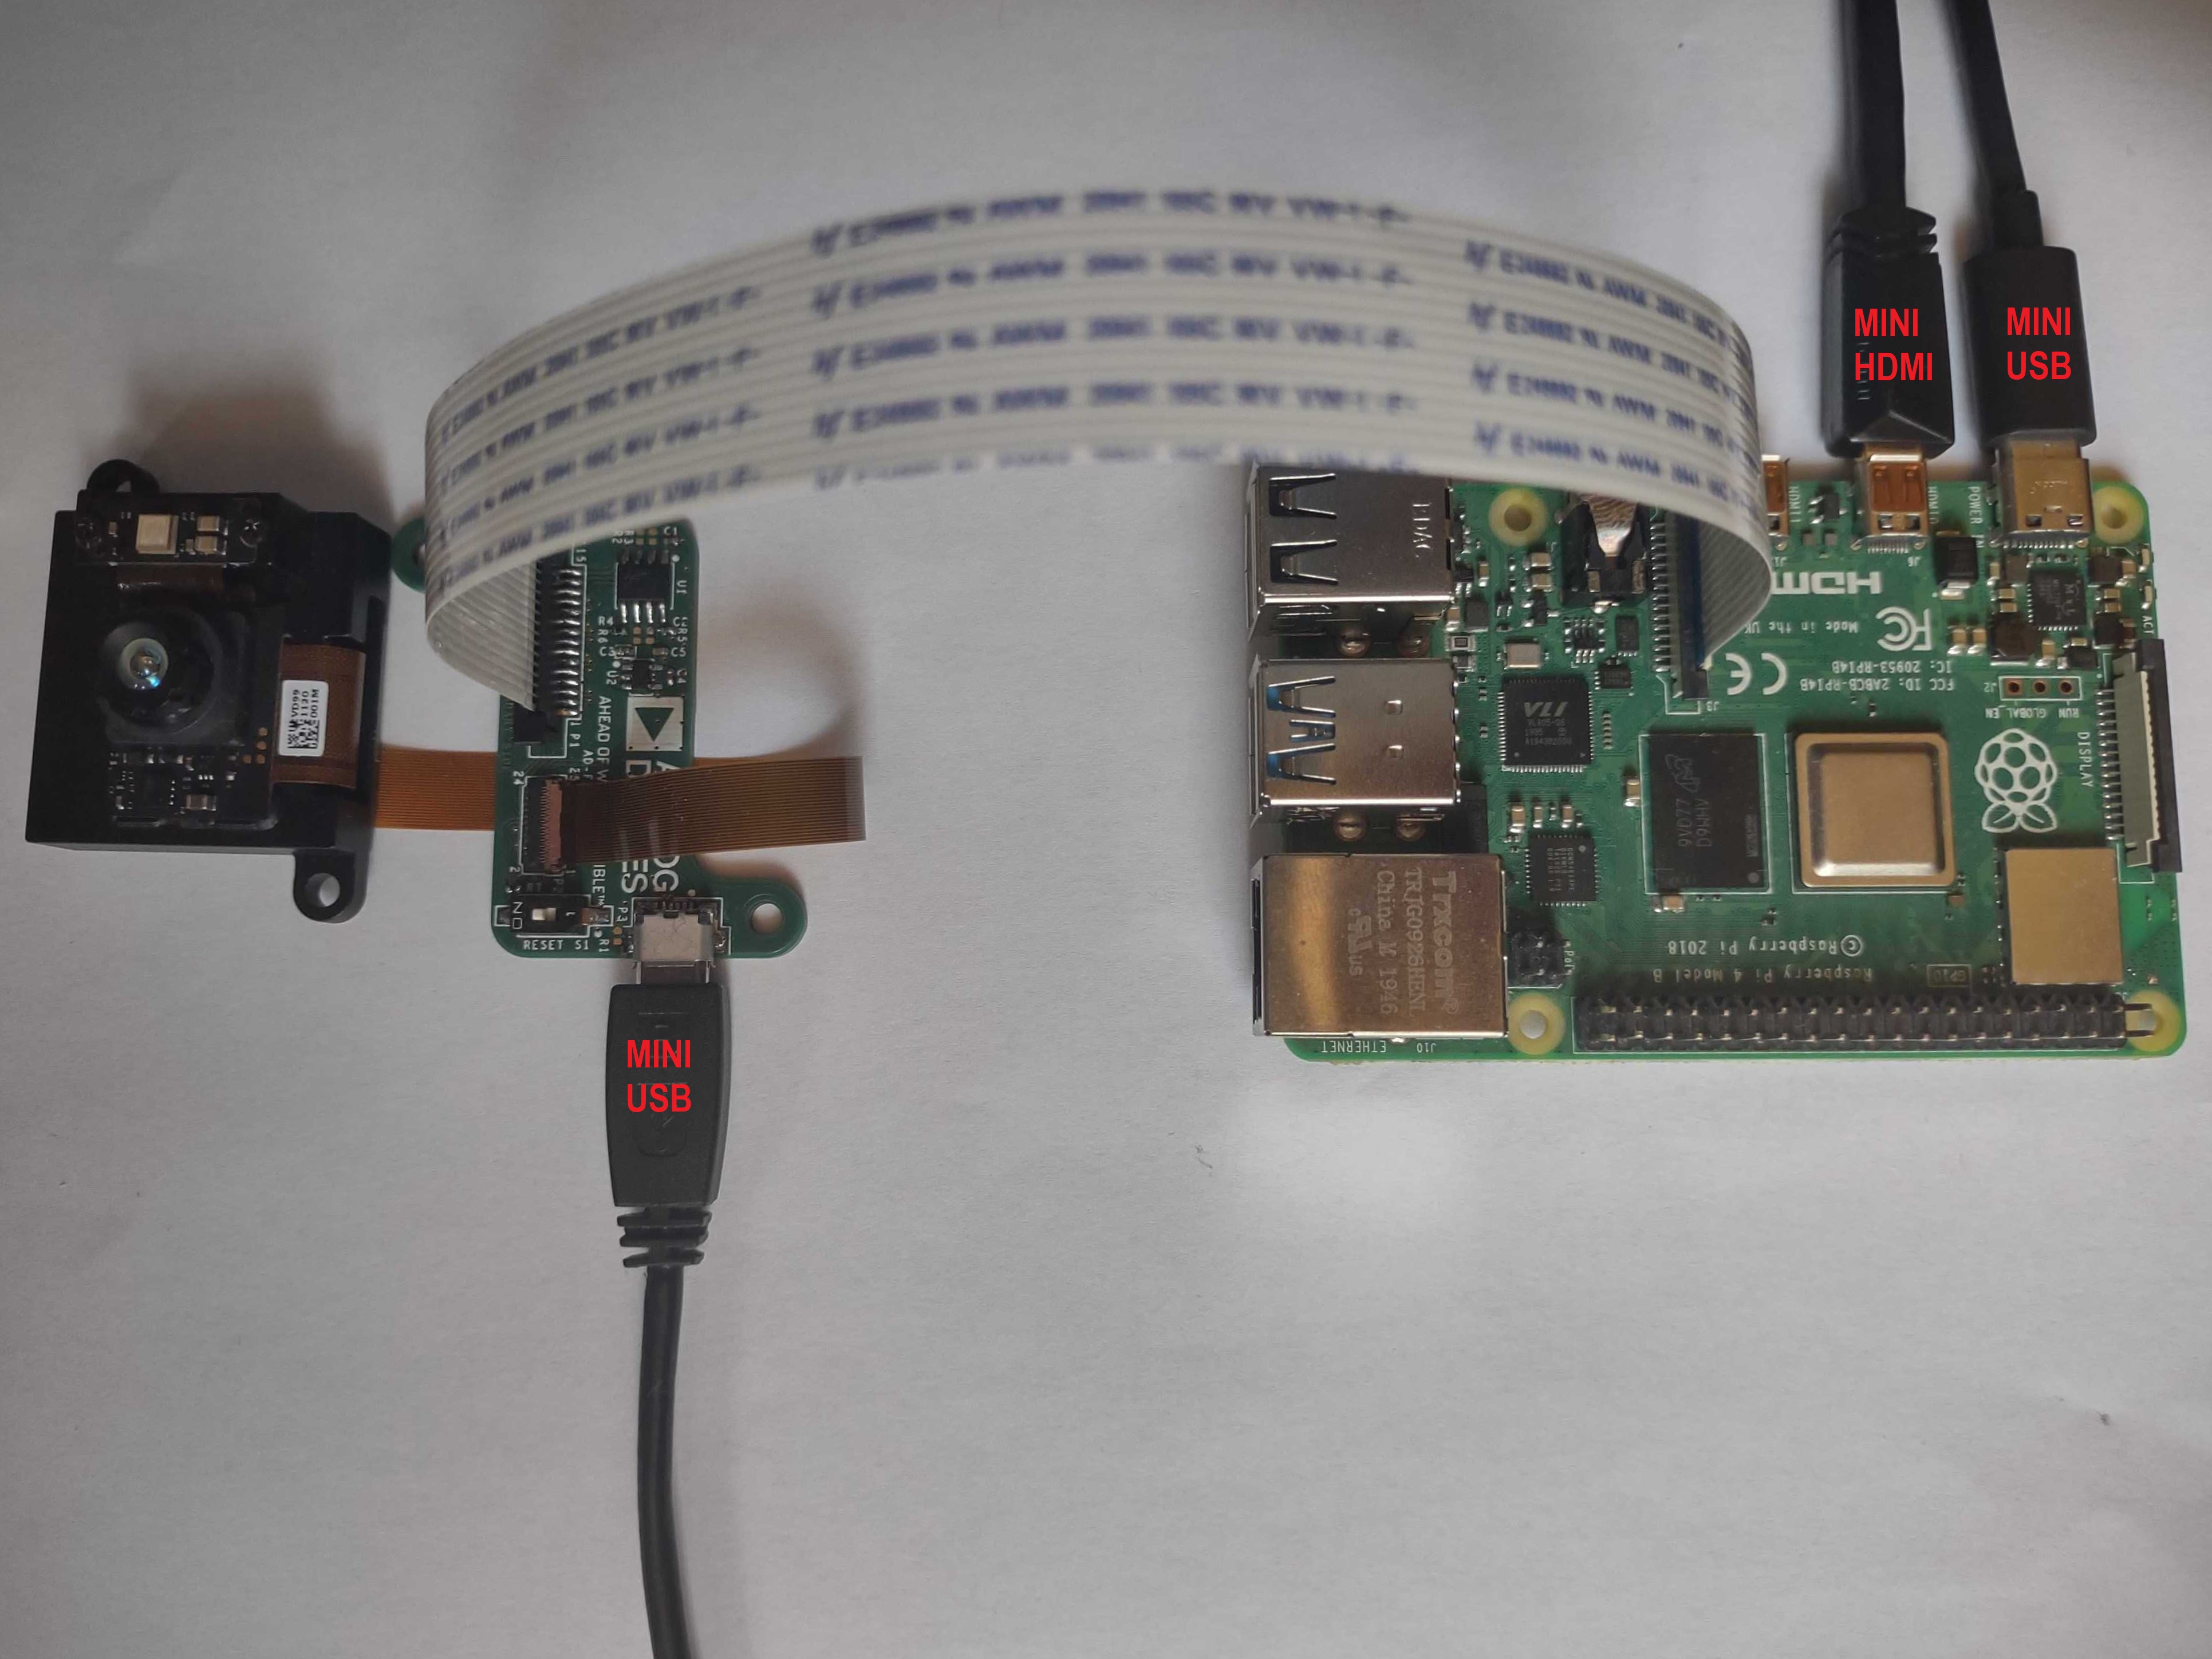
Connect the HDMI cable from the monitor to the Raspberry Pi HDMI connector
Connect the 25 pins flex cable between the camera and the interposer
Connect the 15 pins camera cable between the RPi and the P1 connector of the interposer. Make sure to use the cable with contacts on opposite sides.
Important
Some of the AD-FXTOF1-EBZ kits are missing the correct 15 pins cable to connect to Raspberry Pi or the Nvidia platforms. If in your box there is only one 15 pins cable having the contacts on the same side, please get a new cable with contacts on opposite sides (e.g. 15 pins cable, contacts on opposite sides)
Connect the interposer to the power supply
Connect the RPi to the power supply
Connect a USB mouse and keyboard to the Raspberry Pi. It’s possible to use either a mouse & keyboard combo or a separate mouse and keyboard
Power off sequence
Open a terminal and type sudo poweroff. This will safely power off the Raspberry Pi and ensure that the SD card is properly unmounted
remove the 5V supply from the Raspberry Pi
remove the 5V supply from the interposer
Troubleshooting
Linux does not boot
The SD card is corrupted and this prevents the system from booting. Reflash the SD card with the SD card image.
Running the evaluation application
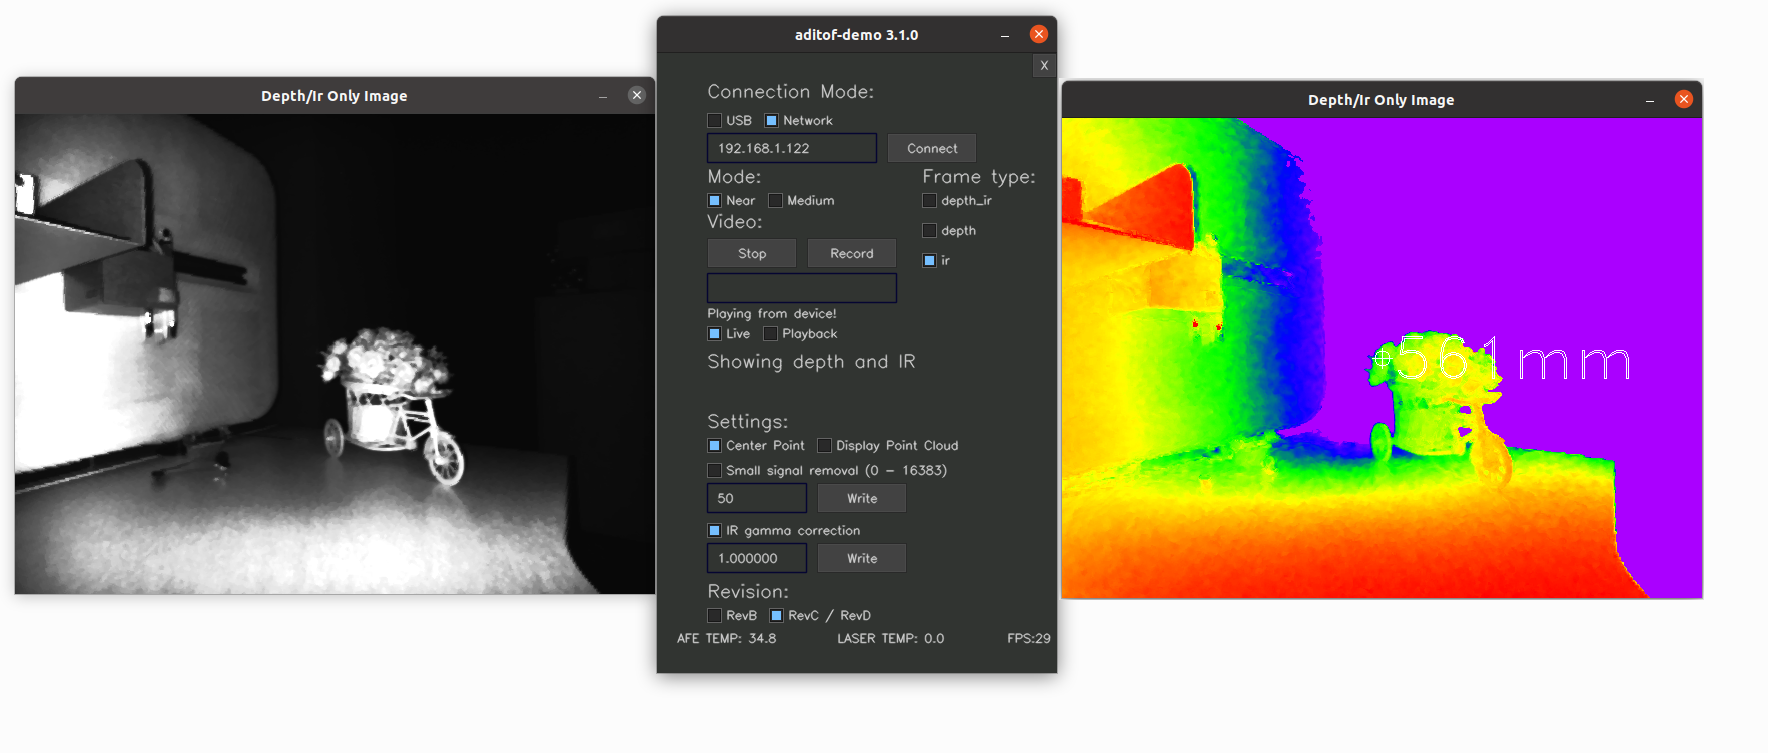
Once Linux boots you’ll see on the HDMI monitor the Linux desktop and on the top left corner a shortcut to the evaluation application. Double clicking on the icon will start the evaluation application. A console window will open to show the application’s status and, after a few seconds, the evaluation application GUI will be displayed.
Enabling the point cloud display in aditof-demo
The demo application has the capability to display a point cloud image if it detects an OpenCV module called viz.
Unfortunately OpenCV does not provide binaries for this module so a manual build is needed. The steps required to install OpenCV and include it in the project are presented here: Enable Point Cloud Aditof-Demo
If aditof-demo finds all the OpenCV required modules a button in the interface will allow you to display the point cloud. By toggling the button a separate window will appear.