A10GX Quickstart (OBSOLETE)
This guide provides some quick instructions on how to setup the AD-FMCDAQ3-EBZ on:
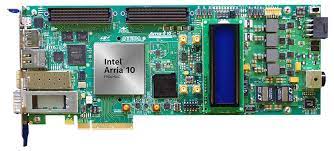
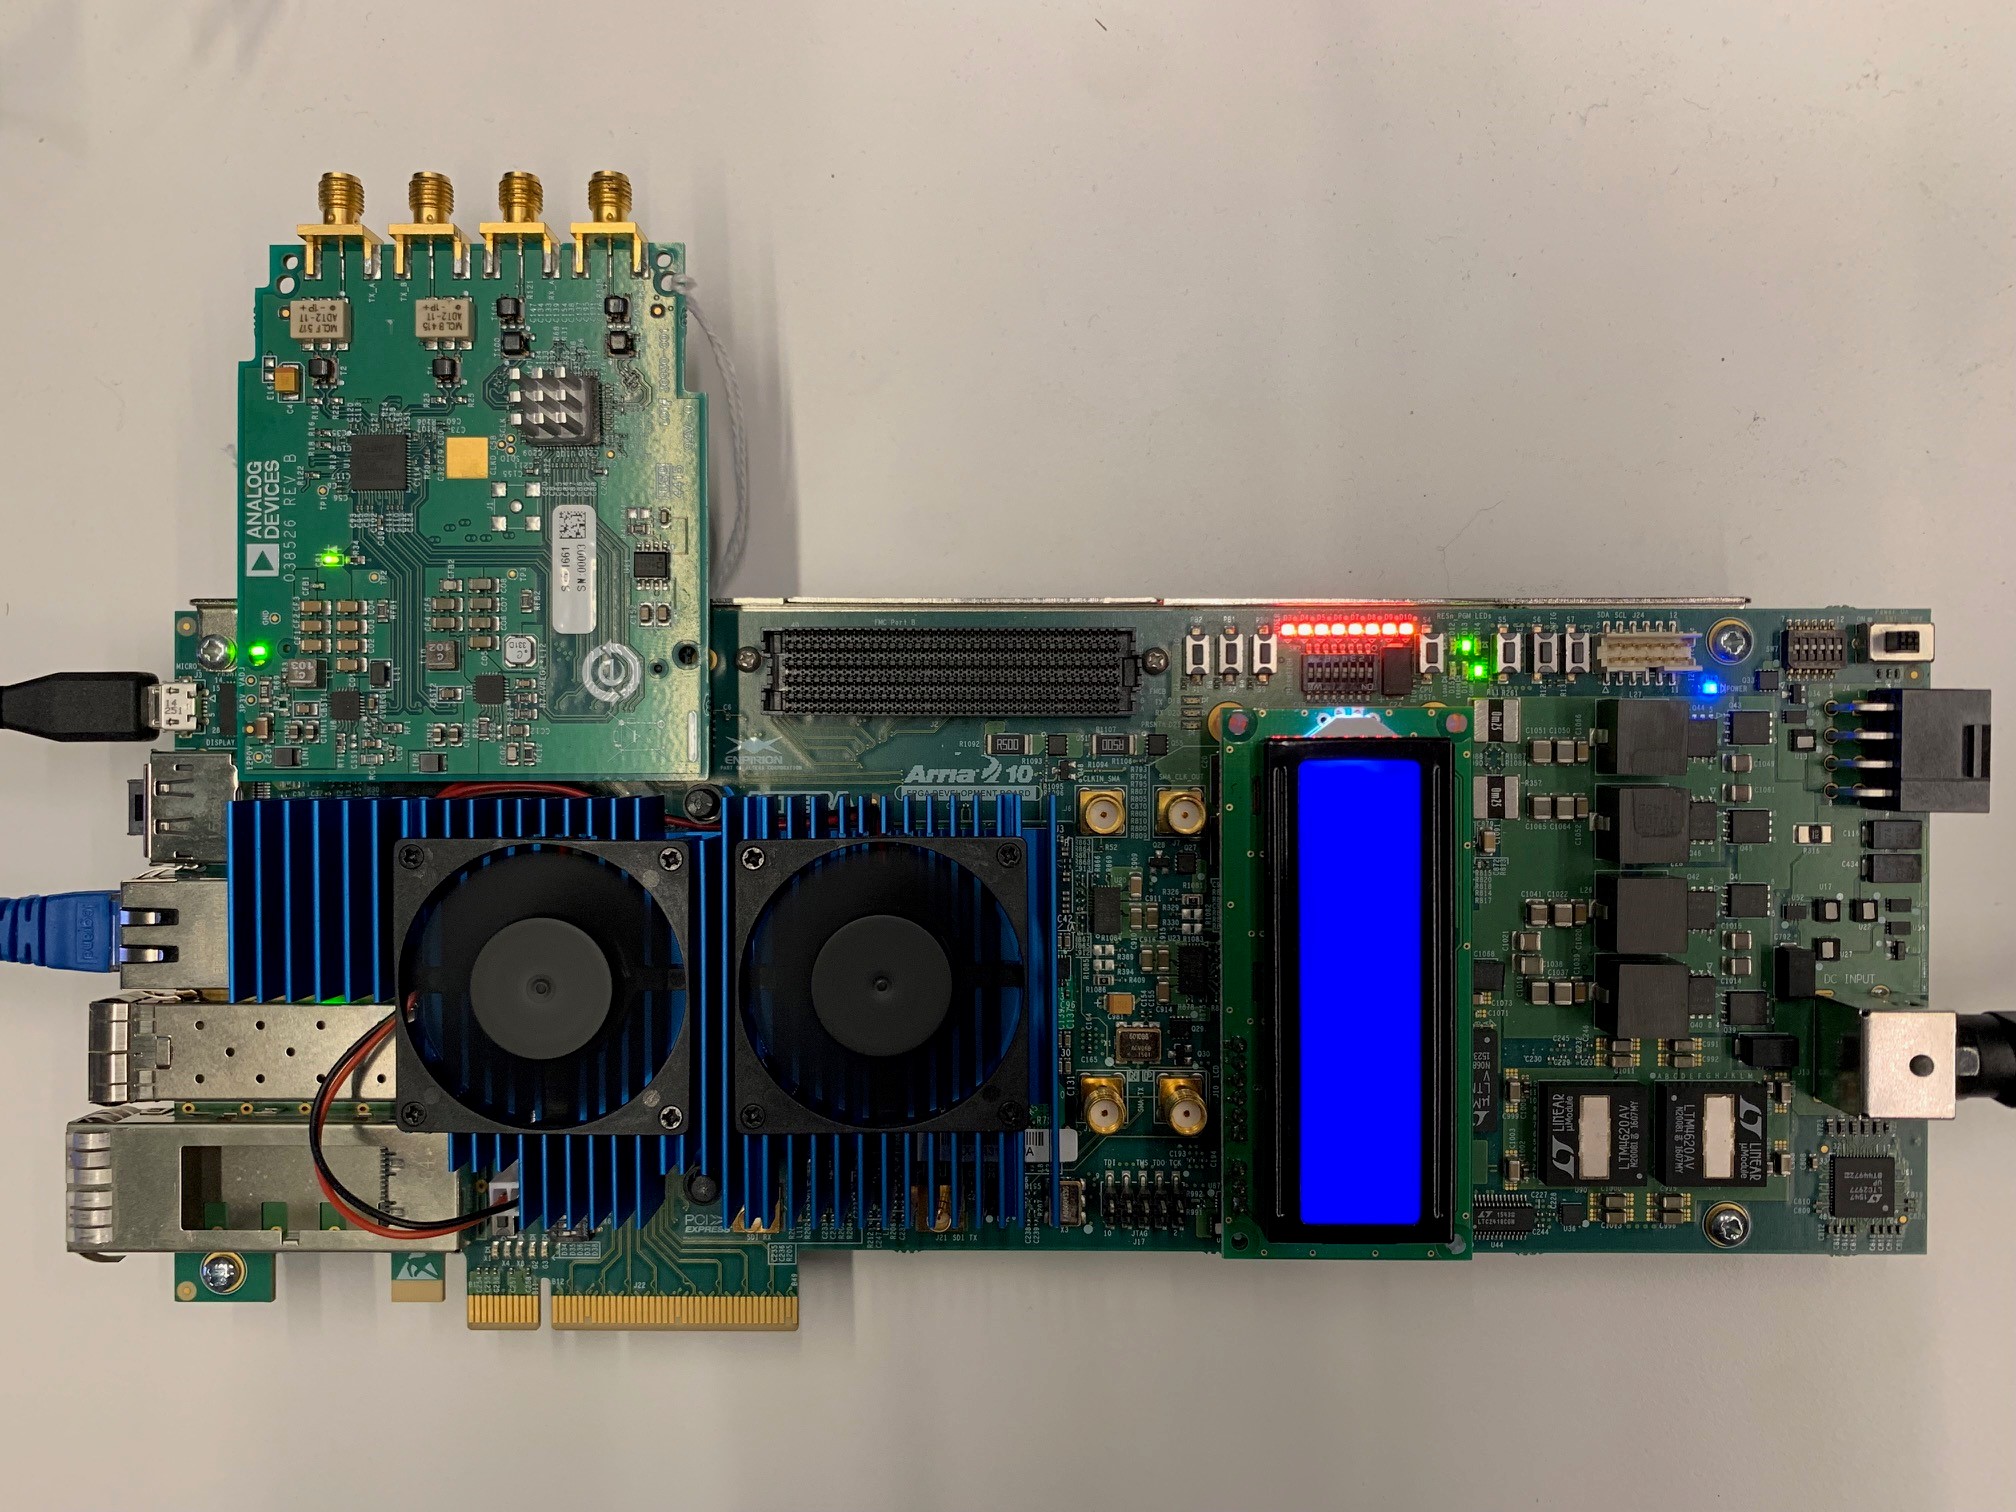
Arria 10 GX FPGA Development Kit (A10GX) on FMC1
Warning
Support for the A10GX carrier is discontinued and will not be supported in future releases. Last pre-built images can be found at the Nios2 Linux on the Altera FPGA Development Boards page.
All the products described on this page include ESD (electrostatic discharge) sensitive devices. Electrostatic charges as high as 4000V readily accumulate on the human body or test equipment and can discharge without detection. Although the boards feature ESD protection circuitry, permanent damage may occur on devices subjected to high-energy electrostatic discharges. Therefore, proper ESD precautions are recommended to avoid performance degradation or loss of functionality. This includes removing static charge on external equipment, cables, or antennas before connecting to the device.
Using Linux as software
Necessary files
The following files are needed for the system to boot:
HDL bitfile:
daq3_a10gx.sofLinux kernel image:
zImage
Pre-built images can be found at the Nios2 Linux on the Altera FPGA Development Boards page.
Required software
A Host PC (Windows)
Intel Quartus 21.2 (includes Nios II Embedded Design Suite)
Windows Subsystem for Linux (WSL)
Bitfile and Linux ELF image
A UART terminal (Putty/Tera Term/Minicom, etc.) with baud rate 115200 (8N1)
Required hardware
Intel Arria 10 GX FPGA Development Kit and its power supply
AD-FMCDAQ3-EBZ FMC evaluation board
Micro-USB cable (JTAG)
LAN cable (Ethernet)
Testing
Creating the setup
Follow the steps in this order, to avoid damaging the components:
Connect the AD-FMCDAQ3-EBZ FMC board to the FPGA carrier, on the FMC1 socket (J1)
Connect USB JTAG J3 (Micro USB) to your host PC
Connect the Ethernet cable
Plug the Power Supply into the 12V Power input connector (DC Input)
Turn on the board
To program the FPGA, use the Nios II Command Shell. Navigate to
C:\intelFPGA_pro\21.2\nios2eds and start Nios II Command Shell.bat.
Windows Subsystem for Linux (WSL) must be installed in order to run the Nios II
Command Shell.
After starting the Command Shell, navigate to the directory where the pre-built images are saved:
~$
cd /mnt/c/Users/<username>/Downloads/a10gx_daq3/
Programming the FPGA bitfile
To flash the bitfile, use the nios2-configure-sof command:
~$
nios2-configure-sof daq3_a10gx.sof
Searching for SOF file: in .
  daq3_a10gx.sof

Info: ************** Info: Running Quartus Prime Programmer Info: Command:
quartus_pgm --no_banner --mode=jtag -o p;./daq3_a10gx.sof Info (213045):
Using programming cable "USB-BlasterII [USB-1]" Info (213011): Using
programming file ./daq3_a10gx.sof with checksum 0x31481D0D for device
10ax115s3f45e2sge3@1 Info (209060): Started Programmer operation at Mon Dec
13 15:59:20 2021 Info (209016): Configuring device index 1 Info (209017):
Device 1 contains JTAG ID code 0x02E060DD Info (209007): Configuration
succeeded -- 1 device(s) configured Info (209011): Successfully performed
operation(s) Info (209061): Ended Programmer operation at Mon Dec 13
15:59:35 2021 Info: Quartus Prime Programmer was successful. 0 errors, 0
warnings
    Info: Peak virtual memory: 1747 megabytes Info: Processing ended: Mon
    Dec 13 15:59:35 2021 Info: Elapsed time: 00:00:21 Info: System process
    ID: 22372
Downloading the Linux image
To download the Linux kernel image, use the nios2-download command:
~$
nios2-download -g zImage
Using cable "USB-BlasterII [USB-1]", device 1, instance 0x00 Pausing target
processor: OK Initializing CPU cache (if present) OK Downloaded 4705KB in
5.2s (904.8KB/s) Verified OK Starting processor at address 0xC4000000
Boot messages
To access the serial console, use the nios2-terminal.exe command:
~$
nios2-terminal.exe
nios2-terminal: connected to hardware target using JTAG UART on cable
nios2-terminal: "USB-BlasterII [USB-1]", device 1, instance 0
nios2-terminal: (Use the IDE stop button or Ctrl-C to terminate)

Linux version 4.4.0-08393-g0e78611 (dragos@dragos-debian) (gcc version 5.3.0 (Sourcery CodeBench Lite 2016.05-10) ) #149 Mon Jun 6 18:30:22 EEST 2016
bootconsole [early0] enabled
early_console initialized at 0xf01814f0
On node 0 totalpages: 65536
free_area_init_node: node 0, pgdat c0695f8c, node_mem_map c06b98c0
  Normal zone: 512 pages used for memmap
  Normal zone: 0 pages reserved
  Normal zone: 65536 pages, LIFO batch:15
pcpu-alloc: s0 r0 d32768 u32768 alloc=1*32768
pcpu-alloc: [0] 0
Built 1 zonelists in Zone order, mobility grouping on.  Total pages: 65024
Kernel command line: debug console=ttyJ0,115200
PID hash table entries: 1024 (order: 0, 4096 bytes)
Dentry cache hash table entries: 32768 (order: 5, 131072 bytes)
Inode-cache hash table entries: 16384 (order: 4, 65536 bytes)
Sorting __ex_table...
Memory: 252976K/262144K available (2957K kernel code, 93K rwdata, 672K rodata, 3016K init, 99K bss, 9168K reserved, 0K cma-reserved)
NR_IRQS:64 nr_irqs:64 0
clocksource: nios2-clksrc: mask: 0xffffffff max_cycles: 0xffffffff, max_idle_ns: 19112604467 ns
Calibrating delay loop (skipped), value calculated using timer frequency.. 200.00 BogoMIPS (lpj=400000)
pid_max: default: 32768 minimum: 301
Mount-cache hash table entries: 1024 (order: 0, 4096 bytes)
Mountpoint-cache hash table entries: 1024 (order: 0, 4096 bytes)
devtmpfs: initialized
cpu cpu0: Error -2 creating of_node link
clocksource: jiffies: mask: 0xffffffff max_cycles: 0xffffffff, max_idle_ns: 7645041785100000 ns
NET: Registered protocol family 16
clocksource: Switched to clocksource nios2-clksrc
NET: Registered protocol family 2
TCP established hash table entries: 2048 (order: 1, 8192 bytes)
TCP bind hash table entries: 2048 (order: 1, 8192 bytes)
TCP: Hash tables configured (established 2048 bind 2048)
UDP hash table entries: 256 (order: 0, 4096 bytes)
UDP-Lite hash table entries: 256 (order: 0, 4096 bytes)
NET: Registered protocol family 1
RPC: Registered named UNIX socket transport module.
RPC: Registered udp transport module.
RPC: Registered tcp transport module.
RPC: Registered tcp NFSv4.1 backchannel transport module.
futex hash table entries: 256 (order: -1, 3072 bytes)
jffs2: version 2.2. (NAND) © 2001-2006 Red Hat, Inc.
Block layer SCSI generic (bsg) driver version 0.4 loaded (major 253)
io scheduler noop registered
io scheduler deadline registered
io scheduler cfq registered (default)
101814f0.serial: ttyJ0 at MMIO 0x101814f0 (irq = 2, base_baud = 0) is a Altera JTAG UART
console [ttyJ0] enabled
bootconsole [early0] disabled
loop: module loaded
spi_altera 10181400.spi: base f0181400, irq 74
libphy: altera_tse: probed
altera_tse 10181000.ethernet (unnamed net_device) (uninitialized): MDIO bus altera_tse-0: created
altera_tse 10181000.ethernet: Altera TSE MAC version 15.1 at 0x10181000 irq 3/4
mousedev: PS/2 mouse device common for all mice
altera_xcvr 10000000.daq3_axi_jesd_xcvr: Altera XCVR probed
iio iio:device0: ad9528 setup
ad9528 spi32766.0: probed ad9528-1
ad9144 spi32766.1: Probed.
NET: Registered protocol family 17
ad9467 spi32766.2: AD9680 PLL LOCKED
cf_axi_dds 10024000.axi-ad9152-hpc: Analog Devices CF_AXI_DDS_DDS MASTER (8.00.b) at 0x10024000 mapped to 0xf0024000, probed DDS AD9152
cf_axi_adc 10010000.axi-ad9680-hpc: ADI AIM (9.00.b) at 0x10010000 mapped to 0xf0010000, probed ADC AD9680 as MASTER
Freeing unused kernel memory: 3016K (c02e5000 - c05d7000)
Starting logging: OK
Initializing random number generator... random: dd urandom read with 34 bits of entropy available
done.
Starting network...
altera_tse 10181000.ethernet eth0: device MAC address b2:94:3d:6e:11:8f
altera_tse 10181000.ethernet eth0: TSE revision f01
altera_xcvr 10000000.daq3_axi_jesd_xcvr: Link 1 ch 0 CDR/CMU PLL & RX offset calib OK
altera_xcvr 10000000.daq3_axi_jesd_xcvr: Link 1 ch 1 CDR/CMU PLL & RX offset calib OK
altera_xcvr 10000000.daq3_axi_jesd_xcvr: Link 1 ch 2 CDR/CMU PLL & RX offset calib OK
altera_xcvr 10000000.daq3_axi_jesd_xcvr: Link 1 ch 3 CDR/CMU PLL & RX offset calib OK
altera_xcvr 10000000.daq3_axi_jesd_xcvr: RX transceiver ready
altera_xcvr 10000000.daq3_axi_jesd_xcvr: Link 0 ATX PLL calibration OK
altera_xcvr 10000000.daq3_axi_jesd_xcvr: Link 0 ch 0 TX termination and VOD calib OK
altera_xcvr 10000000.daq3_axi_jesd_xcvr: Link 0 ch 1 TX termination and VOD calib OK
altera_xcvr 10000000.daq3_axi_jesd_xcvr: Link 0 ch 2 TX termination and VOD calib OK
altera_xcvr 10000000.daq3_axi_jesd_xcvr: Link 0 ch 3 TX termination and VOD calib OK
altera_xcvr 10000000.daq3_axi_jesd_xcvr: TX transceiver ready
altera_tse 10181000.ethernet eth0: Link is Up - 1Gbps/Full - flow control off
Network cable is plugged
udhcpc (v1.24.2) started
Sending discover...
Sending select for 10.48.65.112...
Lease of 10.48.65.112 obtained, lease time 21600
deleting routers
adding dns 10.32.51.110
adding dns 10.64.53.110
        inet addr:10.48.65.112  Bcast:10.48.65.255  Mask:255.255.255.0
Starting dropbear sshd: OK
Starting IIO Server Daemon

Welcome to Buildroot
buildroot login:
Useful commands for the serial terminal
The below commands are to be run in the Nios II terminal. Log in with:
Login:
rootPassword:
analog
To find out the IP of the FPGA board, run the following command and take the IP specified at “eth0 inet addr”:
~$
ifconfig
eth0      Link encap:Ethernet  HWaddr B2:94:3D:6E:11:8F
          inet addr:10.48.65.112  Bcast:10.48.65.255  Mask:255.255.255.0 UP
          BROADCAST RUNNING MULTICAST  MTU:1500  Metric:1 RX packets:21439
          errors:0 dropped:3572 overruns:0 frame:0 TX packets:64 errors:0
          dropped:0 overruns:0 carrier:0 collisions:0 txqueuelen:1000 RX
          bytes:3694234 (3.5 MiB)  TX bytes:4008 (3.9 KiB)
          Memory:10181000-101813ff

lo        Link encap:Local Loopback
          inet addr:127.0.0.1  Mask:255.0.0.0 UP LOOPBACK RUNNING  MTU:65536
          Metric:1 RX packets:0 errors:0 dropped:0 overruns:0 frame:0 TX
          packets:0 errors:0 dropped:0 overruns:0 carrier:0 collisions:0
          txqueuelen:0 RX bytes:0 (0.0 B)  TX bytes:0 (0.0 B)
IIO Oscilloscope
Important
Make sure to download/update to the latest version of IIO Oscilloscope.
Once done with the installation or an update of the latest IIO Oscilloscope, open the application. Go to Settings menu and press Connect. From Select or Discover libIIO Context select Manual and enter the URI in the following format
ip:<your_board_ip>. Press Refresh and then Connect.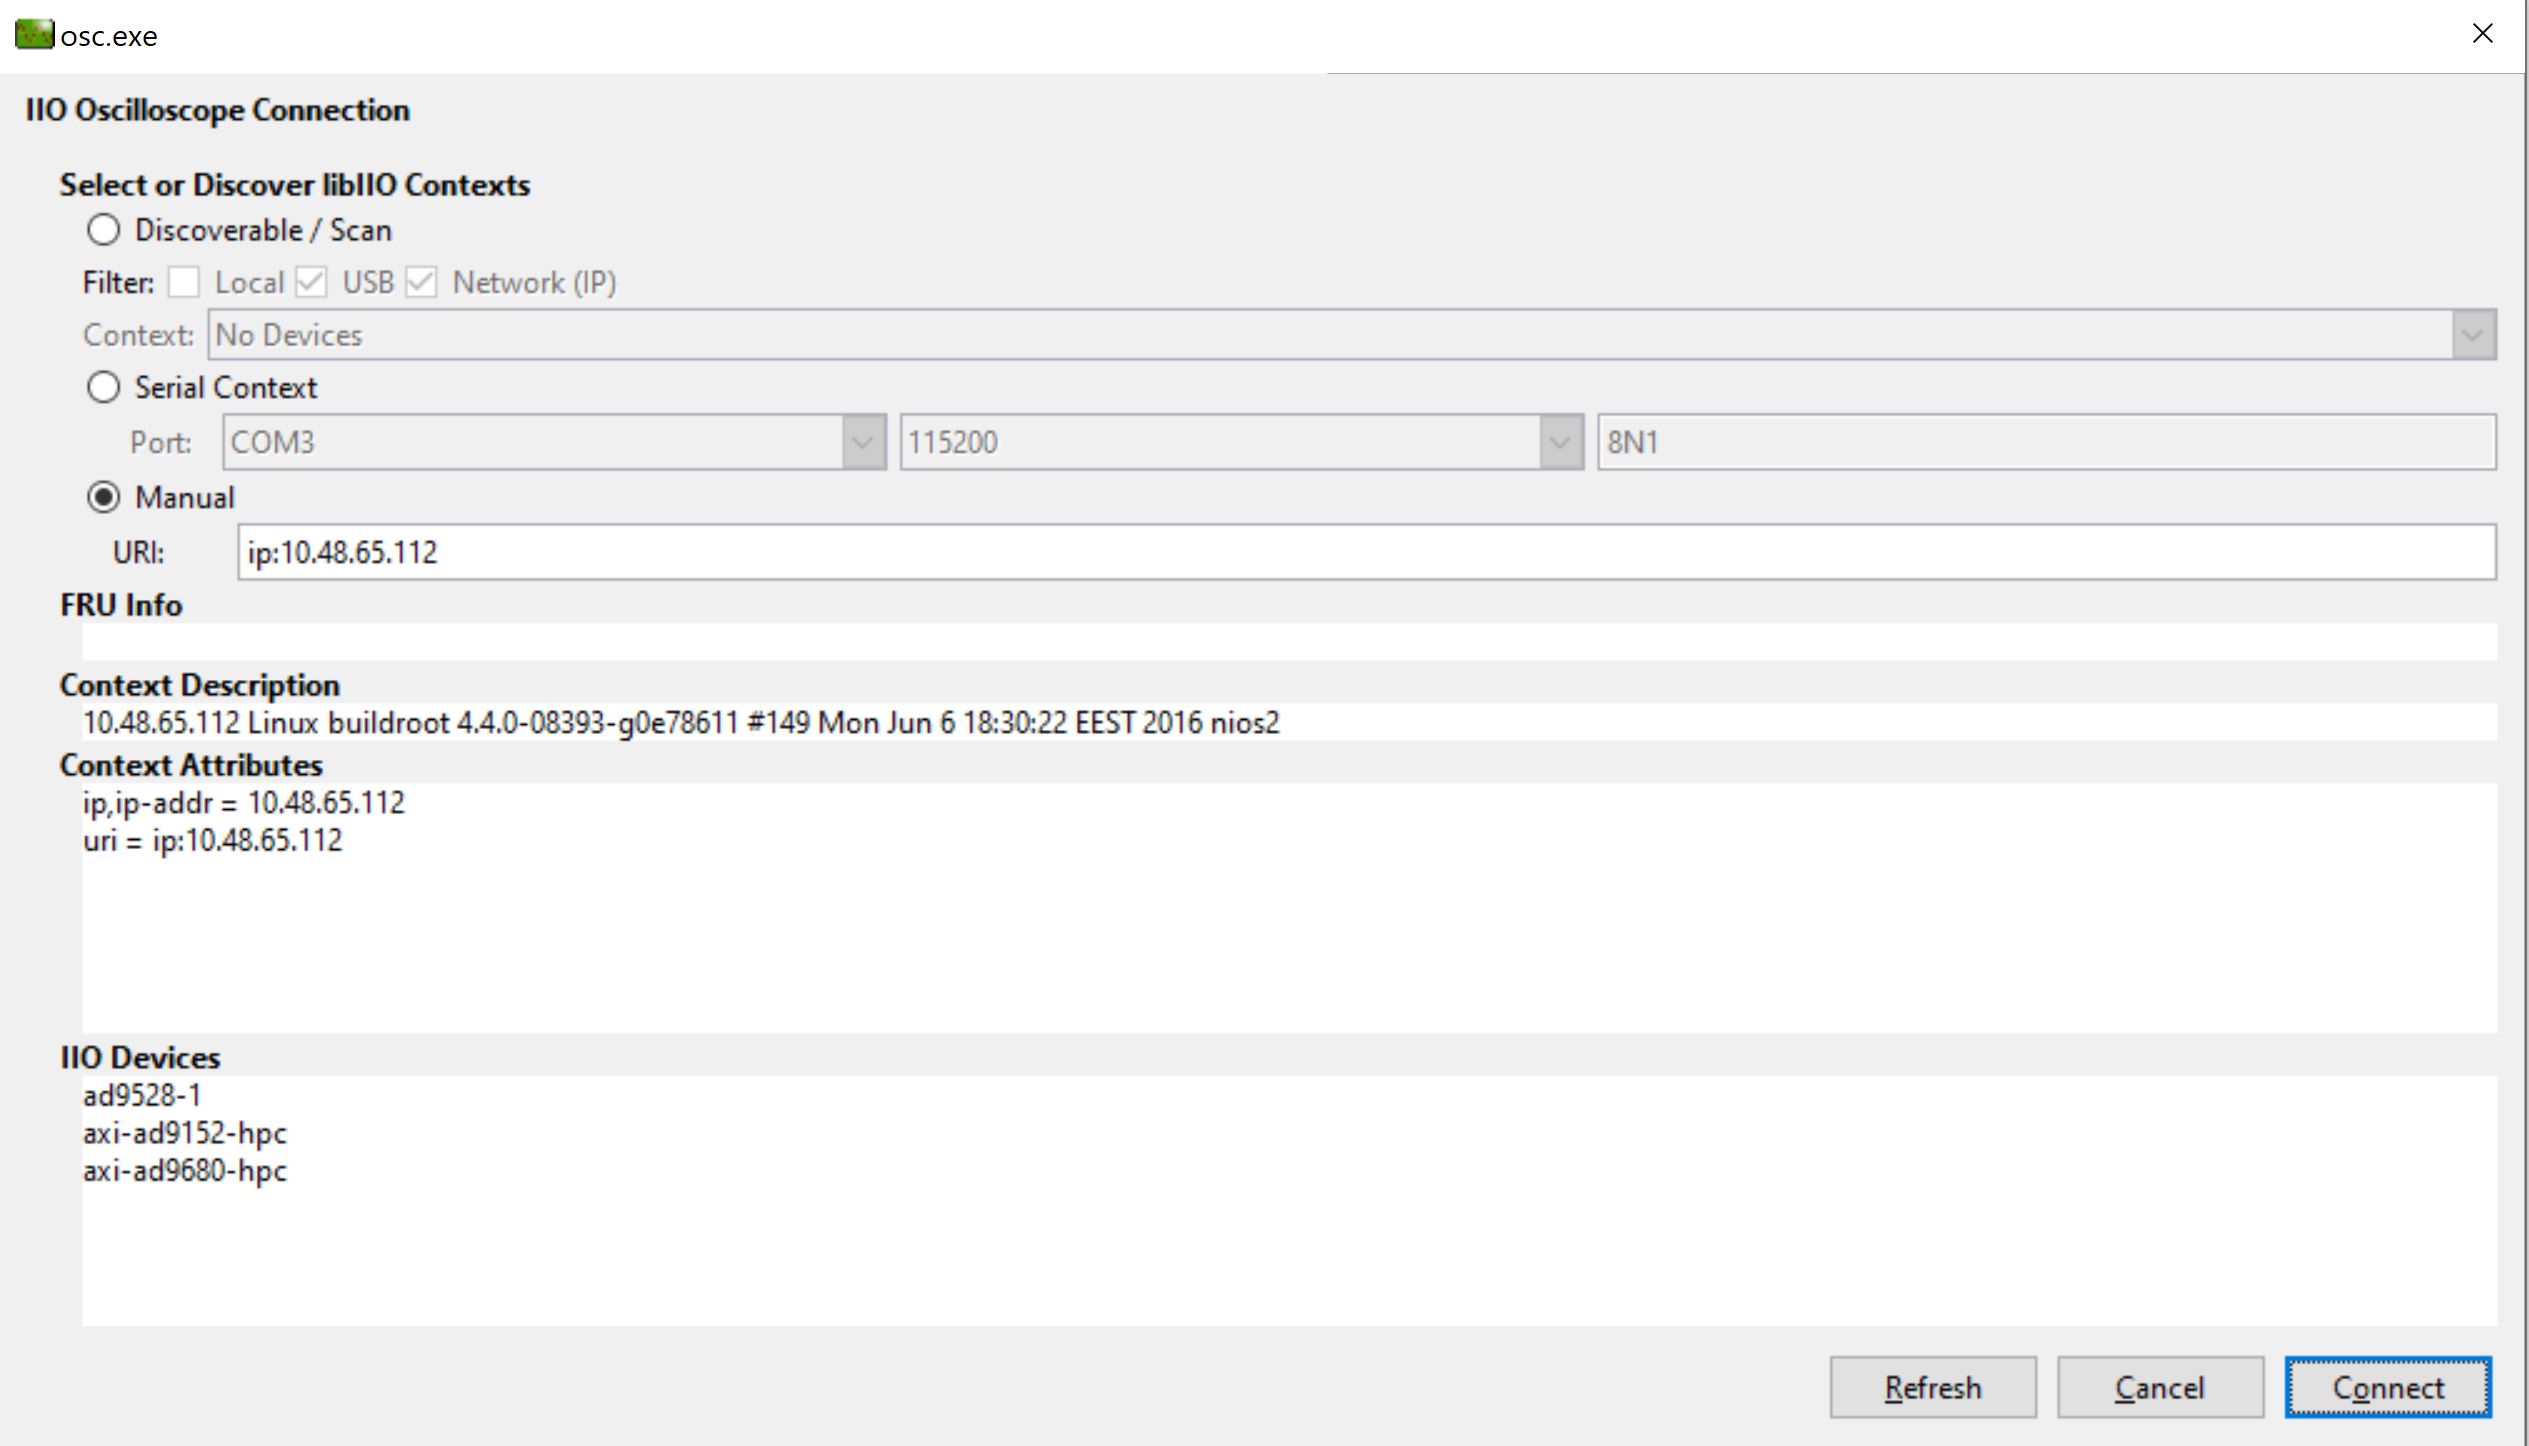
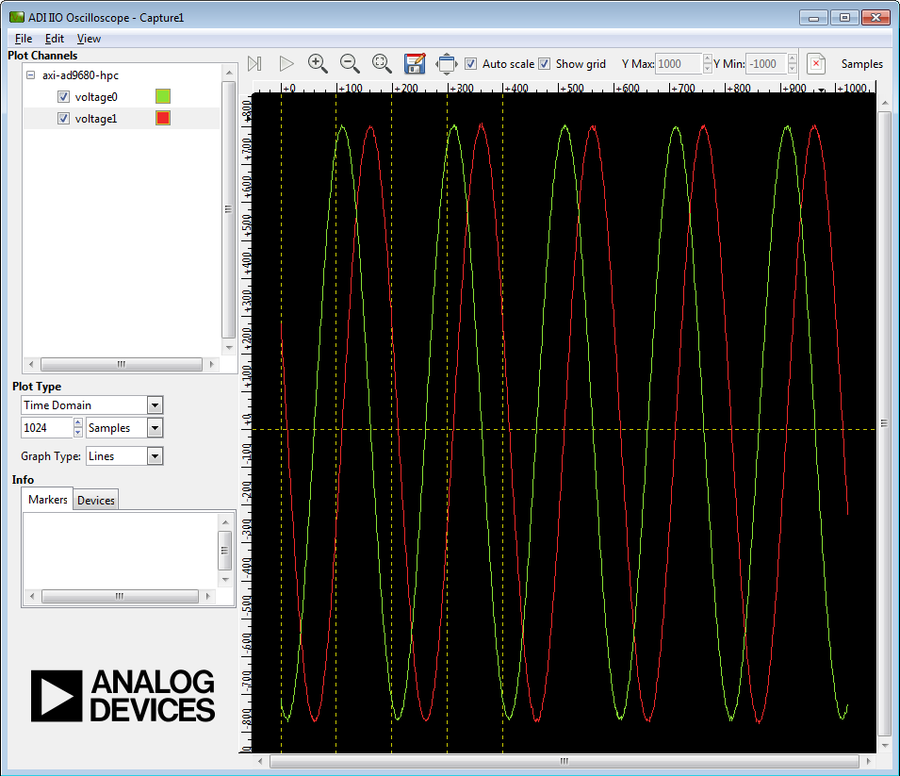
To plot the captured waveforms go to File menu, then click New Plot. Select the channels to plot and then click the Capture / Stop button.
More Information
Support
Analog Devices will provide limited online support for anyone using the reference design with Analog Devices components via the EngineerZone.