MATLAB Environment Configuration
This section will cover the setup and initialisation of the MATLAB Environment ahead of executing the code.
Triton GitHub - Clone/Download the Branch
At the time of writing this is a development branch and solely available to those internal to ADI. The System Platforms team have a copy of this branch available to transfer to your laptop using the link below:
Triton MATLAB - System Platforms Folder
These folders should be copied to a folder of your choice on your laptop. For the purposes of this documentation, we will assume it has been setup at:
“C:\Triton_Customer_Demo\cots-adxband16ebz-classdev”
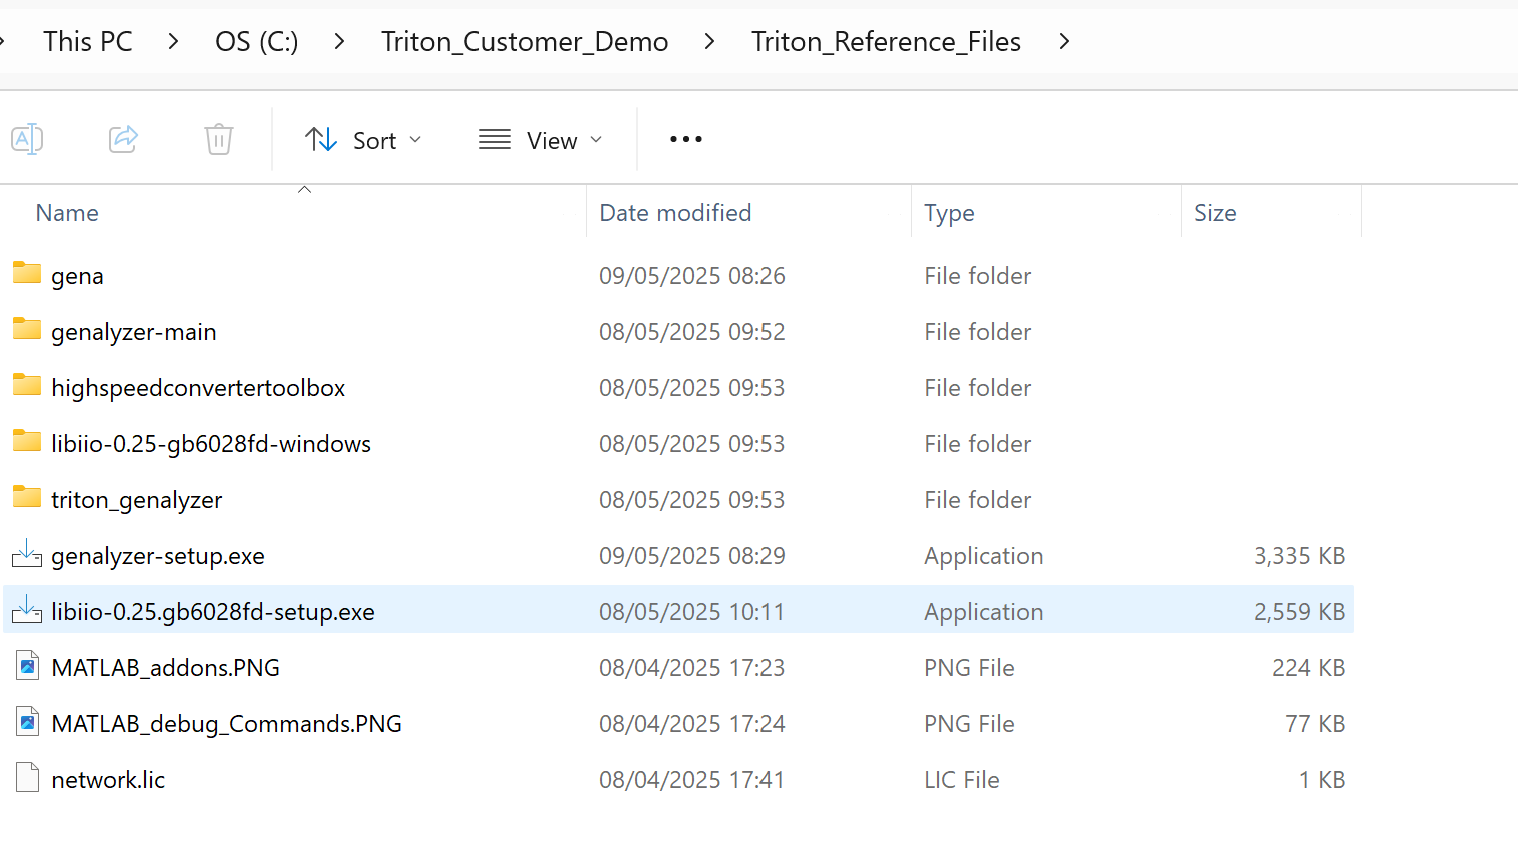
“C:\Triton_Customer_Demo\Triton_Reference_Files”
MATLAB - Add-Ons and Reference File Setup
Ahead of the execution of the demo, we must install a number of MATLAB Add-ons from the Add-on Manager in the MATLAB Application.
Step 1: Open the MATLAB Application on your PC and you will see the menu bar has shown below.
We want to select Add-Ons over on the right hand side of the menu bar
Then select “Get Add-Ons” from the drop down to open the Add-Ons Explorer as shown in the second image

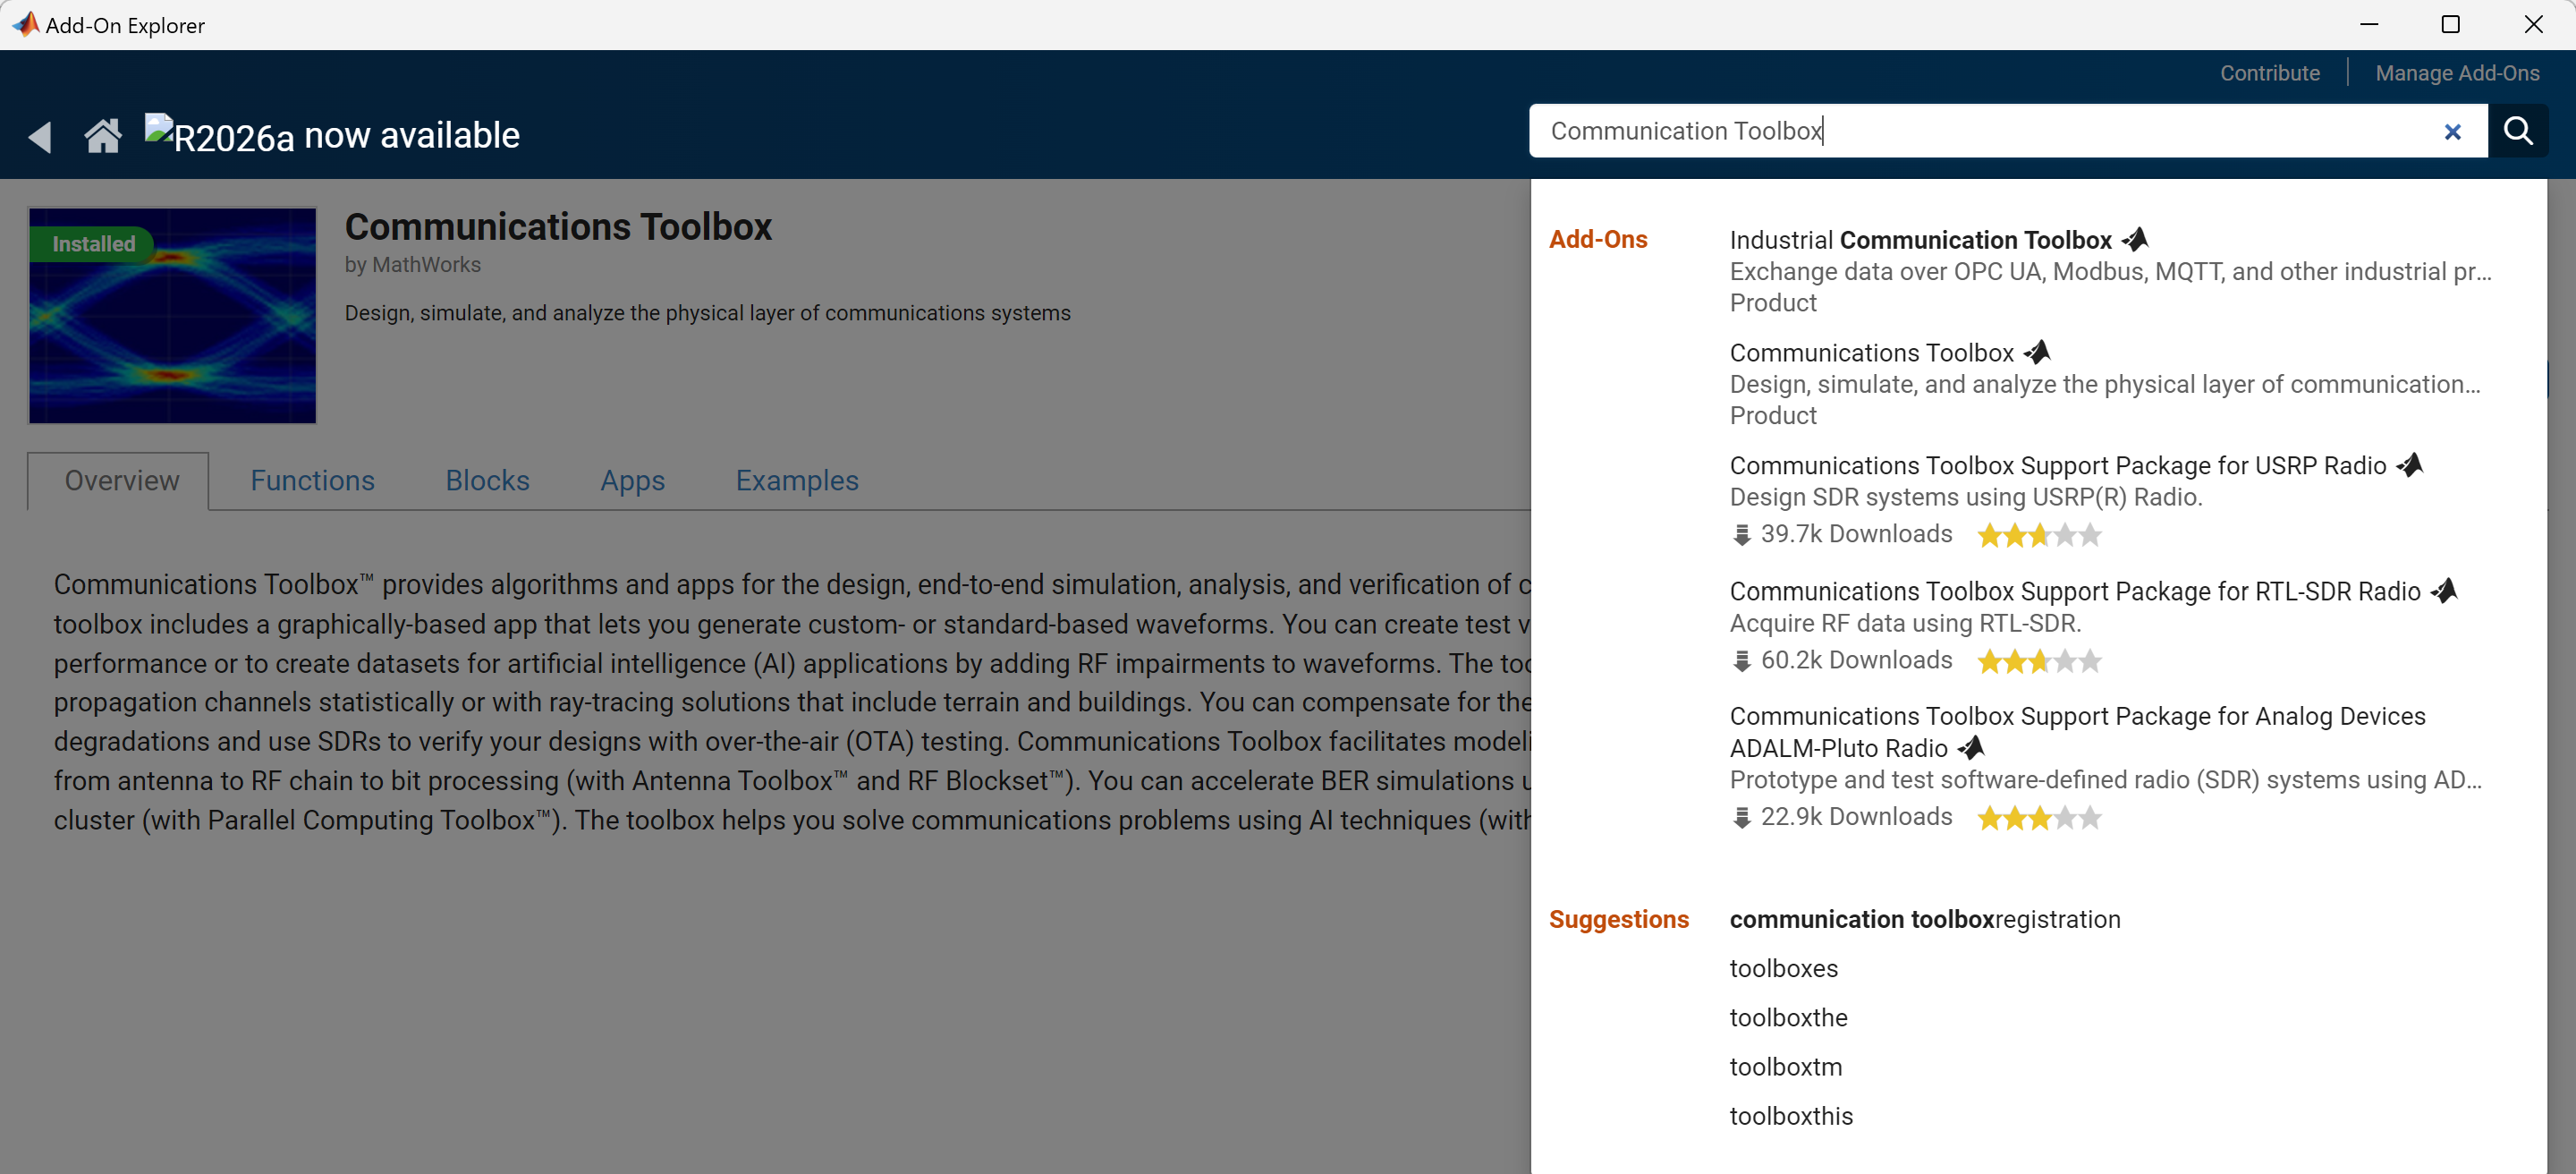
Step 2: Using this Add-Ons Explorer, you need to search and install each of the Add-Ons shown in the list below, these are the verified versions and packages required for the system to execute.

Step 3: Finally, we will link the Triton Reference Files and the cots-adxband16ebz-classdev folders that were copied to the PC earlier in the MATLAB application.
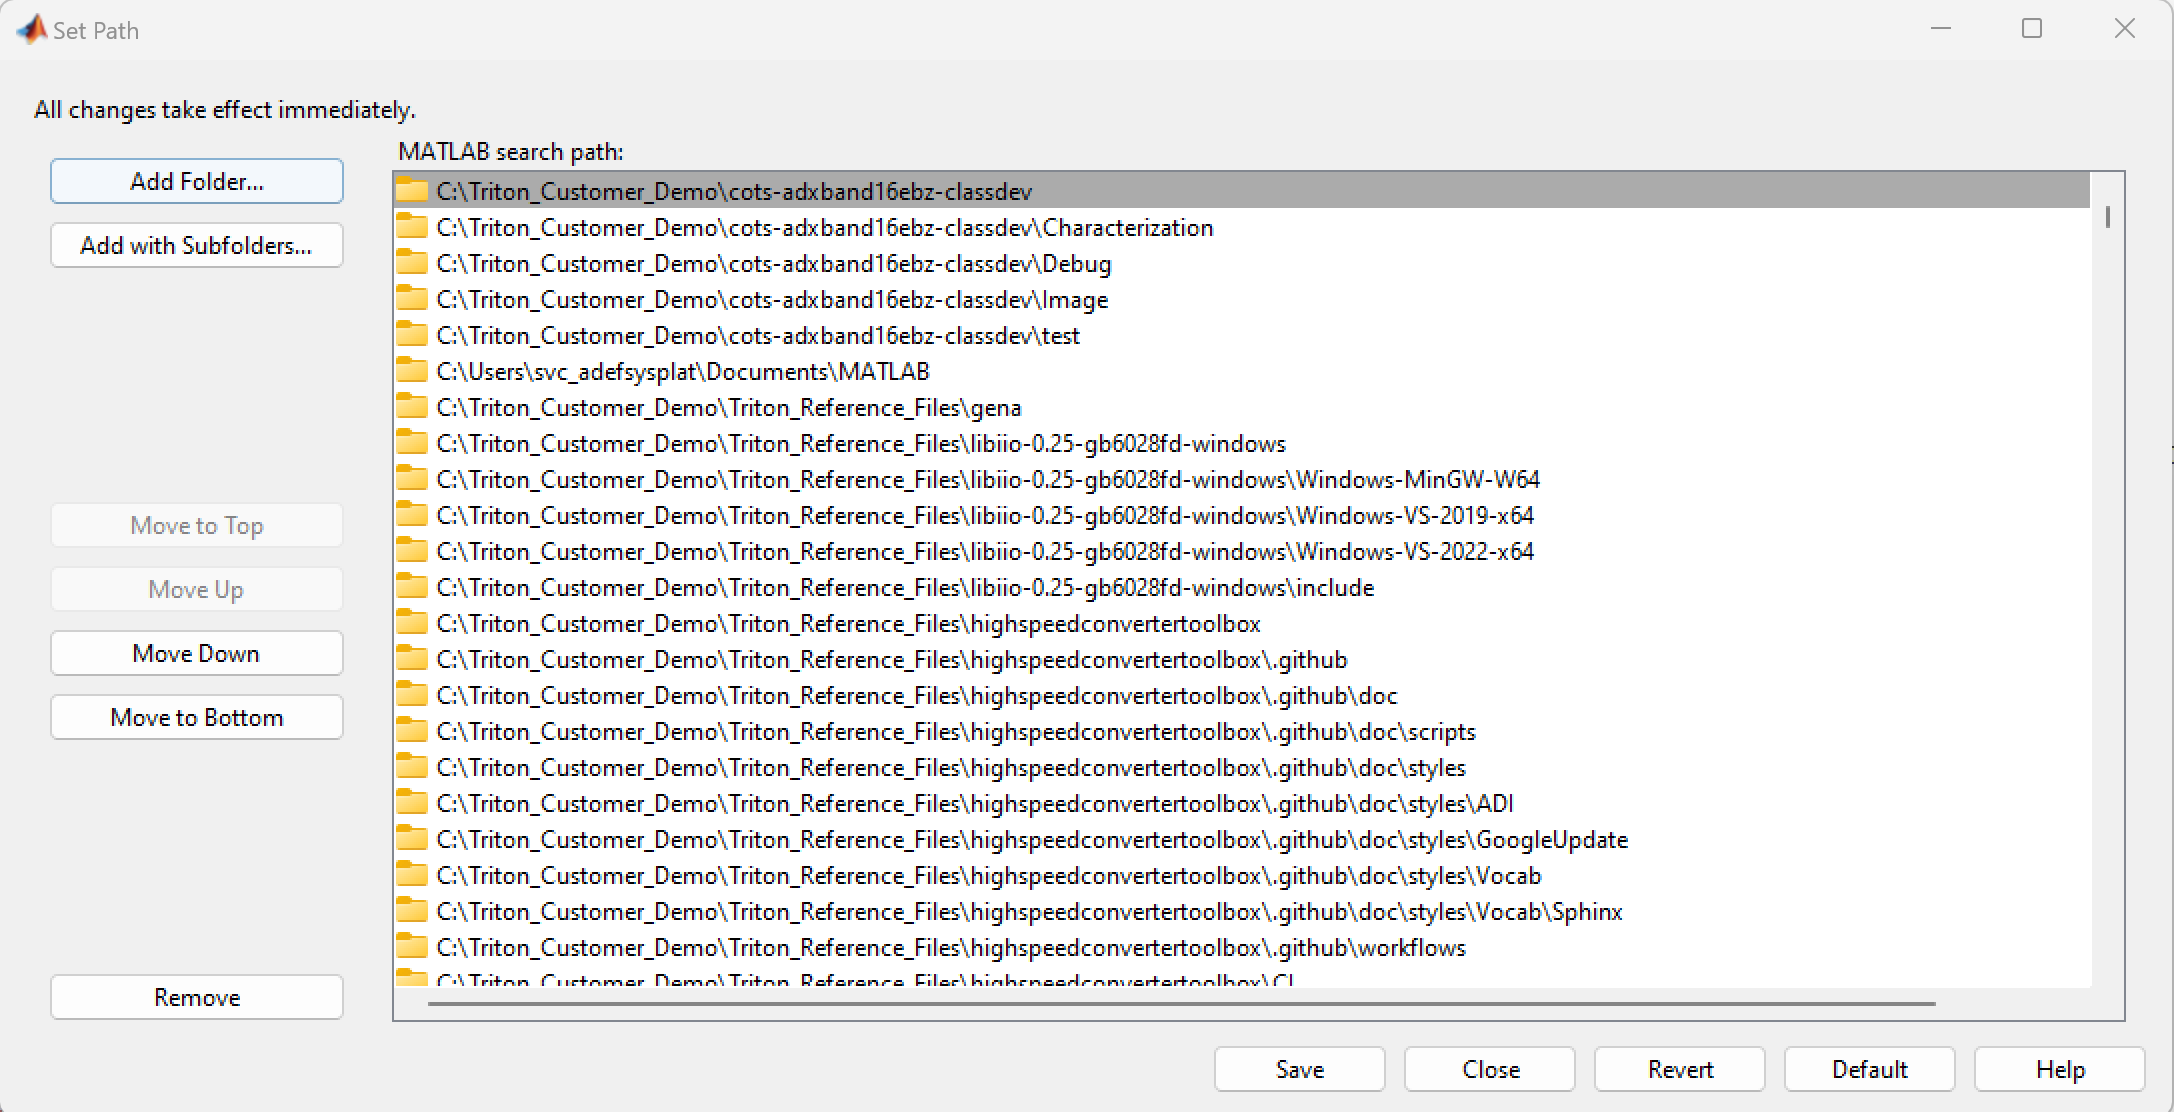
From the menu bar, we select Set Path and a new window will Open
We Select “Add with Subfolders”
Navigate to the “C:\Triton_Customer_Demo\Triton_Reference_Files” folder and Select Folder
Navigate to the “C:\Triton_Customer_Demo\cots-adxband16ebz-classdev” and Select Folder
Once this step is completed, you should end up with a view similar to the one below.
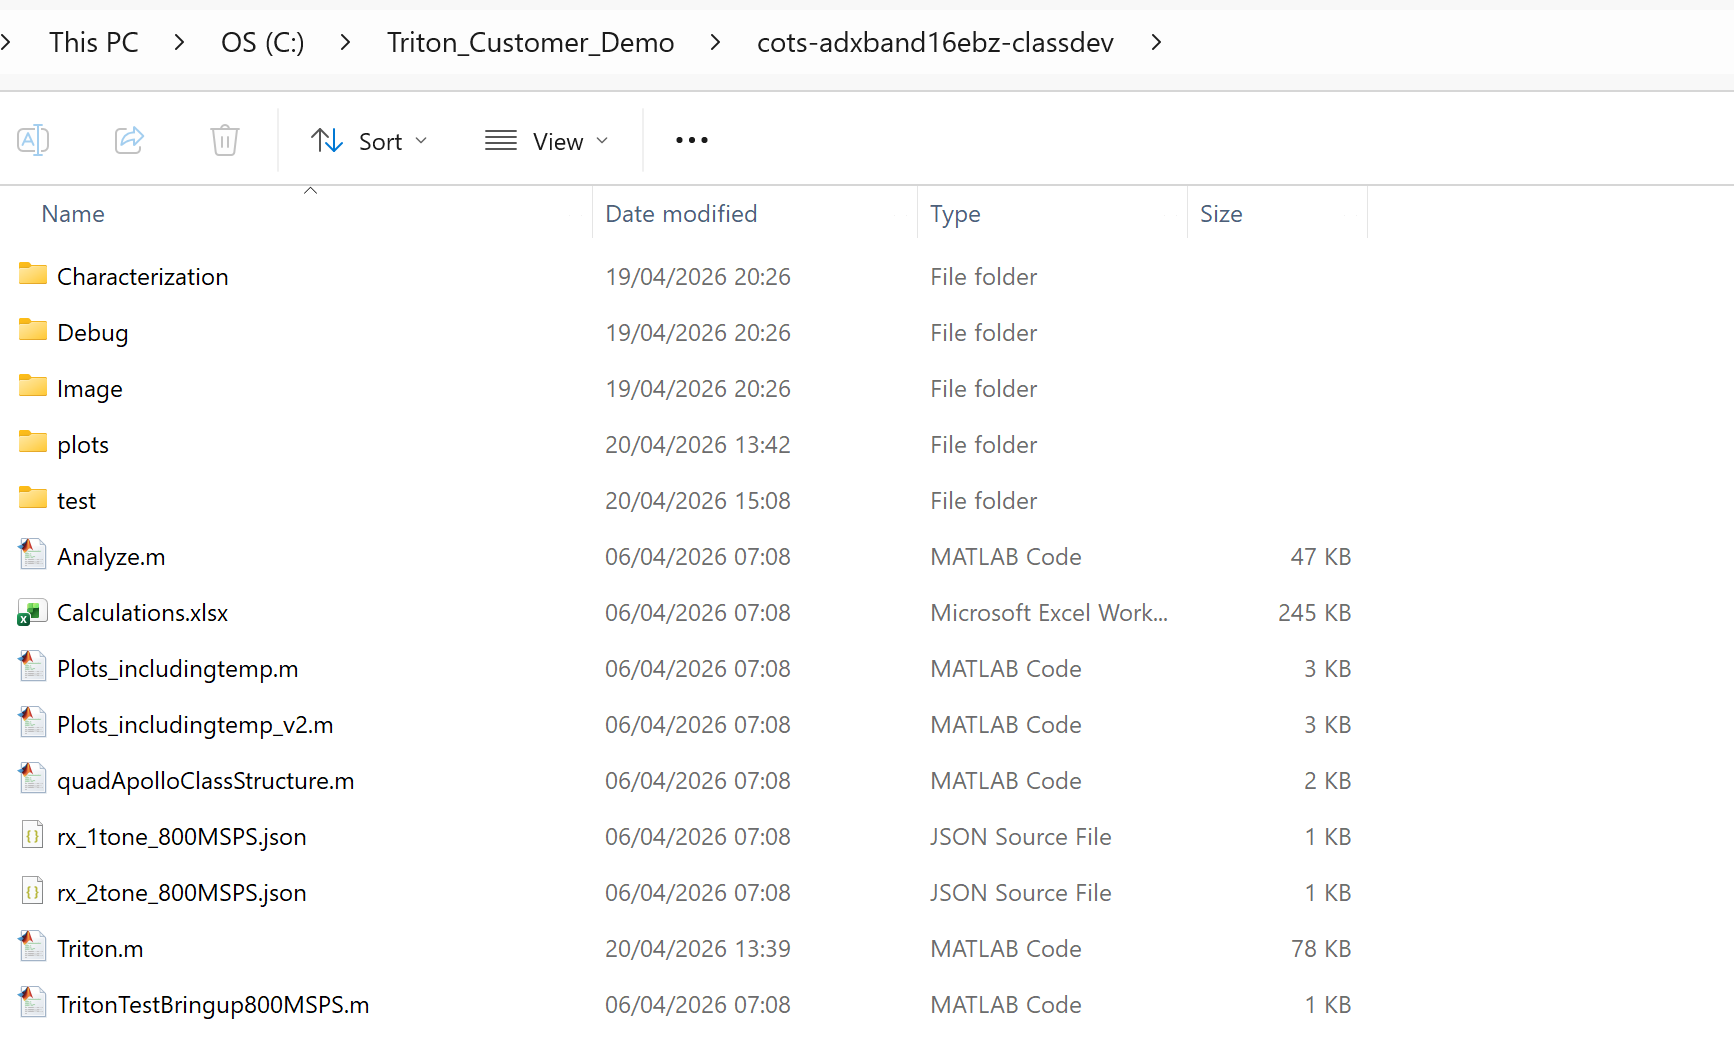
MATLAB Script Preparation
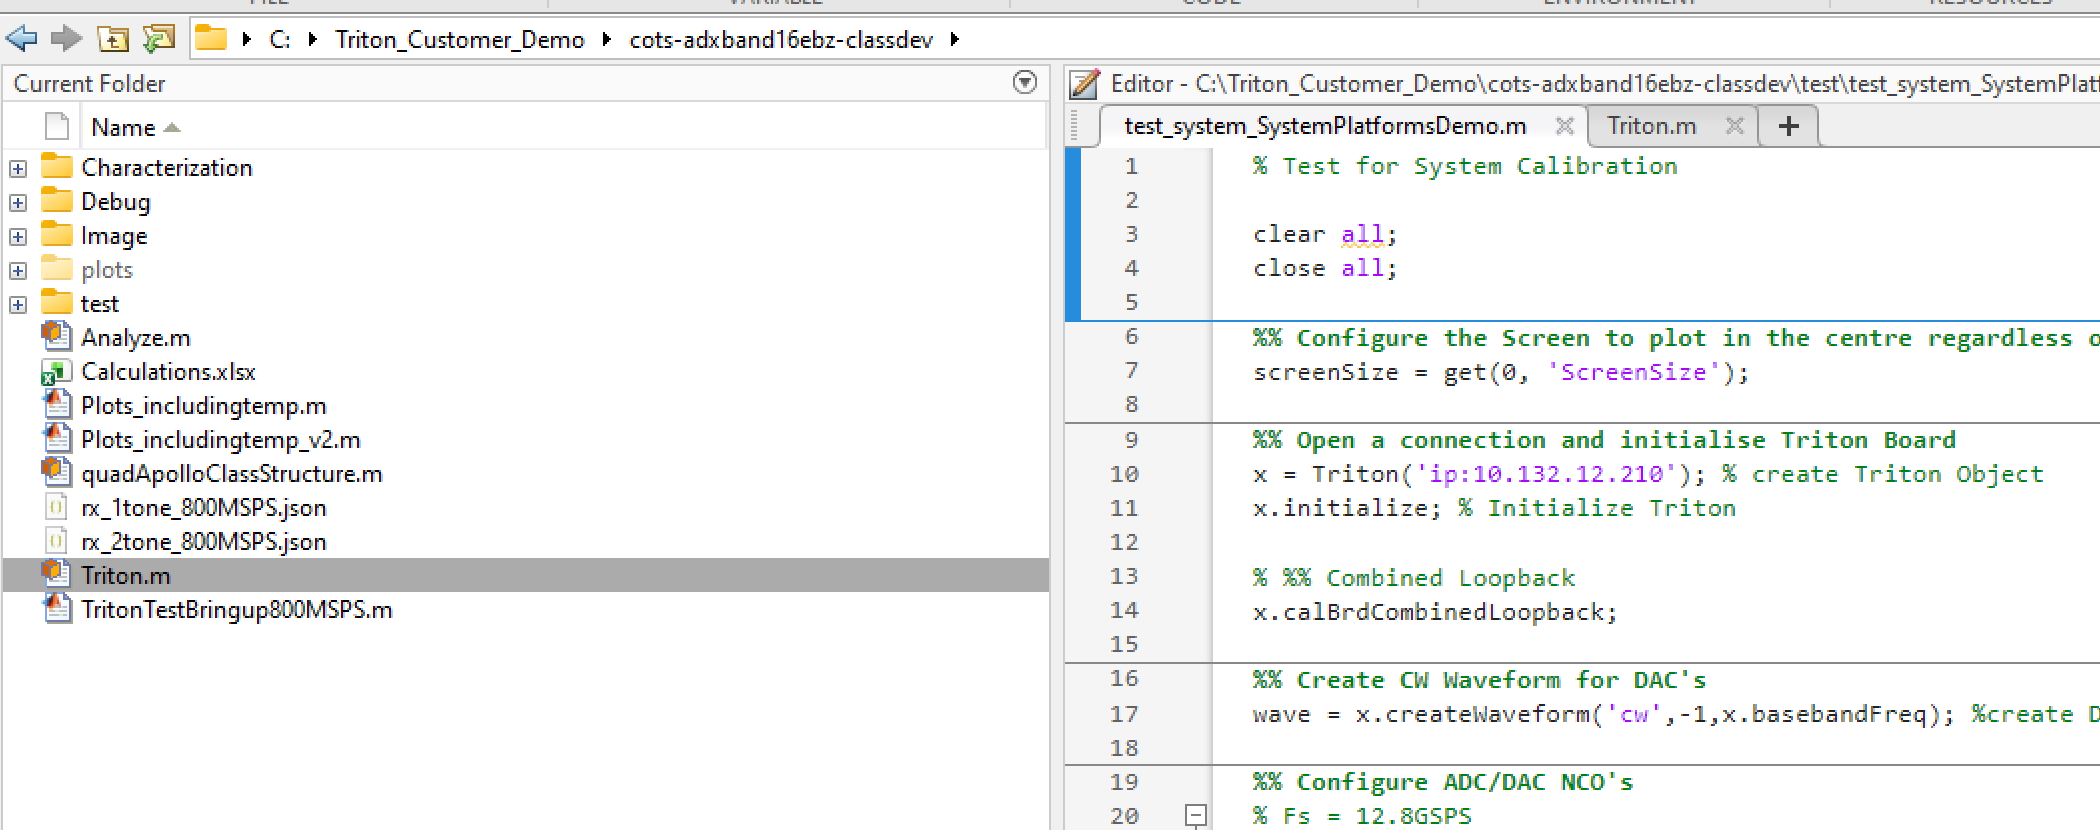
In the MATLAB application, navigate to the “C:\Triton_Customer_Demo\cots-adxband16ebz-classdev” path so you have a view similar to the one below:
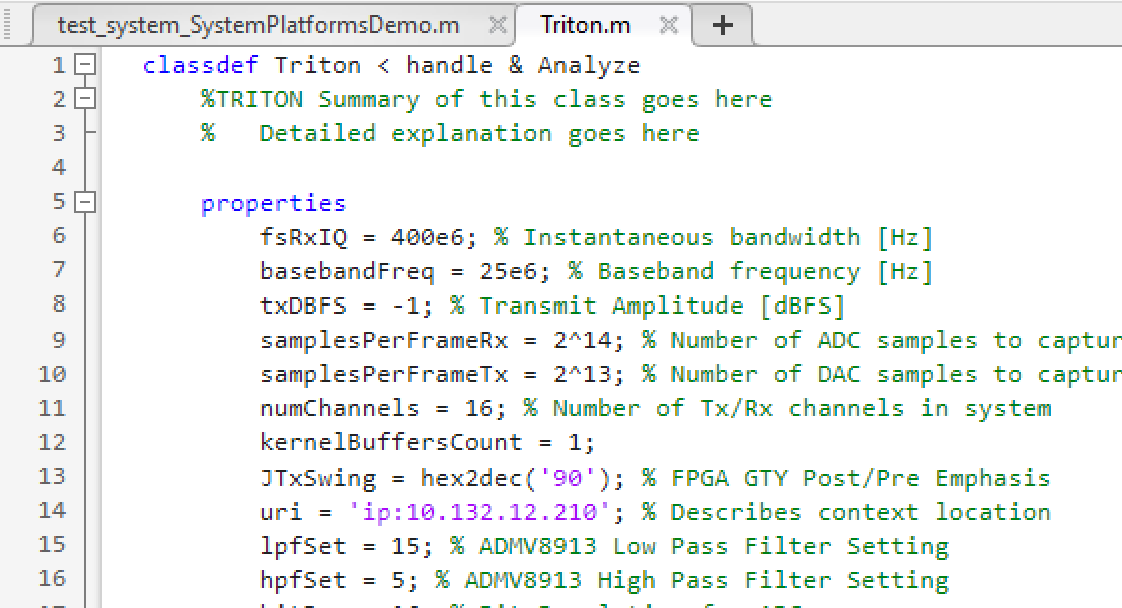
Open the Triton.m script
Open the test_system_SystemPlatformsDemo.m script in the test sub-folder
IMPORTANT: Ensure the path is restored to “C:\Triton_Customer_Demo\cots-adxband16ebz-classdev” ahead of any execution as the MATLAB application needs direct access to the rx_1tone_800MSPS.json file there, otherwise it will error on execution
The final item that needs to be set is the IP address of the Triton Platform in your code, this needs to be done in both MATLAB scripts you have opened above
In the test_system_SystemPlatformsDemo.m script, at line 10, there is a single entry for IP Address and this should be set to whatever you have on your system, either 192.168.2.1 or the IP Address assigned by the DHCP server on the network.
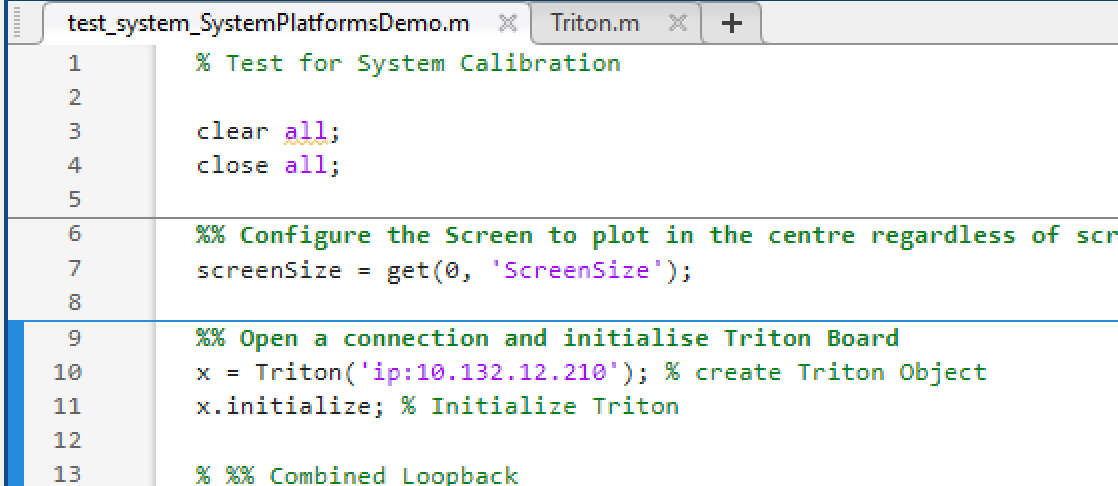
In the Triton.m script, there are 23 references to the IP address so we need to use Search and Replace to address this
Go to line 14 and see what the IP Address is currently configured to, e.g. 10.132.12.210
Using Ctrl-F it will open a Find window which can be expanded to a Find and Replace window, see screenshot below
We set the 10.132.12.210 address as the Find and the new IP Address as the Replace, e.g. 10.132.12.143
Select Replace All and each of the 23 IP’s in the script will be updated

Save both files
Attention
The MATLAB Environment is now configured and you are ready to move to the next section to execute the script