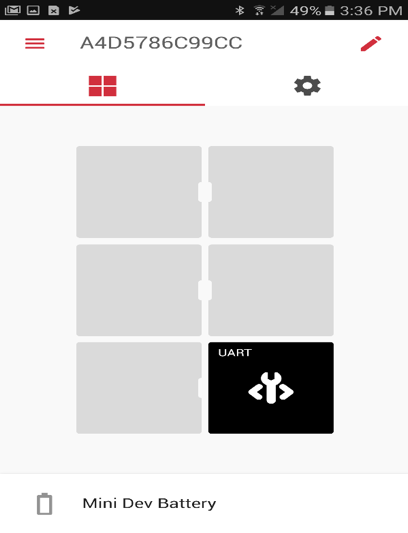
EVAL-ADPAQ3029 - UART(Arduino) demo
Download firmware and Tile application from below
Follow the same steps as given here
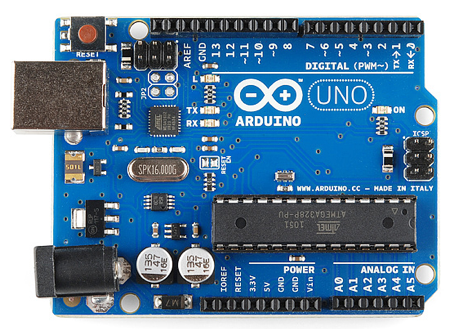
In this project, an Arduino board has been used.
Upload the
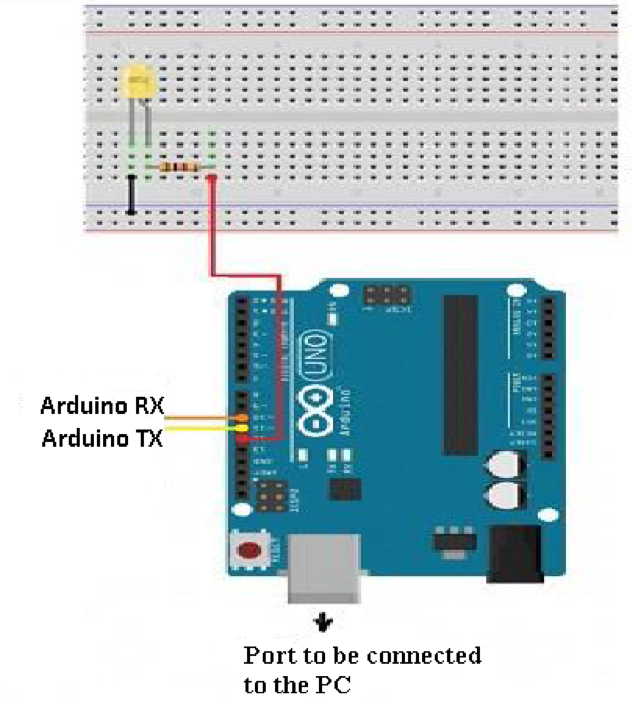
Arduino codeintoArduino Unoboard using Arduino IDE.The connections between the Arduino and ADPAQ Board are made as described below.
Arduino Pins |
GPIO port used |
ADPAQ Header Pins |
|---|---|---|
Digital pin 10 (RX) |
UART0_TX |
P2-2 |
Digital pin 11 (TX) |
UART0_RX |
P2-3 |
GND |
GND |
P2-10 |
Apart from these connections, an led along with a 10k resistor has to be connected between the Digital pin 12 of Arduino and Ground.
Build and run the project
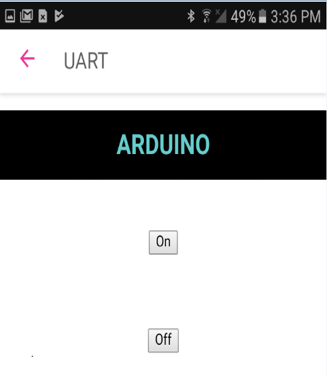
The tile has 2 buttons “On” and “Off” buttons. By clicking on those buttons, we can control the led that is connected to the pin 12 of Arduino.