AD-3DSMARTCAM1-PRZ
Important
This system has reached its end of life and cannot be purchased anymore.
Overview
The AD-3DSMARTCAM1-PRZ is a 2D & 3D machine vision solution with AI edge processing capabilities. It can be used for implementing advanced machine vision applications for different industry segments including logistics, robotics, agriculture and people activity monitoring.
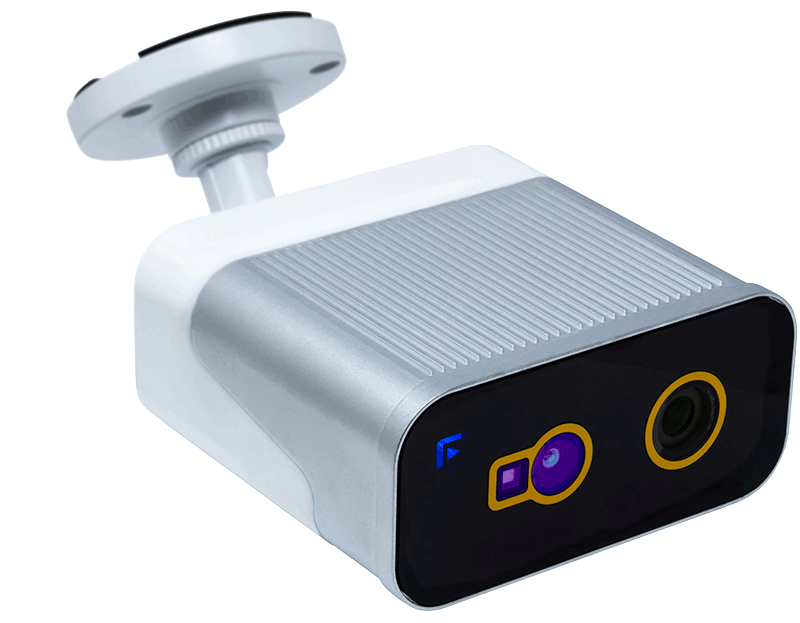
Features:
3D ToF sensor with 90x60 FoV, 3m range, 640x480 @ 30fps
RGB sensor with 128x68 FoV, 6m range, 1920x1080 @ 30fps
WiFi 802.11a/b/g/n/ac, Bluetooth 5.0, optional Gigabit Ethernet
NVIDIA Jetson Nano with Quad-core ARM A57 CPU, 128-core Maxwell GPU, 4GB LPDDR4
IP66 rated, operating temperature -25°C to 60°C
Applications:
Box dimensioning for logistics
People detection and tracking
Robot navigation
Space mapping and 3D reconstruction
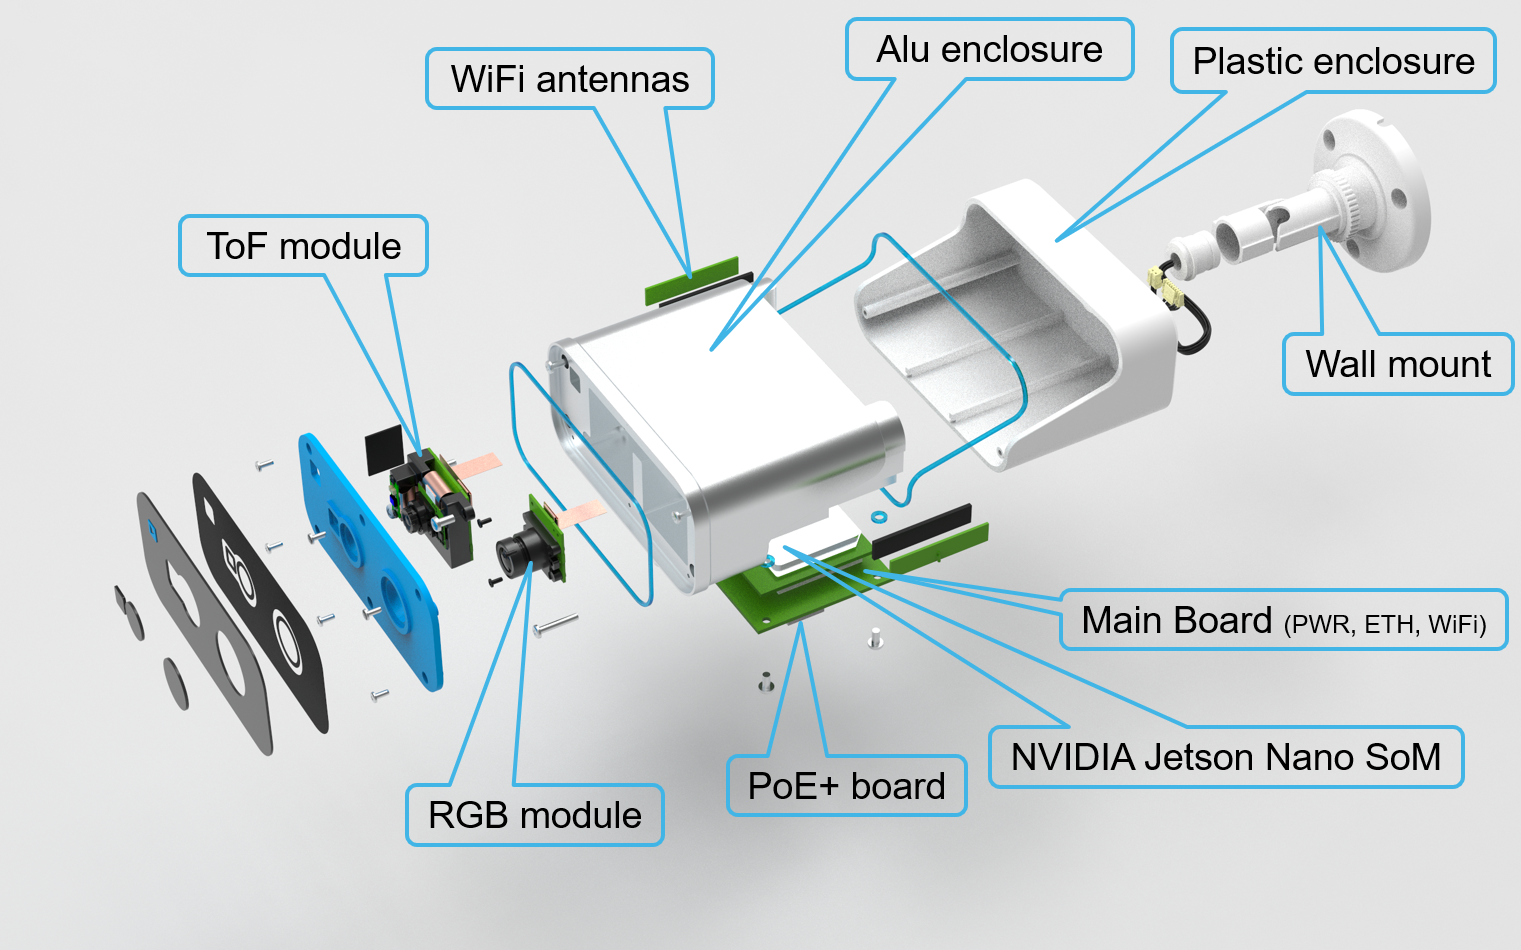
What’s inside
Specifications
Vision sensors |
|
|---|---|
3D ToF sensor |
FoV 90x60, Range 3m, Resolution 640x480 @ 30fps |
RGB sensor |
FoV 128x68, Range 6m, Resolution 1920x1080 @ 30fps |
Connectivity |
|
WiFi |
802.11a/b/g/n/ac, 867Mbps with dual stream in 802.11n, 2x2 Access Points with MIMO standard |
Ethernet (optional) |
1xRJ45 10M/100M/1G self-adaptive Ethernet port |
Bluetooth 5.0 |
Bluetooth Class 1 and Class 2 transmitter operation, Adaptive frequency hopping |
Power supply |
|
External power |
12V DC @ 2A |
Power over Ethernet (optional) |
PoE+ IEEE802.3-2012, max 20W |
Operating Conditions |
|
Temperature Range |
-25oC to 60oC |
Operating Class |
IP66 |
Computing Resources |
|
CPU |
Quad-core ARM A57 @ 1.43 GHz |
GPU |
128-core Maxwell |
Memory |
4 GB 64-bit LPDDR4 25.6 GB/s |
Storage |
16GB eMMC |
Certifications |
|
Safety, EMC, Environment |
Eye safe and conforms to necessary regional standards |
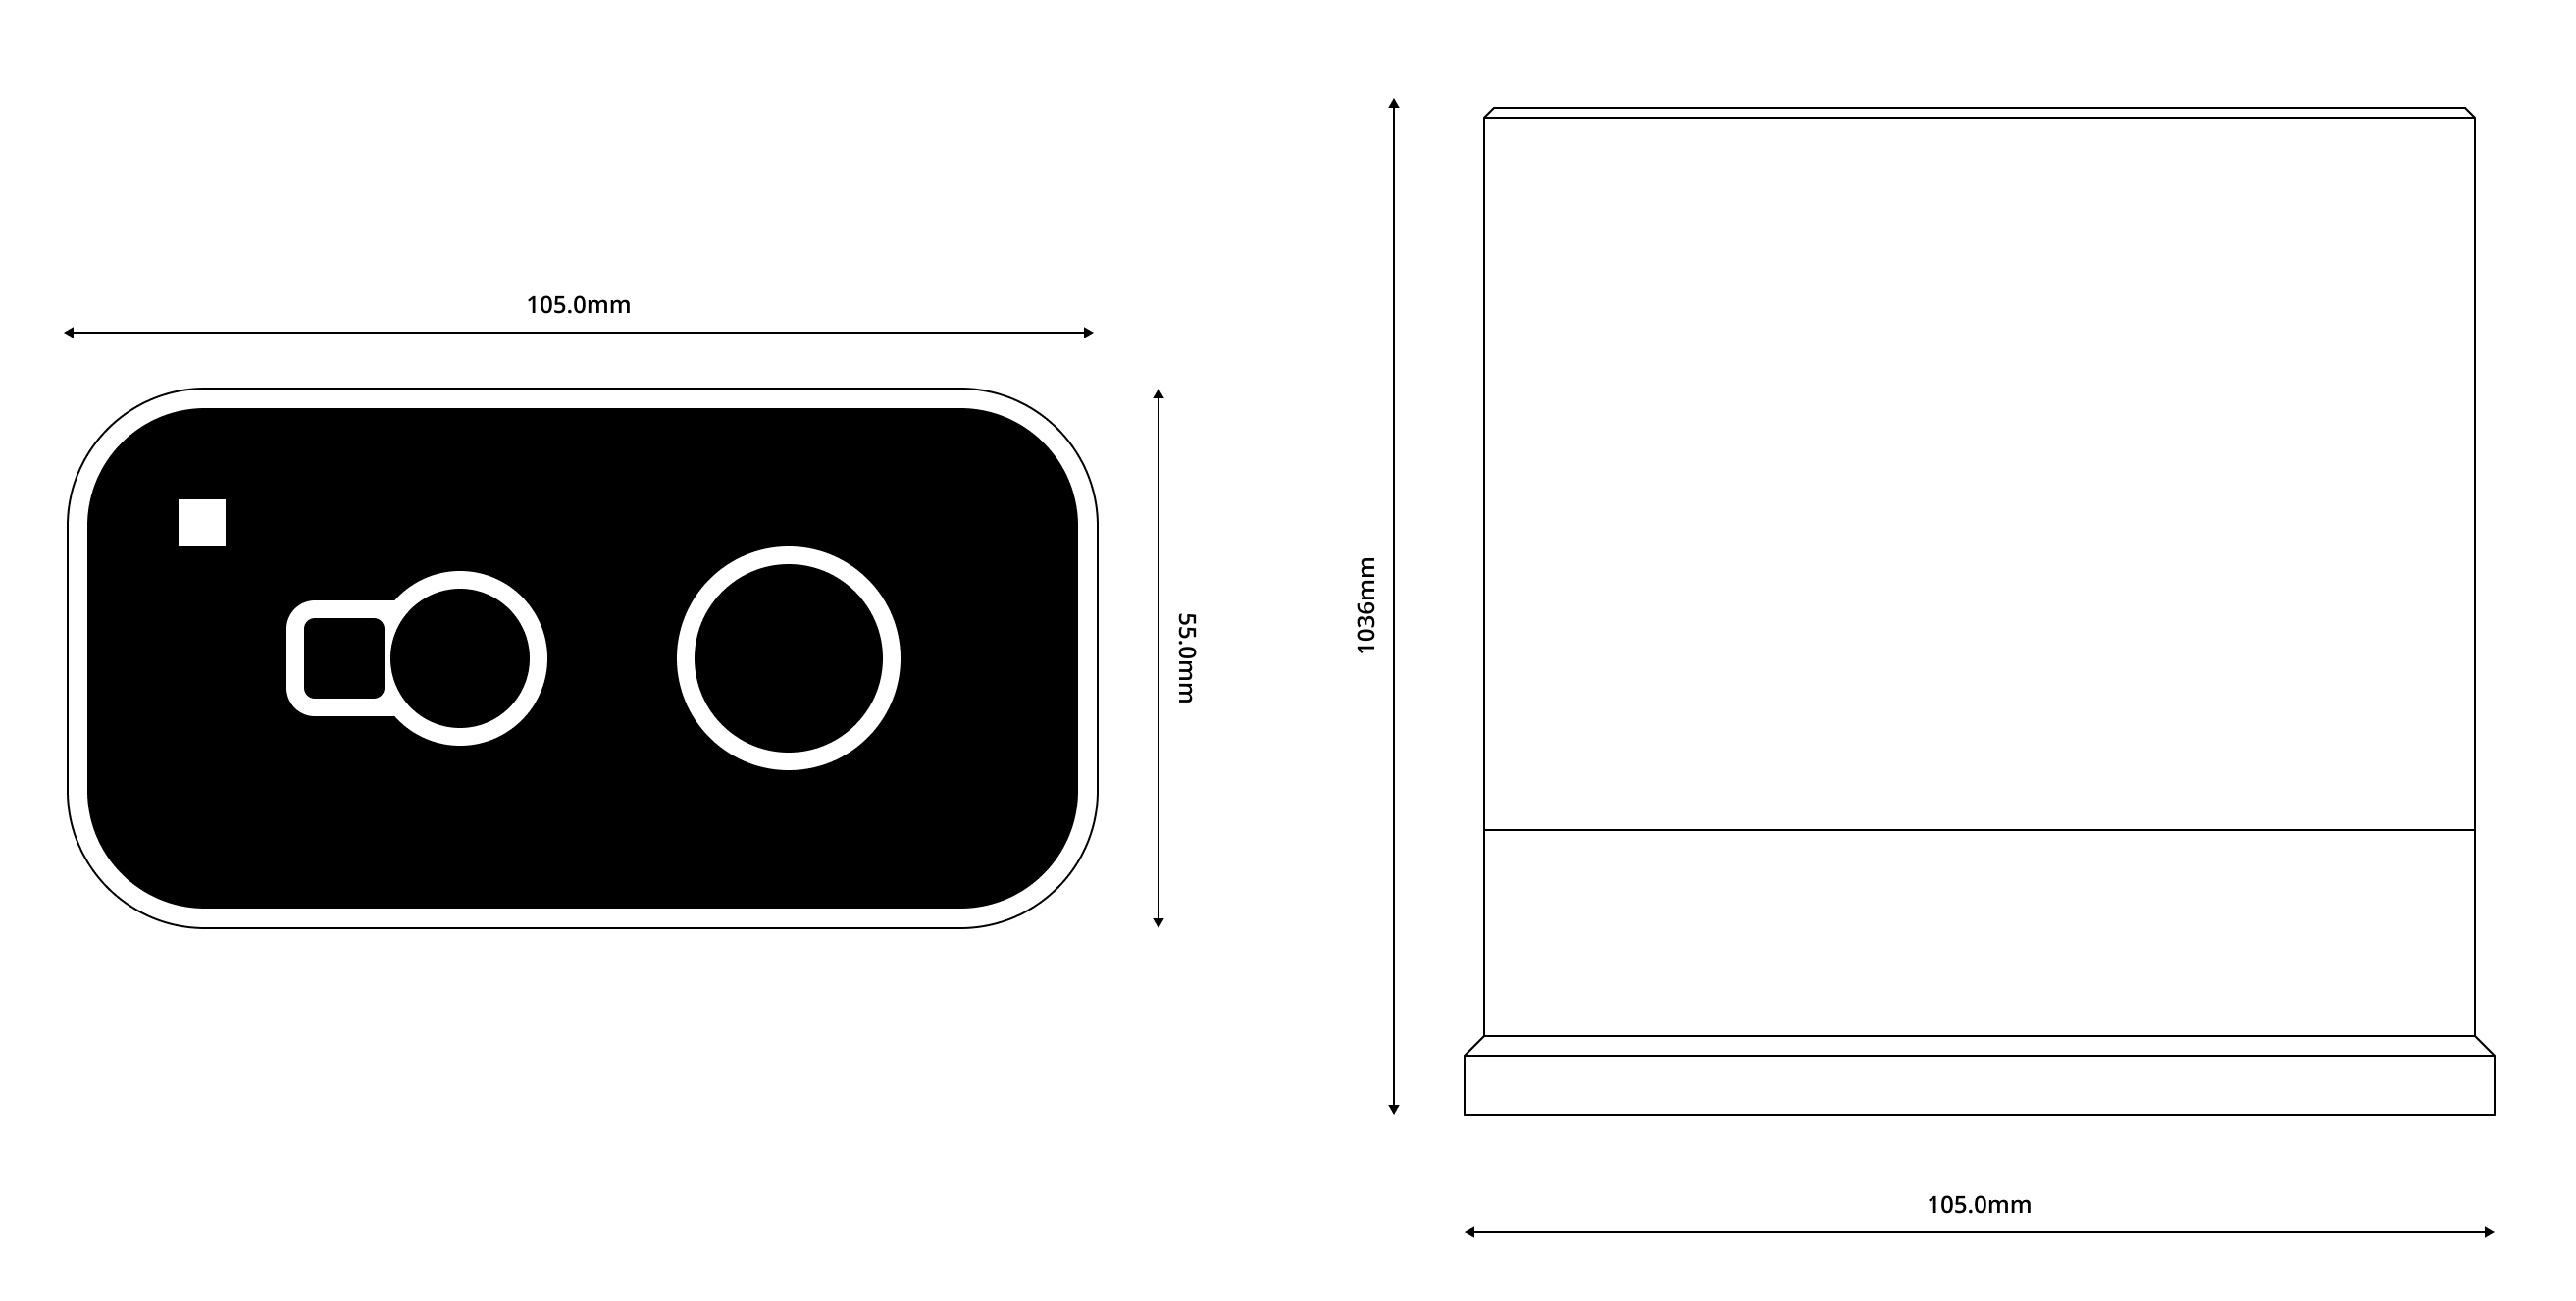
Mechanical Specs |
|
Dimensions |
|
Development
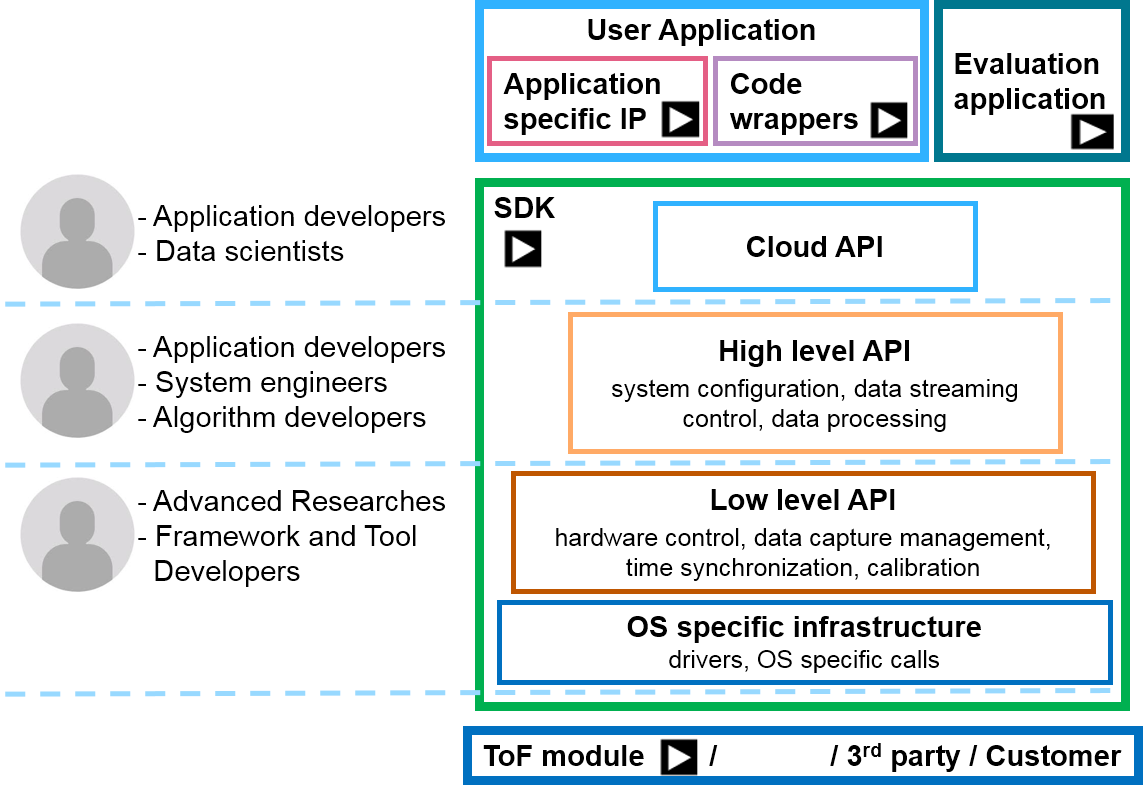
An open-source SDK that accompanies the hardware platform enables you to configure the system and extract depth and RGB data from the camera on the system of your choice. Windows and Linux support are built into the SDK as well as sample code and wrappers for various languages including Python, C/C++ and MATLAB. The SDK also integrates with 3rd party technologies like OpenCV and RoS.
Applications
A set of applications have been developed for the 3D Smart Camera to showcase the system’s capabilities but also to be used as a starting point for custom development.
Box dimensioning
Note
People detection and tracking
Space mapping
Note
Getting your system up and running
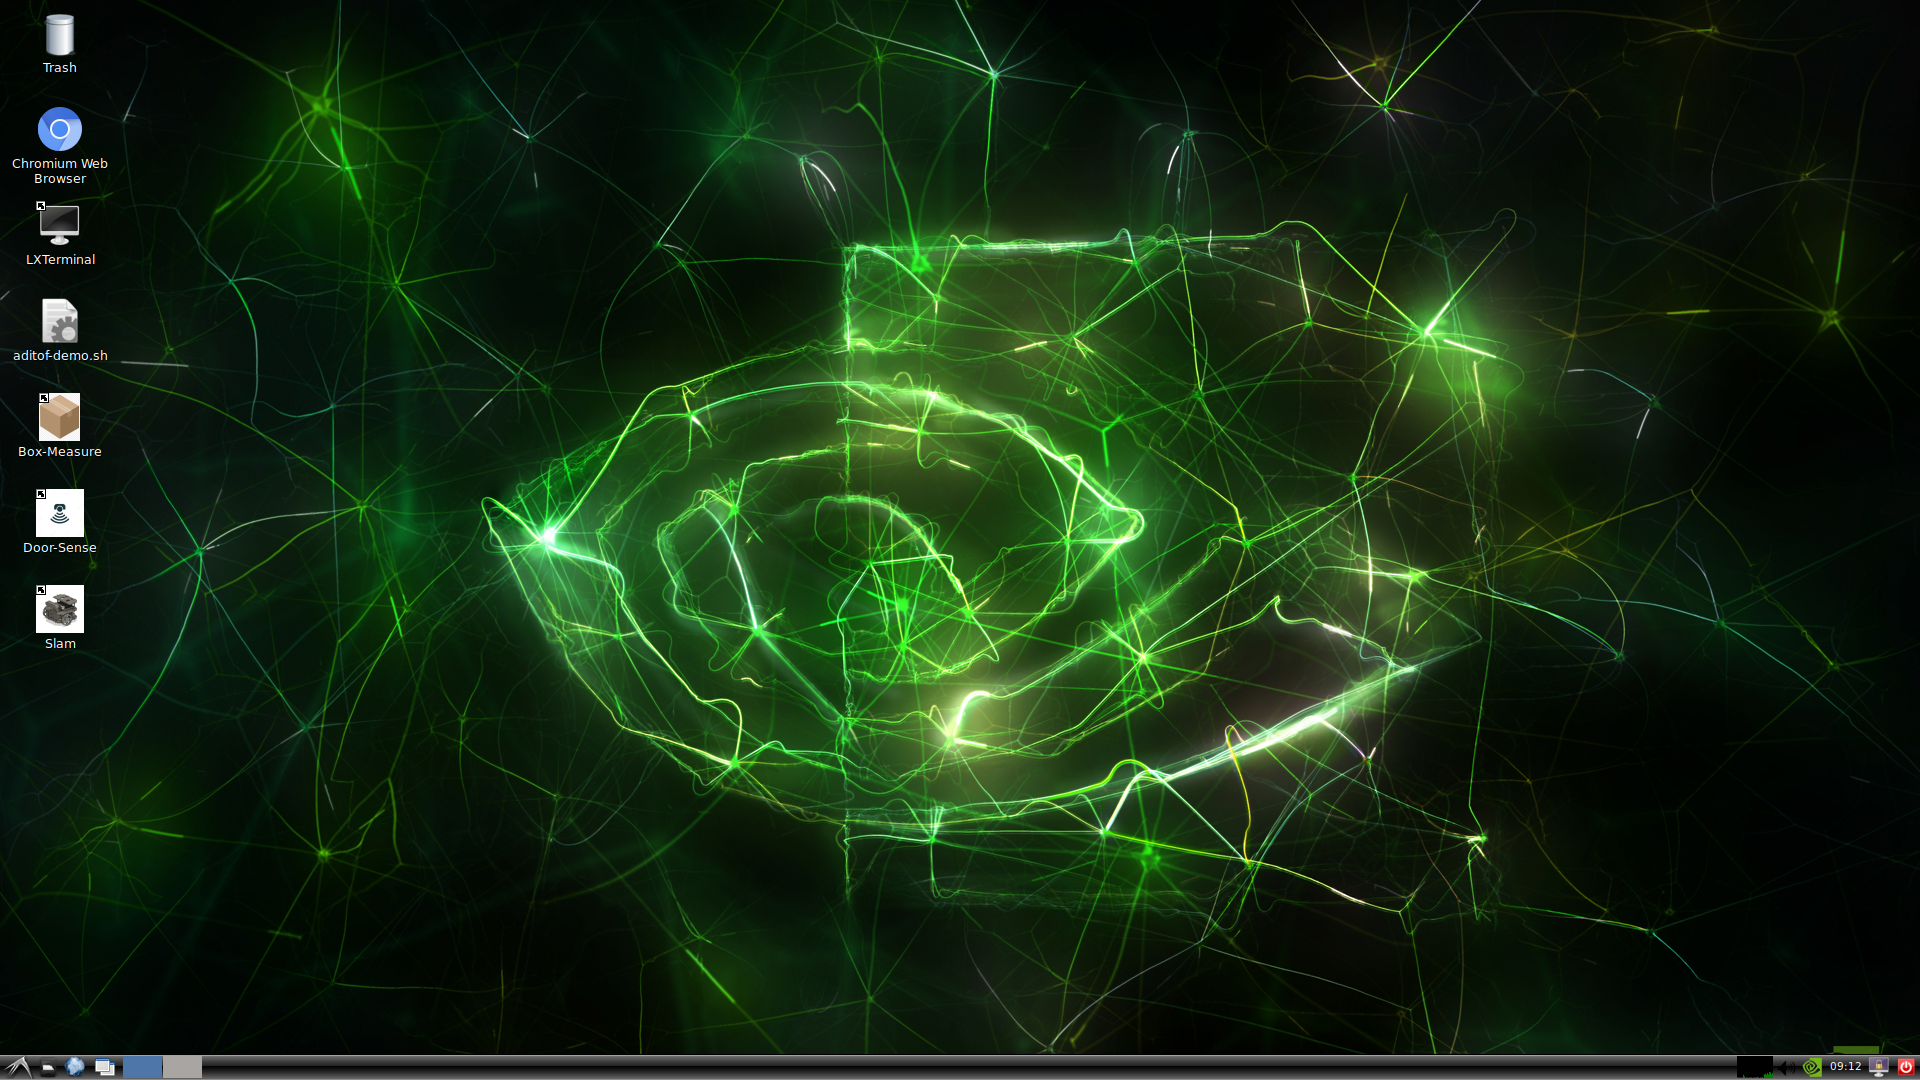
The 3D Smart Camera provides Gb Ethernet and 2.4GHz / 5GHz WiFi connectivity for interfacing with the outside world. Connecting to the camera from your PC is just as easy as hooking it up to your local wired or WiFi network or connecting to the camera’s WiFi access point. Once the connection is alive the camera can be accessed via ssh for command line style interfacing or VNC to get access to the camera’s Linux UI.
To get your new camera up and running there are a few steps to go through in order to connect the camera to your PC, update the camera’s software and then start receiving data and using the installed applications.
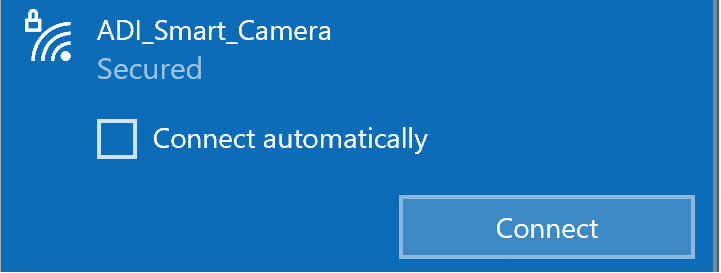
After powering up the camera the blue LED on the top right corner of the camera’s front will light up and the system will start booting the installed Linux OS. The boot process takes about 30 seconds, after which the camera will expose a WiFi access point named ADI_Smart_Camera and having the password ADI_Smart_Camera.
There are two ways to connect to the camera from a PC:
Connect the PC to the camera’s WiFi access point. In this case the camera will always have the 172.16.1.1 IP address.
Connect the camera to the local Ethernet network. In this case the camera will use DHCP to obtain a dynamic IP address.
The camera can now be accessed via ssh using the camera’s IP address and username analog* and password analog*.
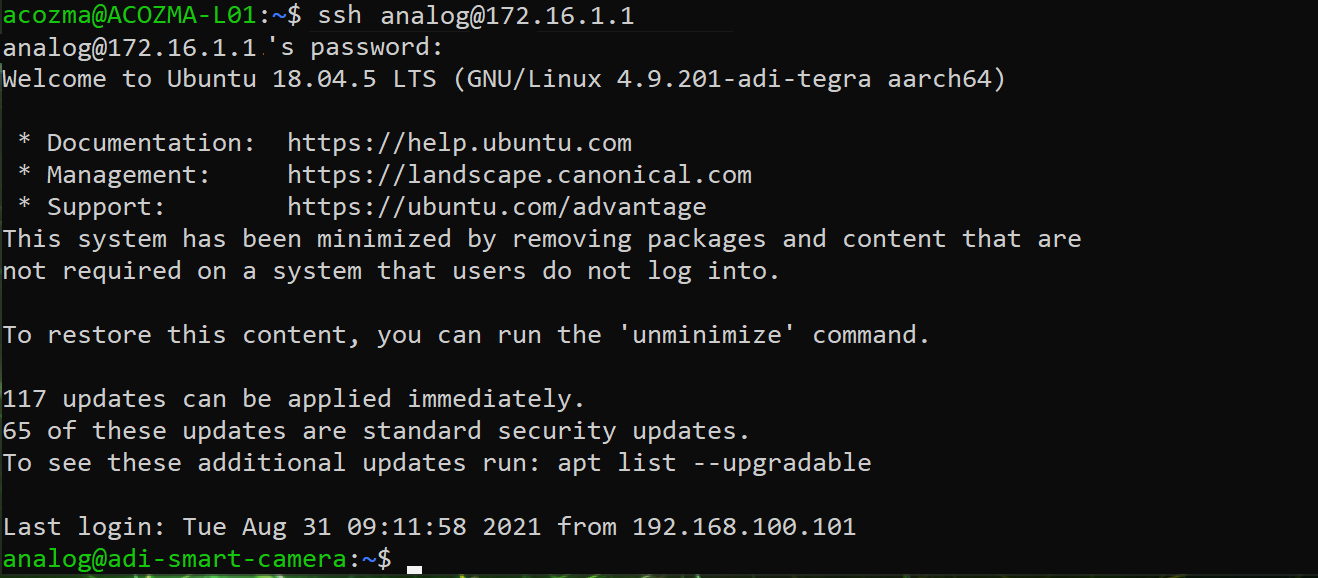
Once connected to the camera it’s time to start updating the installed software package. For this please make sure the camera is connected to the internet using the wired Ethernet connection, the system date is correct and then follow the steps below. These will get the latest Analog Devices ToF SDK from github and build it, and then it will install VNC server and a few demo applications. Please monitor the process since there will be a few places where user input is required.
analog@adi-smart-camera:~$ cd Workspace/aditof_sdk
analog@adi-smart-camera:~/Workspace/aditof_sdk/$ git checkout .
analog@adi-smart-camera:~/Workspace/aditof_sdk/$ git fetch
analog@adi-smart-camera:~/Workspace/aditof_sdk/$ git pull
analog@adi-smart-camera:~/Workspace/aditof_sdk$ cd scripts/3dsmartcam1/
analog@adi-smart-camera:~/Workspace/aditof_sdk/scripts/3dsmartcam1$ ./sdk_update.sh
analog@adi-smart-camera:~/Workspace/aditof_sdk/scripts/3dsmartcam1$ sh ./apps_update.sh
analog@adi-smart-camera:~/Workspace/aditof_sdk/scripts/3dsmartcam1$ sudo reboot
After the system restarts the easiest way to interact with the camera is via VNC. For this the VNC Viewer application needs to be installed on your PC.
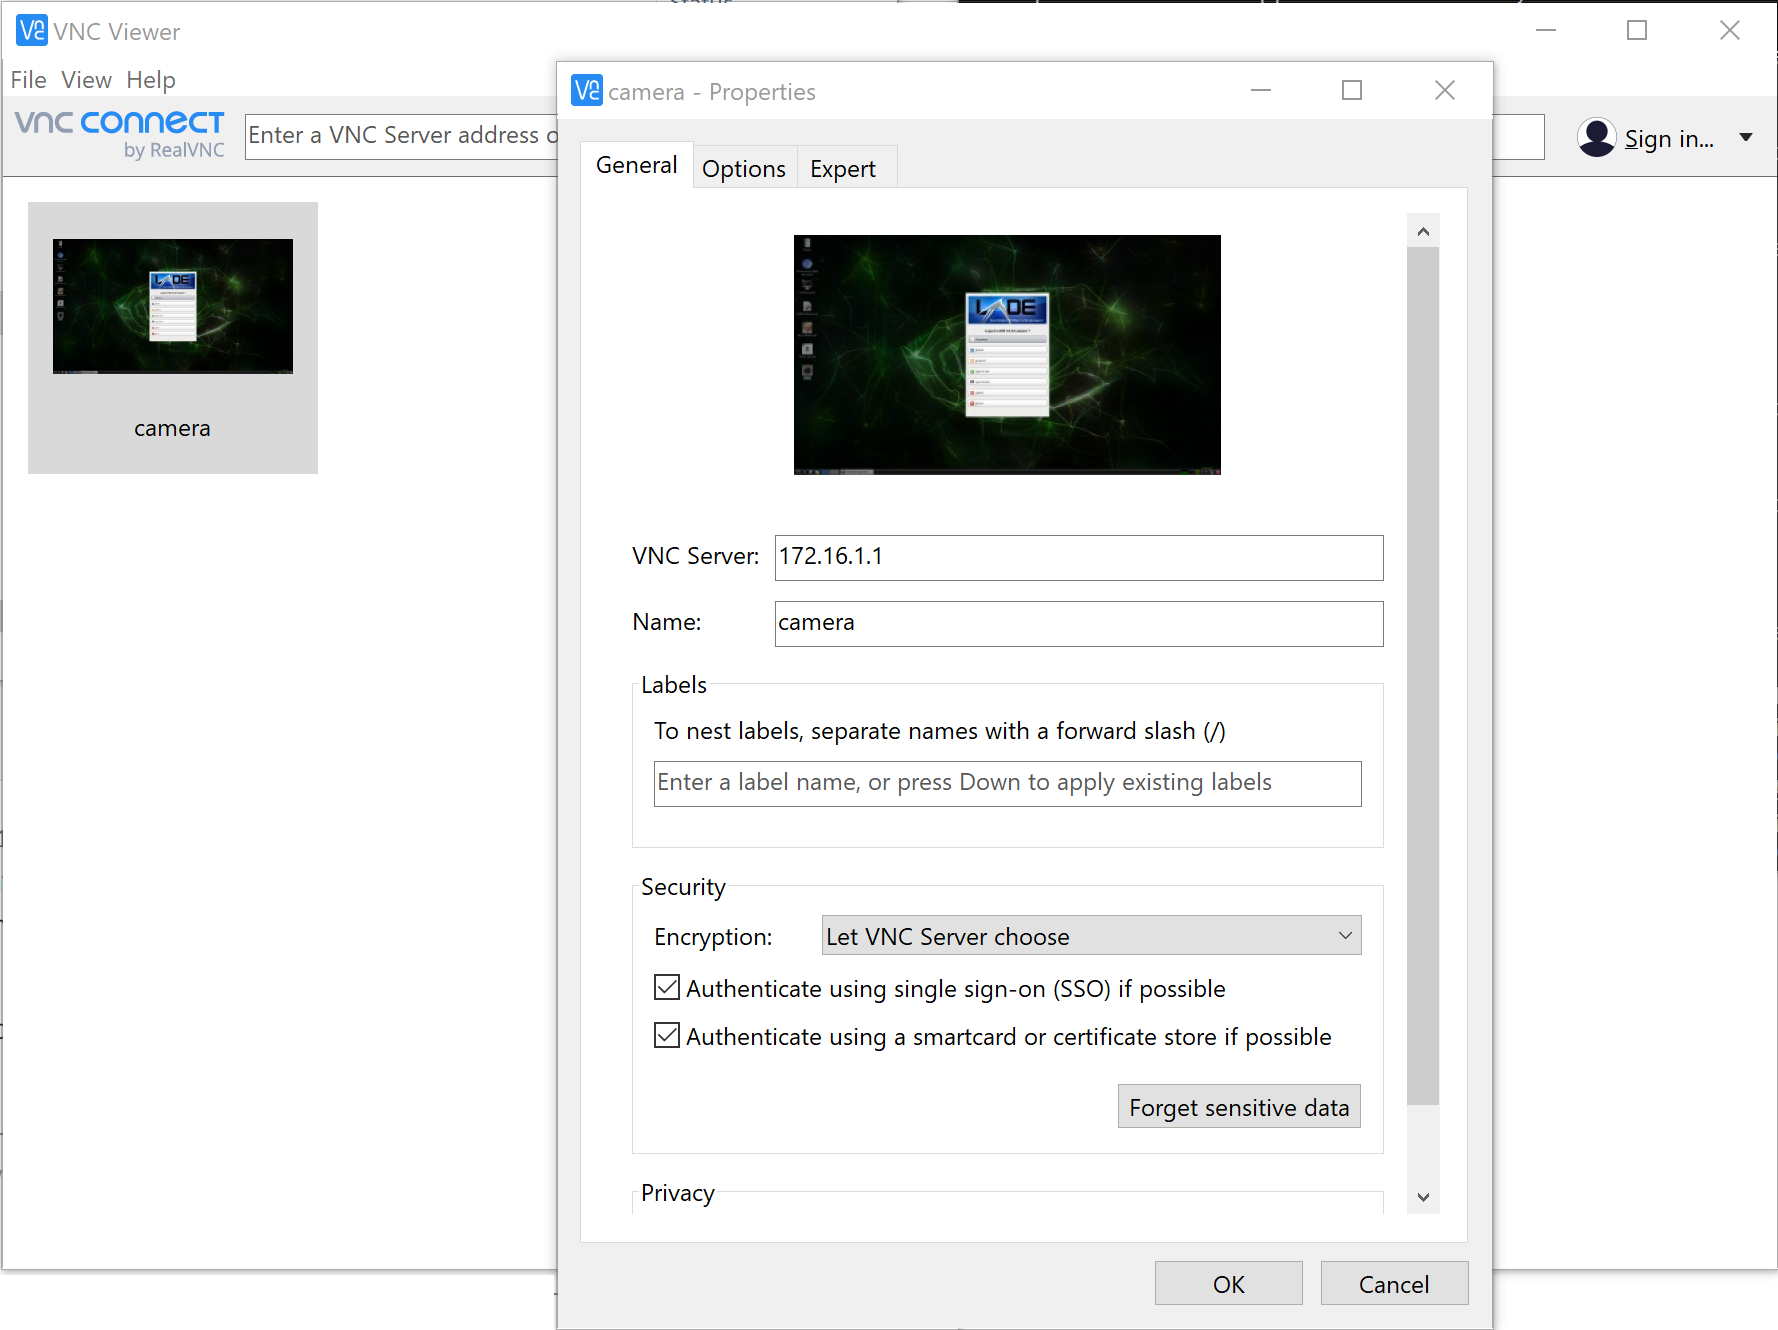
Once VNC Viewer is connected the camera’s Linux Desktop will be displayed and you can start interacting with it. On the desktop there are a few shortcuts to the aditof-demo evaluation application and to the box dimensioning, people detection and robot navigation applications.
Laser Safety
Important
This device complies with International Standards IEC 60825-1:2014 & 2007 for a Class 1 laser product. This device also complies with 21 CFR 1040.10 and 1040.11 except for deviations pursuant to Laser Notice No. 50, dated June 24, 2007. Only use Software and Firmware updates that are specifically provided for this solution.
Help and support
For questions and more information please contact us on the Analog Devices Engineer Zone.